Sometimes it’s -4 degrees outside and the majority of the food in your posession is the very stale loaf of bread on your counter. Transform your odds and ends into this comfort food hit packed with kale!
¼ cup dried shitaake mushrooms (rehydrated in red wine)
1 tblsp truffle oil
Instructions
Preheat oven to 350 degrees.
Cut the bread into 1″ cubes and place in a large mixing bowl.
In a small saucepan, melt the butter and carmelize the onion.
While your are carmelizing the onion, beat eggs until they are a creamy yellow. Add buttermilk, truffle oil, salt, pepper, dill, and red pepper and whisk until incorporated.
Add carmelized onion, kale, rehydrated mushrooms, and goat cheese to the bread. Toss until evenly incorporated and move bread mixture into a heavy baking dish (we used a dutch oven).
Pour egg mixture over bread and bake covered for one hour.
So, a while back my kitchen aid died while I was making bagels. I also lost a toaster oven making bagels. Both of these sat around for a few months waiting to be fixed. A week ago the ricemaker died. So I thought it was time to get serious about either moving on or getting stuff working again.
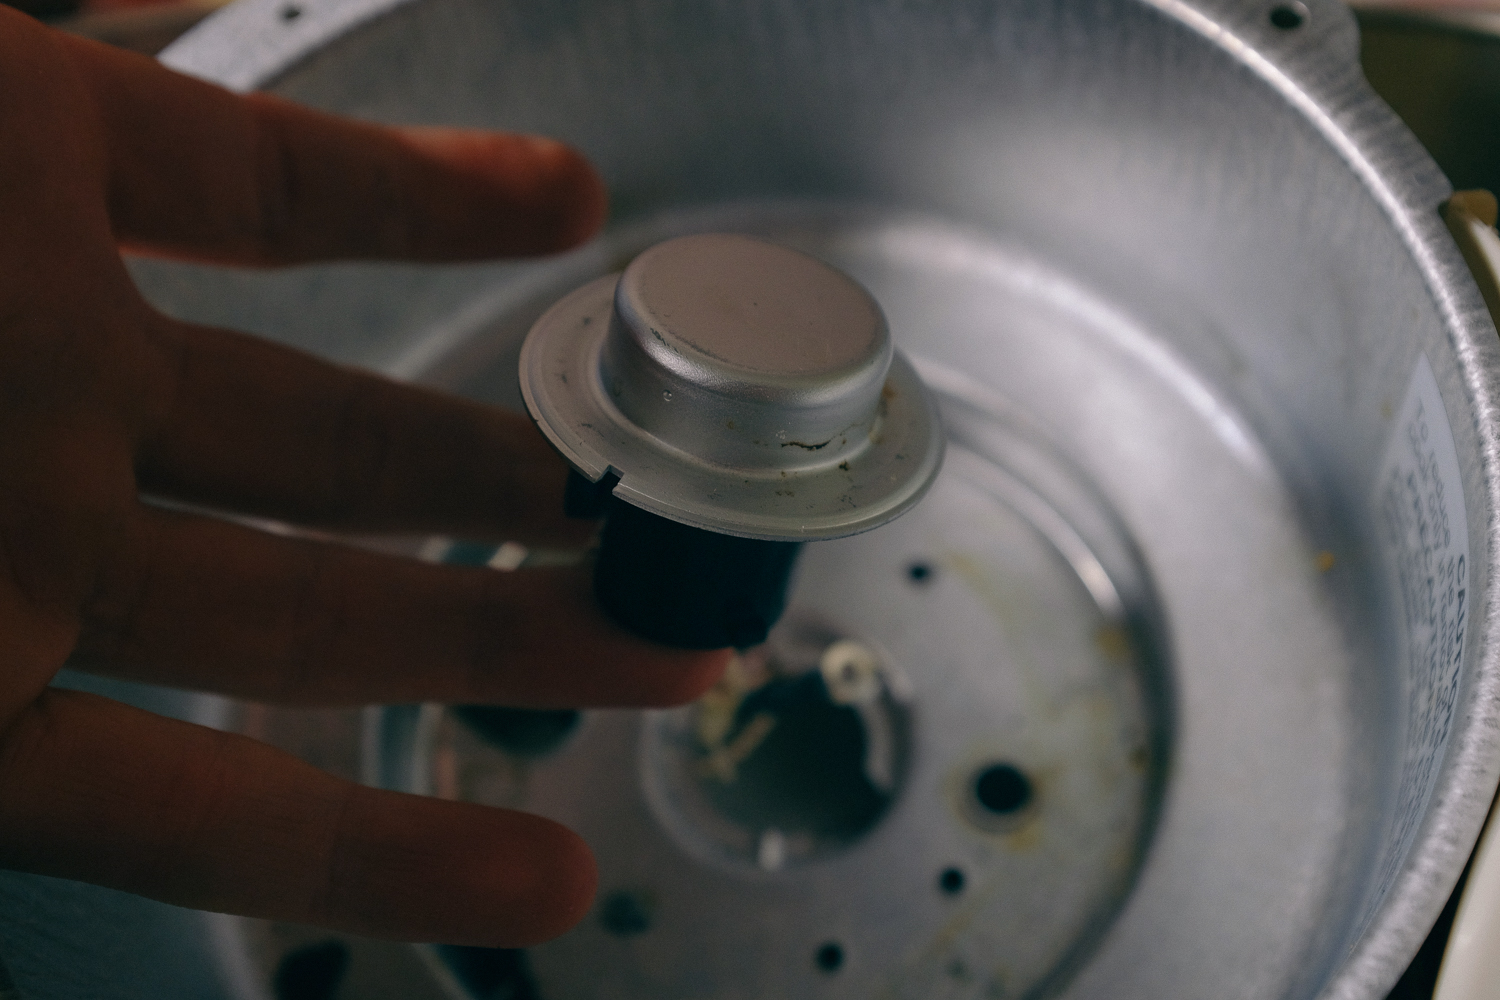
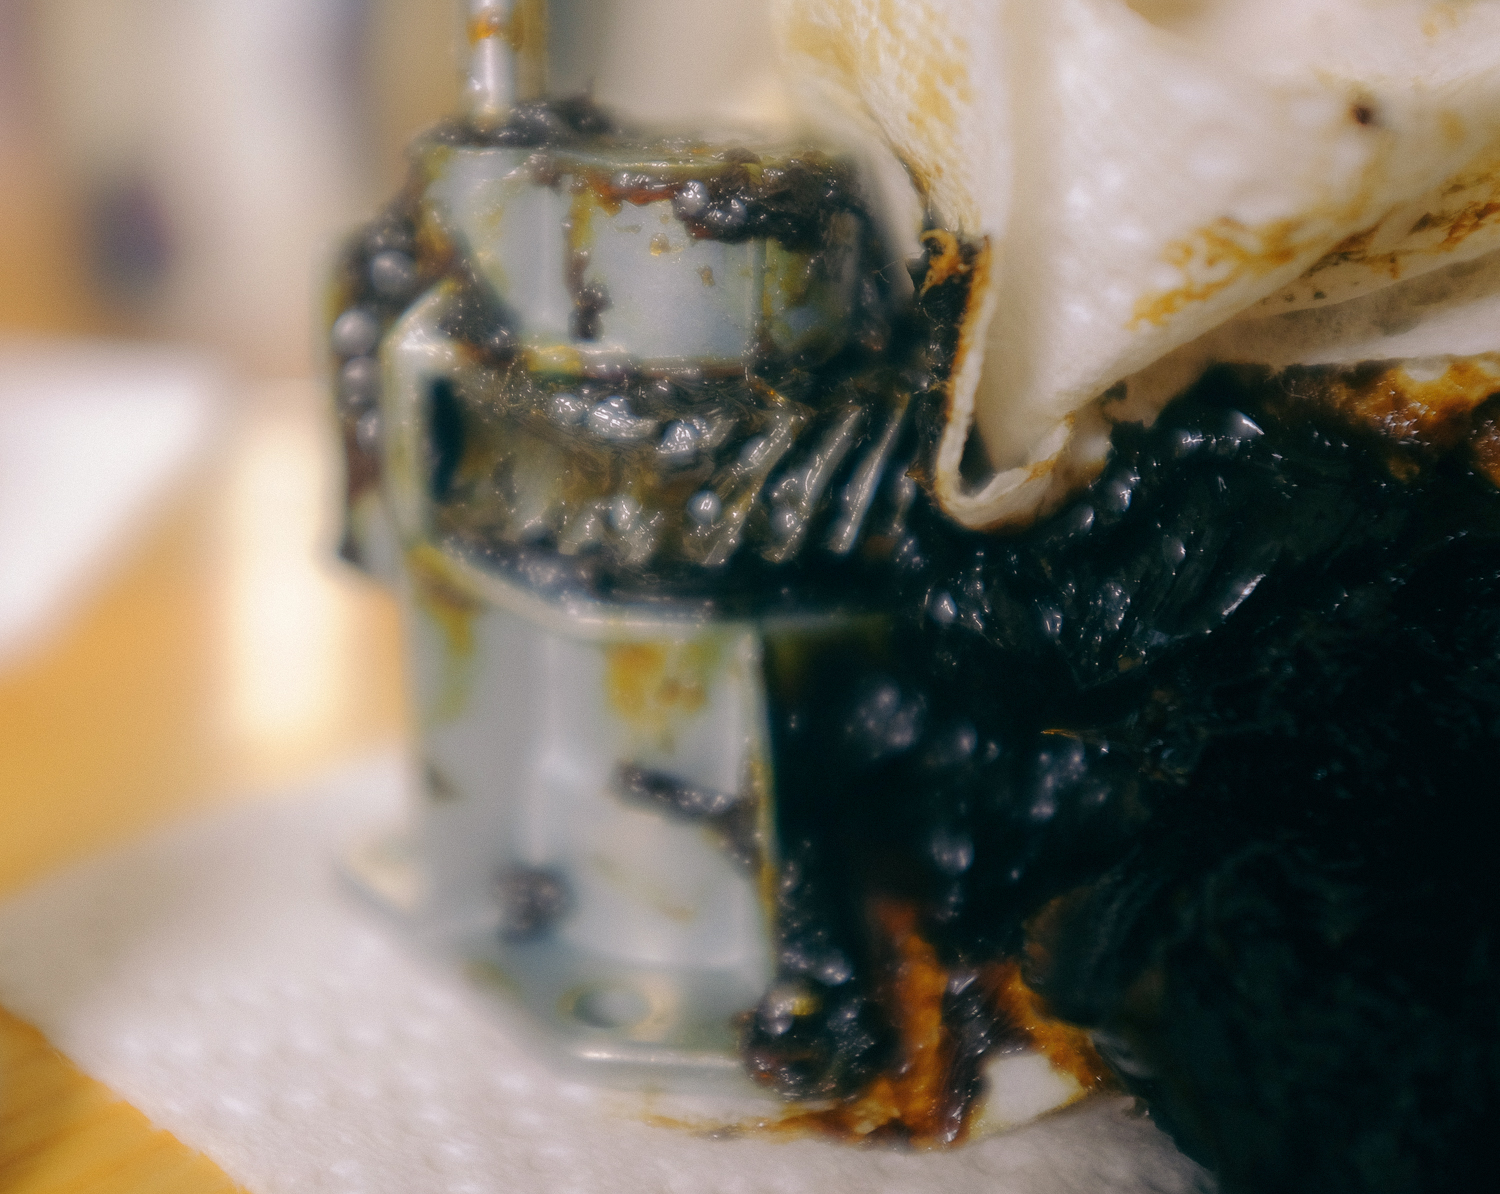
I started with the ricemaker. I’ve got a Zojirushi NS-LAC05XA Micom 3-Cup Rice Cooker and Warmer. It was pretty expensive and I’ve had it for probably about eight years now. I smelled something burning and pulled out the bowl and tried to wipe off the burning stuff from the heating element. I didn’t want to interrupt the cycle, I was making some great smelling saffron rice, but I got an E-02 message and it shut off. E-02 Message means a short. It seems like it means that the thermal fuse blew and is shorting out. I finished the rice on a burner.
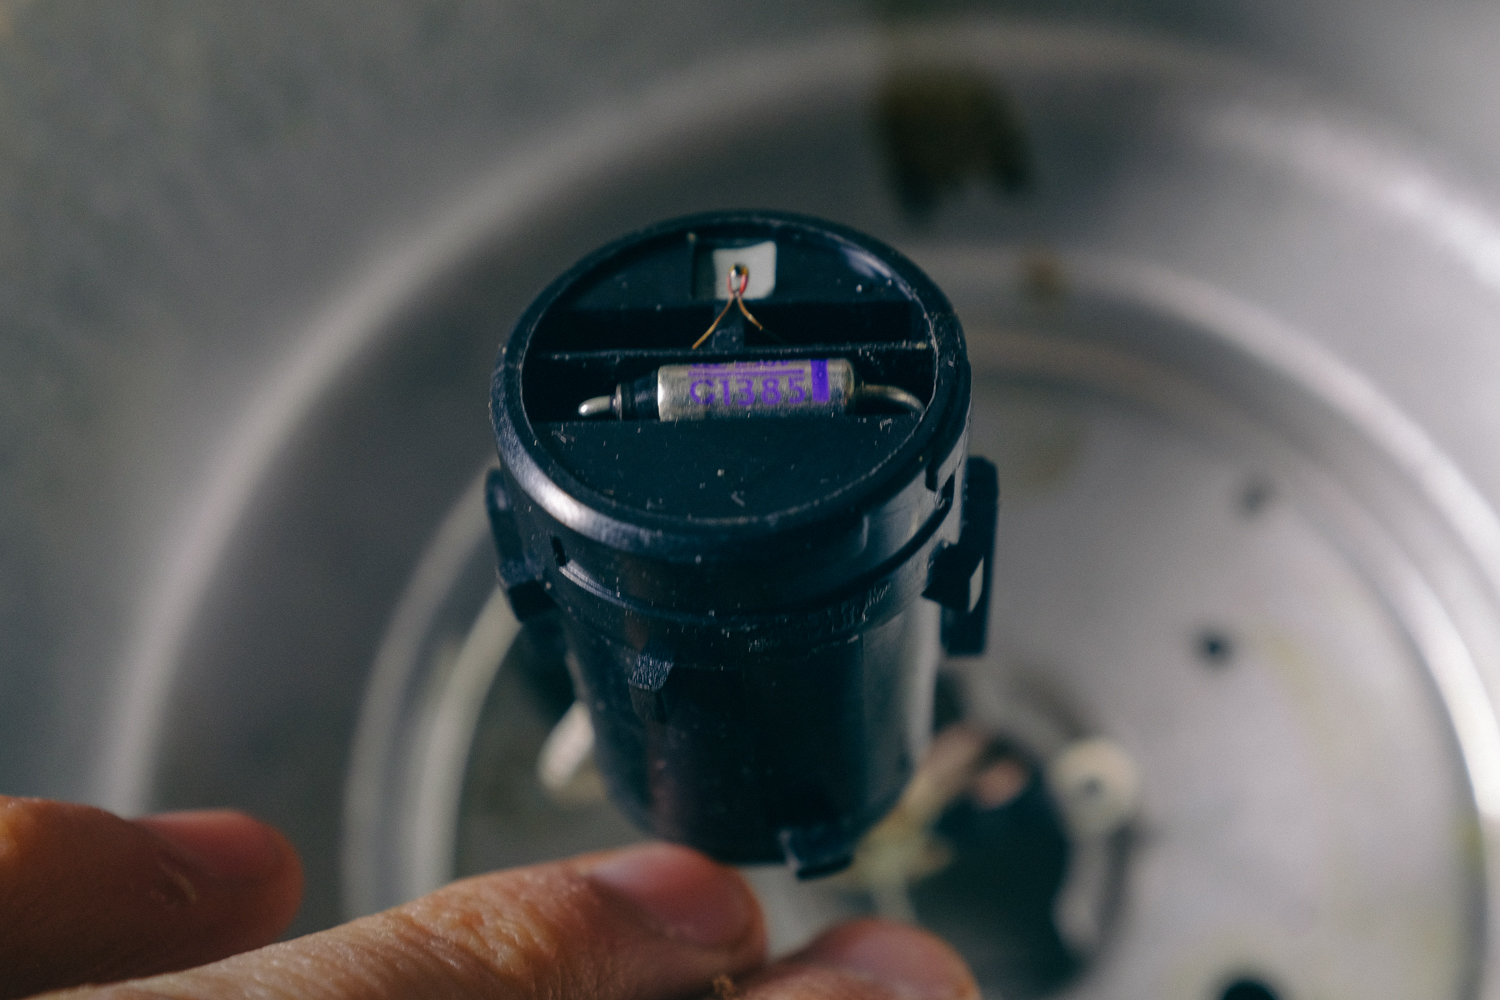
It’s an easy fix once you find the fuse. It’s in the little springy thing under the bowl. You’ve got to unplug the rice cooker, unscrew the plastic bottom. Then you’ve got to take the screws off of the heating element, there’s two holding it, and three holding wires to it. Set aside. The springy piece can then be twisted and pulled into the bowl assembly. Then the aluminum cover swivels off. You’ve sort of got to push down and turn at the same time. Underneath is the thermal fuse. It’s a Sefuse SF-152e. I bought a few on ebay. They’re about a dollar each. It’s not really that easy to find shipping from the US. You could probably just put a higher rated one into it, but I dont wanna melt my rice cooker / have it catch on fire if something goes wrong.
I snipped the leads and soldered it on. It’s pretty easy to get back together, although be careful not to shred the wires of the springy part on the sharp edge of the bowl housing. Oh and look at the clips of the side of the springy part to get it back on. It’s a little tricky : you’ve got to put it through one way and hold it and twist 90 degrees. It gets held on by the heating element. It’ll make sense once you’re doing it. Then there’s three wires on the side of the heating element with two screws and two wires on the other one screw side. Everything is color coded and nice on the inside. Whoo. saved $131.00.
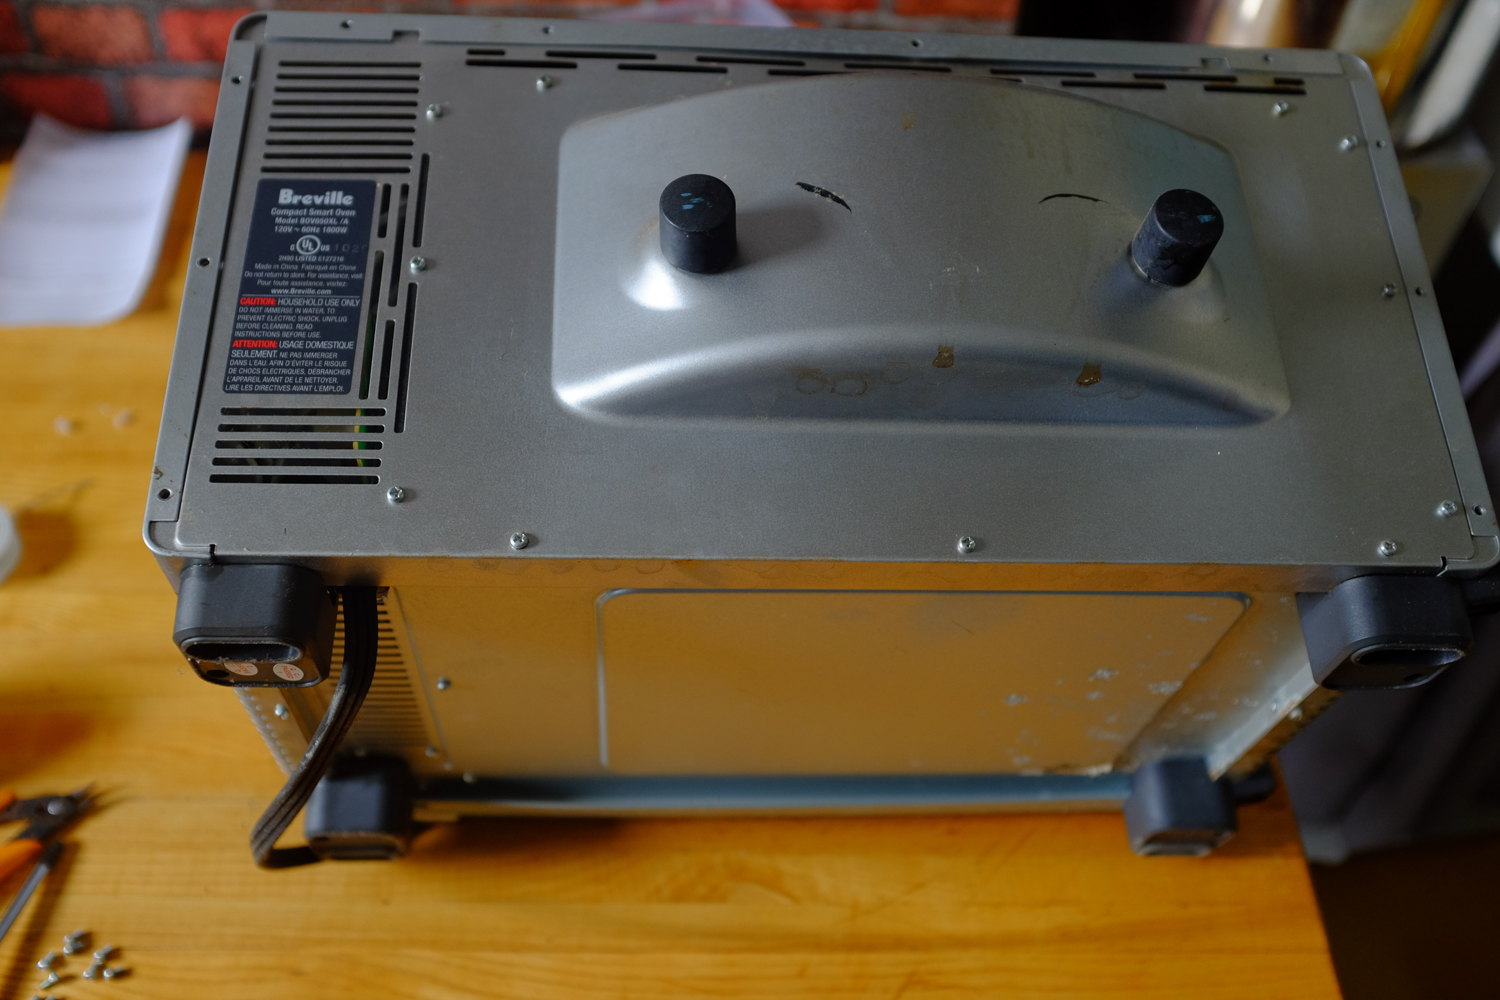
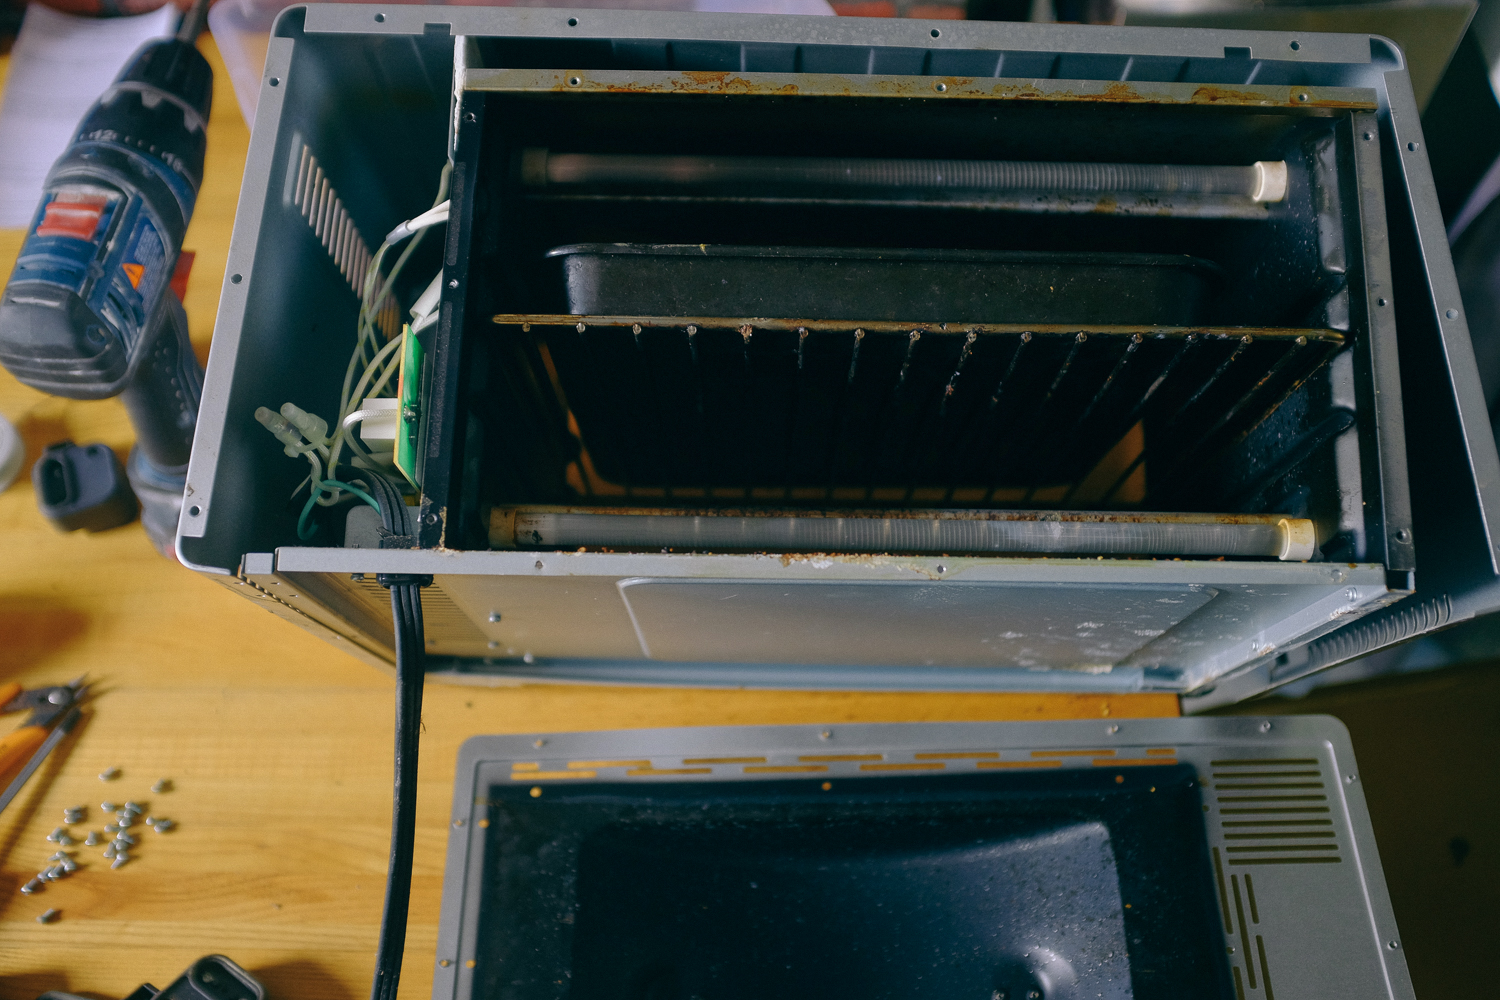
The toaster oven is a Breville BOV-650XL compact 4 slice toaster oven it’s even easier to fix. I bought the thermal fuse from radio shack it’s this one. About a dollar. It’s a bit higher death value than the stock fuse, but I tend to push toaster ovens harder than they’re made to take, so I thought go as high as I can. Also, the oven goes to 450 so why wasn’t the fuse around there ? It takes longer to get out all the screws than to replace the part.
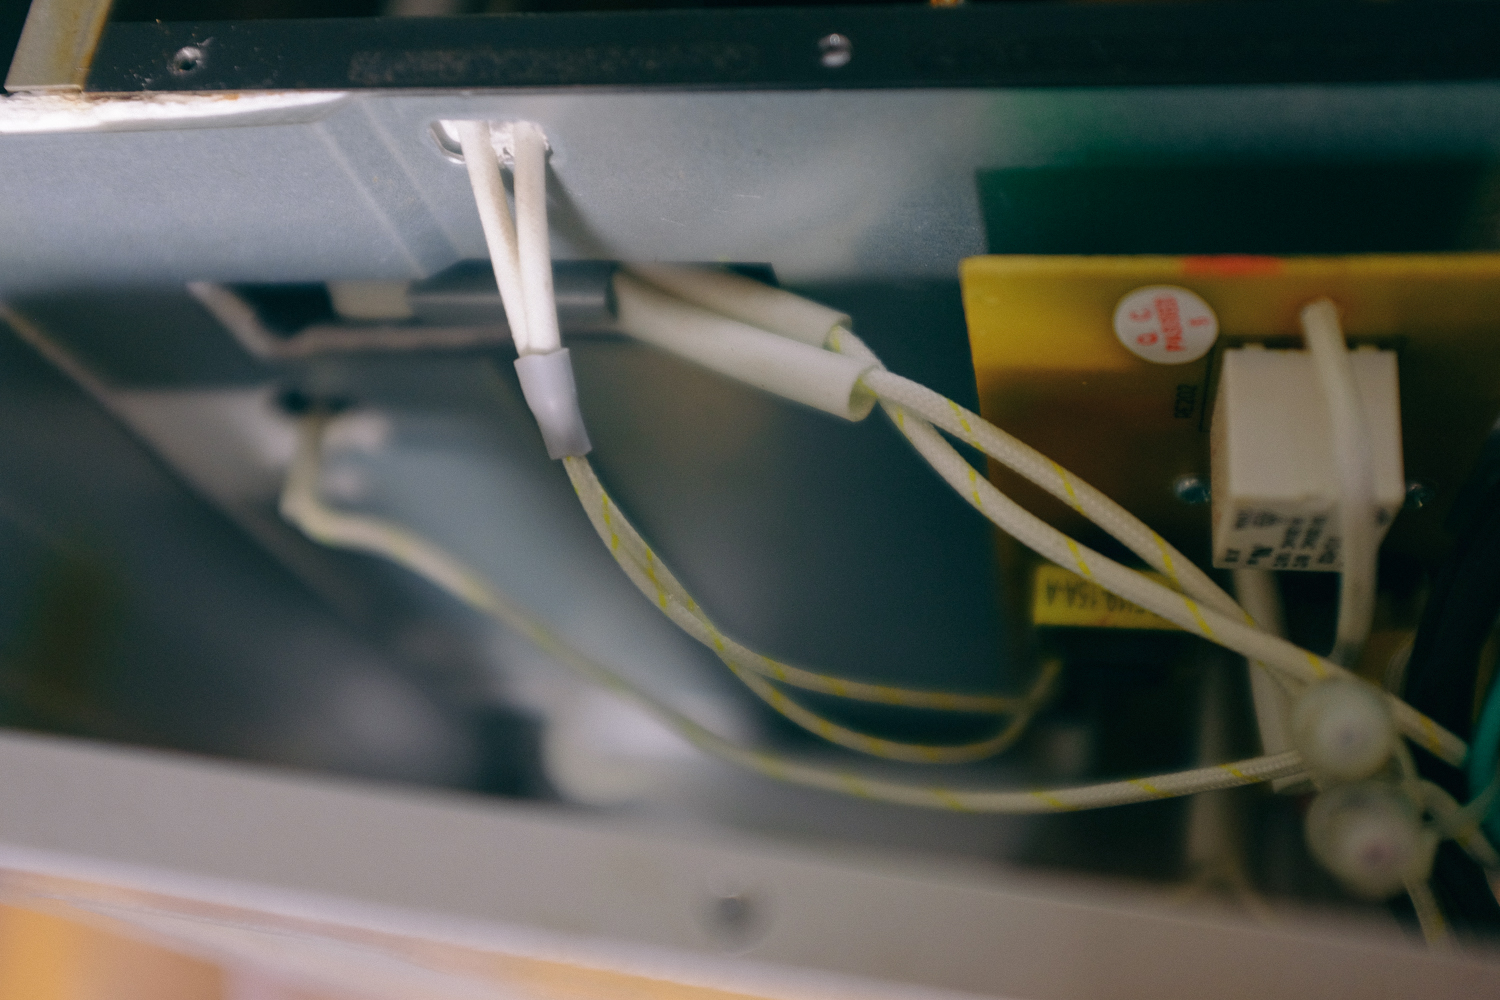
It’s the white thing clipped to the side.
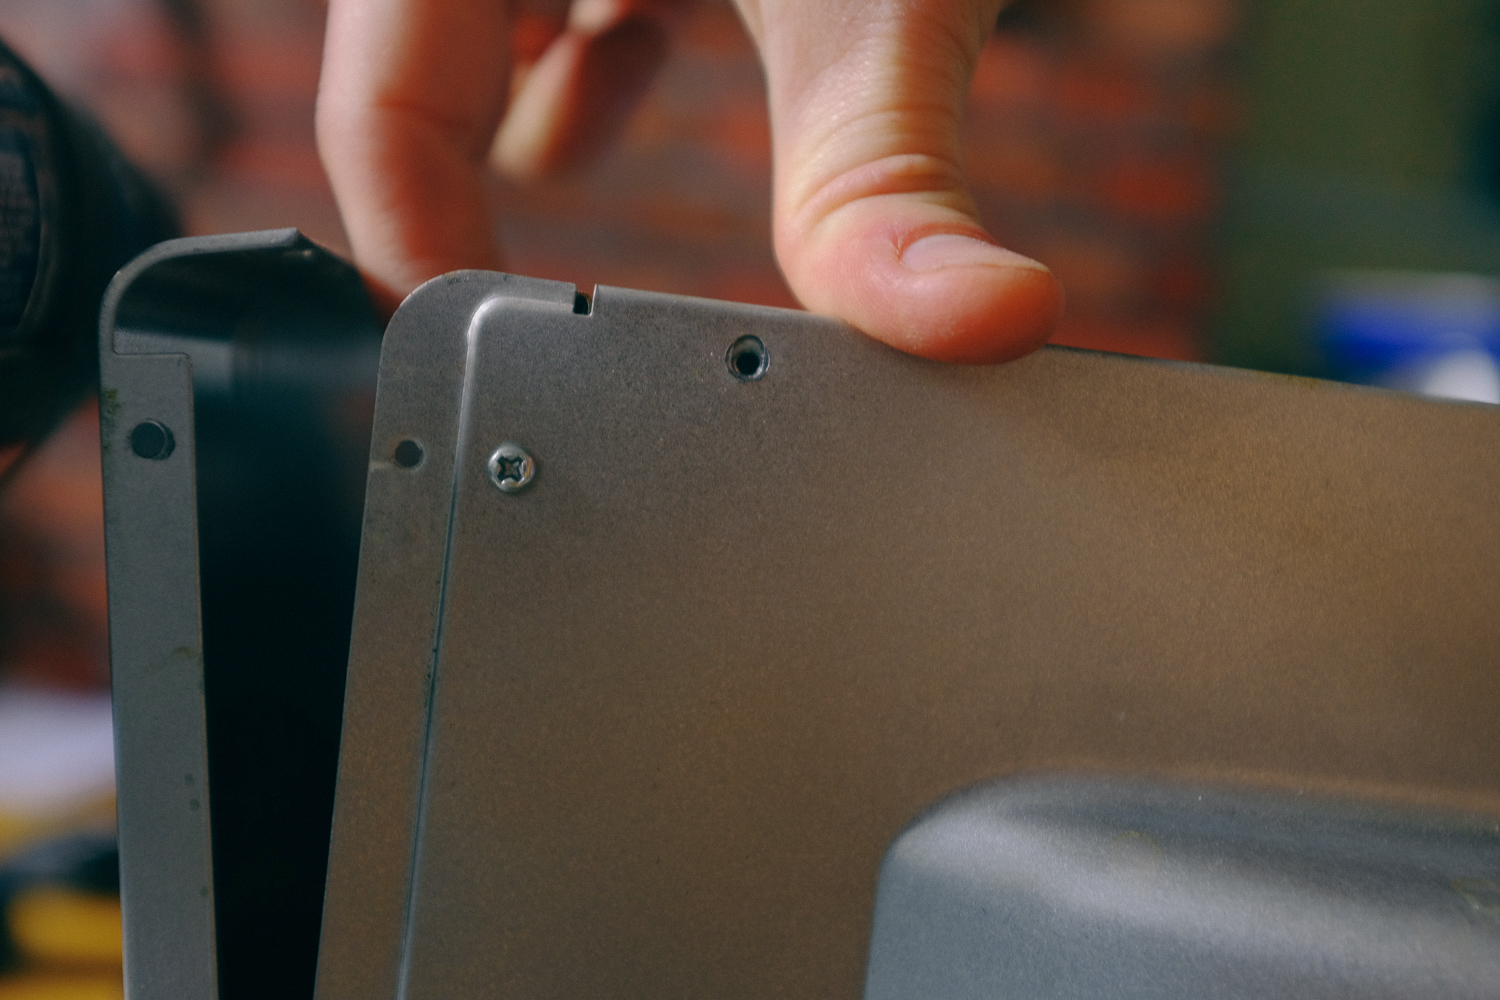
You slide back the thermal plastic and snip the dead fuse out then take off the plastic and solder one side, slide on the plastic and solder the other, then replace. The only tricky thing with getting it back together is remembering which feet go in which position. Oh and you might have to pull up before putting on the bottom screws to get the back lined up.
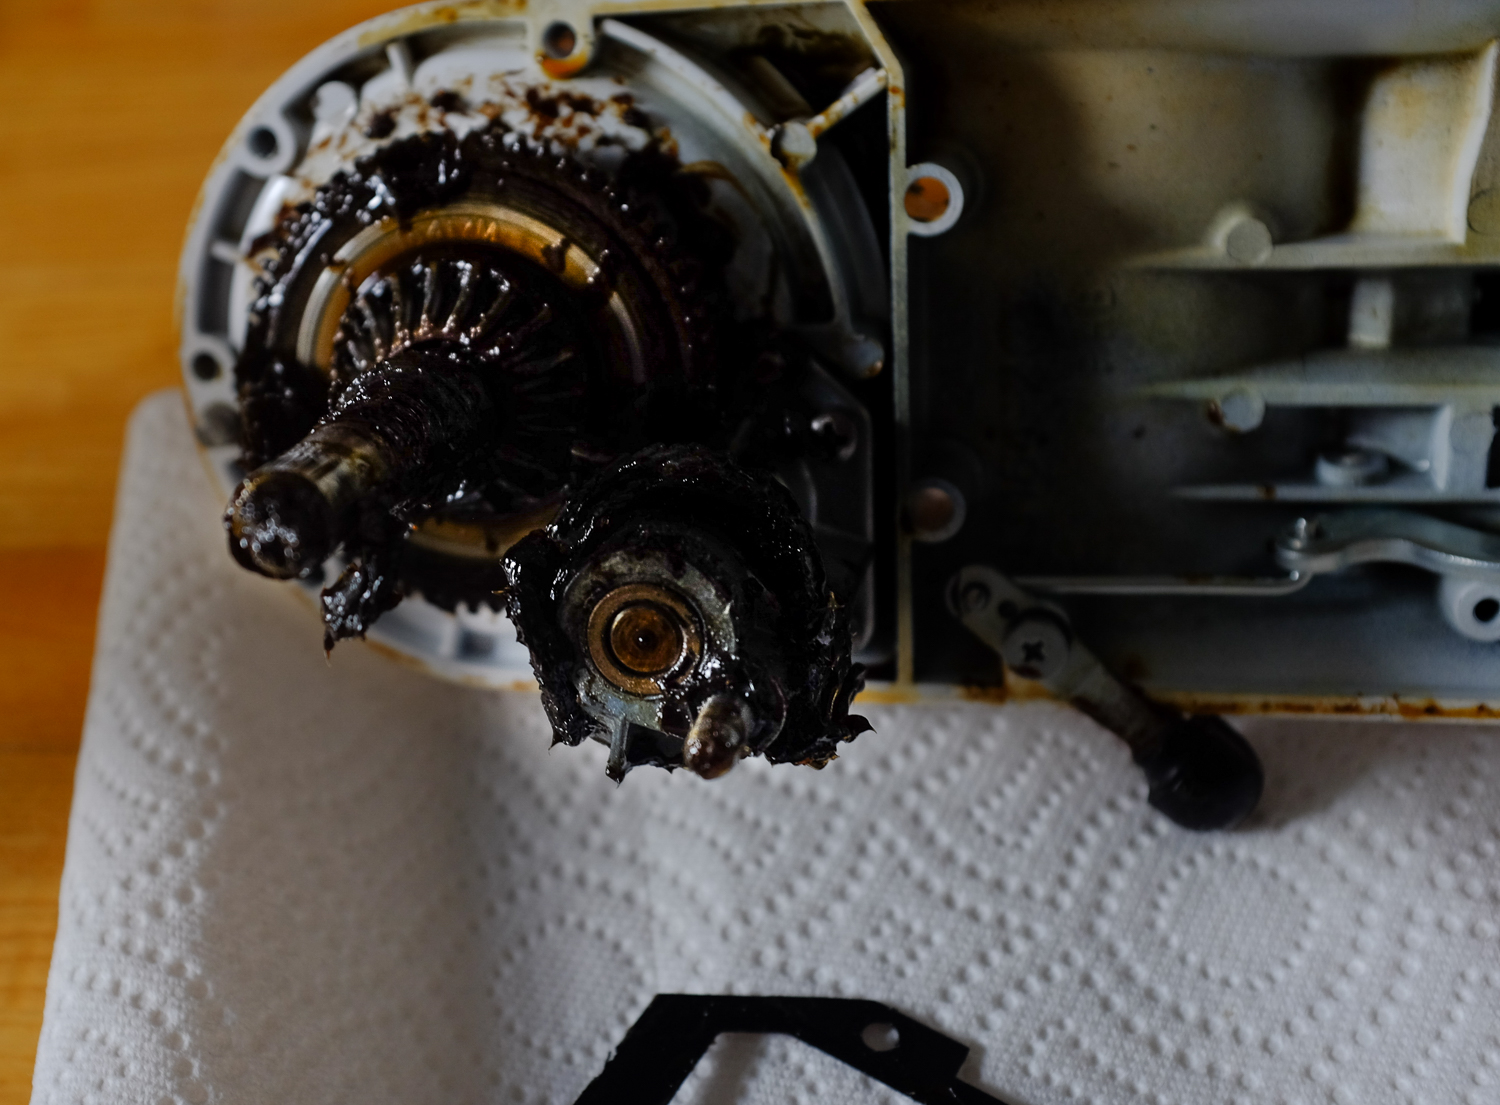
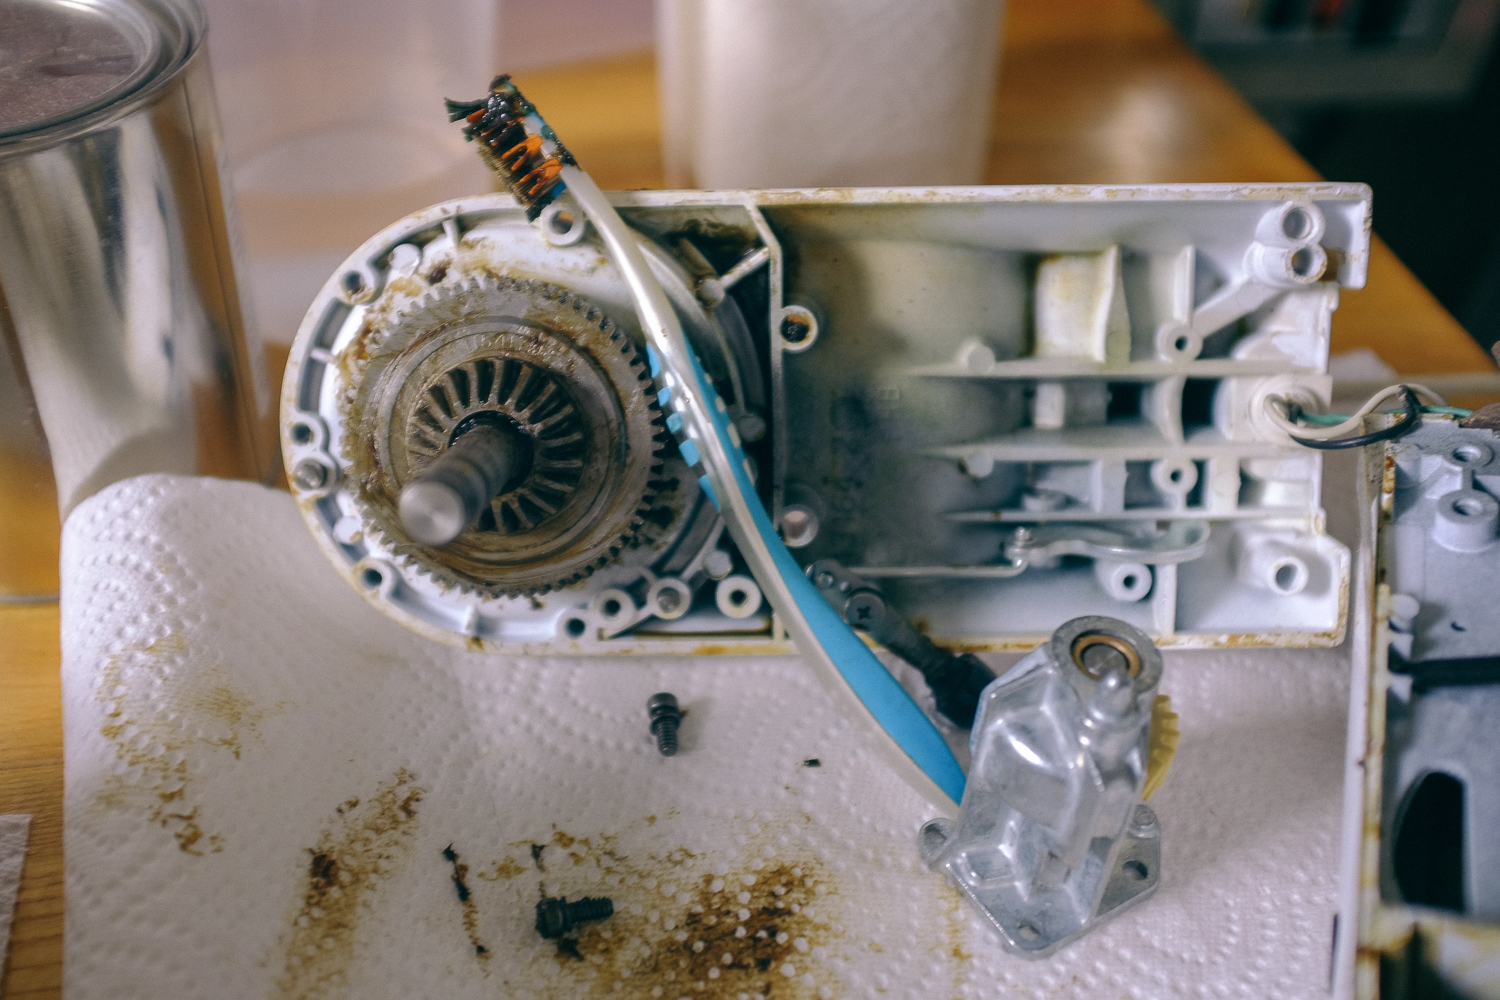
The kitchen aid mixer broke when I was mixing probably too much and too stiff bagel dough. I can’t really blame it. It turned on, but just made some noise and didn’t spin. So a quick search led me to the worm gear. If yours doesn’t turn on, it’s probably the motor bushings. They’re easy to replace too. It’s the screws on the side.
For the Worm Gear, I’d buy the whole assembly, it’s only $7.75 at amazon. It’s the piece that’s supposed to break before you chew up the gears through the rest of the mixer. The annoying part is buying the grease, it’s $25 at amazon. You’ve got to clean out the old and put in the new grease before you reassemble. Pop out the three screws on the back of the motor. Use a screwdriver to pop off the metal rim around the planetary gear mechanism. There are 5 or so screws under there, take them out. Use a pin puncher to smack out the pin that holds it all together. You should now have the main body open. Separate it and start to clean out the grease. Use paper towels, q tips, and an old toothbrush. Even if the toothbrush is new that’s okay, it’s food safe grease anyways.
Get it all clean and put the new worm gear back into place. Reassemble as you disassembled in reverse. By the way, if you’re like me, you’ll buy another spare worm gear for the next time you break it. Happy fixing, good luck.
Ed’s birthday finishes off the month January — just about the time my new years resolutions start to crumble and I’m trying to hold onto the last few strands of my dignified self by pouring over Goop recipes. Knowing in my heart that this is the year I will become Gwyneth, I did what every good girlfriend should do and bought him the present I’ve always wanted — a juicer. I made some concessions and ordered a very masculine black, only to find that my subconscious had gotten the better of me. So we are now the proud owners of a regal white Champion!
The struggle between Camp Blender and Camp Juicer is real. Not wanting to be disloyal to the years of service of the Vitamix, I’ve spent a long time preaching against all the measly yield and all the loss that juicers represent. When it comes down to it though, sometimes you just want the juice and straining fruit pulp through a sieve is a bitch.
The first test was an old favorite I’ve only had the pleasure of making in the centrifuge…so very slowly. Turns out Camp Juicer is just as great! Great yield and fairly easy to clean, but still a nagging amount of discarded waste. The waste lacked a lot of flavor, but I know that Gwyneth would NEVER throw away that pulp, so I did a bit of searching and found a few recipes for Juicer Pulp Muffins.
I’m a big fan of any recipe I make in the food processor, but ours is pretty hefty so you may have to break it up into batches. Recipe below is adapted from Plan to Eat’s Mighty Juicer Pulp Muffins.
Let cool for a few minutes before removing from the pan
Notes
I’ve made a few batches of these at this point, and they seem to hold up well with any number of juice pulps. Great and moist without any added oils, the recipe is really easy and makes enough for a good weeks worth of breakfast for two. Note: they’re even better topped with a bit of coffee butter…post on that to come.
Our ceilings were in pretty rough shape. They’re Plaster and lathe, which was partially cracking, but still solid. They’d been wallpapered (ceilingpapered?) several times and were just generally bumpy and gross looking. The greenish tinted white paint didn’t help either.
I inquired about having the plasterers do the work, but they wanted an additional ~$3000 so I thought we’d have to go a different route. We were planning on putting in crown molding and after getting the walls fixed and the floors put in, I couldn’t put it off any longer. I wasn’t all that confident about skim coating so we started to look at tin ceiling tiles. After learning that you need backing boards for tin ceilings, adding even more cost and work, we looked at styrofoam tiles that glue up. We ordered some samples, and they looked pretty lousy unpainted. So they’d have to be brushed by hand. Then we tried to find filler material and kept coming up short. I started looking at ceilings more and realized that there were a lot of tin ceilings in Pittsburgh and wondered if it was worth it to put in a faux version of what half of the shops here have anyways, at a cost of about $600, and a bunch of time finishing. We went through a couple of other ideas, and decided to put up hexagon molding in the middle room and to tape and joint compound the ceilings. I bought a product called magictrowel and was feeling pretty confident. Just first have to scrape off any loose wallpaper.
There was a lot of loose wallpaper. Most of the ceiling was loose. I painted a few coats of primer to seal the paper that remained and covered everything that looked suspect with joining tape. I got a thick nap roller and thought no problem I’ll mix up some JC and magictrowel it out and it’ll look perfect.
I had no luck at all with the magictrowel. My first unfortunate test with 30 minute joint compound dried so fast the trowel did nothing and I had a textured ceiling. That was my fault, a dumb thing to try. I jumped on a ladder with a 24″ trowel and pressed as hard as I could to try to smooth it. Then sand sand sand to fix my mistakes in a respirator of course (which is exhausting), and with dropcloths covering all exits. I tried with 90 minute, better but not great. Jumped onto ladder with trowel and sponge desperately trying to avoid sanding again. Maggie and I tried one with each. Worked better but not smooth. Again, on the ladder. Which got me thinking maybe I should just give up the gimmicky thing and learn to smooth this stuff the real way. At least I’ll be to blame if it comes up lumpy.
So, I bought a hawk, which was more fun than you’d think and got on a ladder for 6ish hours a day for a week and put up 1/4 bags of 90 minute joint compound until i got the ceilings smooth.
As a lady, Maggie is very fond of seasonal drinks and food. We thought we’d try something with pumpkin. A pumpkin booze milkshake. That’ll get the traffic rolling. We’ll also use $10 ice cream from Jeni’s Ice cream. This post is not sponsored by them. We paid the ten bucks.
I called this guy a ghost pumpkin, but it’s a casper pumpkin. I’m not gonna lie and say that we planned to get a casper, it just looked good at the store. I read that they’re a bit sweeter than normal pumpkin. I donno. We split it in half and scooped out the seeds and strings and broiled the pumpkin for about a half hour.
Then we took the skin off and vac bagged it with cinnamon, star anise, mace, nutmeg, and a bit of maple syrup. It cooked at 85C for an hour and a half.
Freeze the pumpkin and blend, add Jeni’s Whiskey pecan ice cream. Eat the pecans or they’ll make it gritty, unless you blend a lot. Add booze. We did 12oz pumpkin, 6oz ice cream and 3oz bourbon.


 So, I bought a hawk, which was more fun than you’d think and got on a ladder for 6ish hours a day for a week and put up 1/4 bags of 90 minute joint compound until i got the ceilings smooth.