So, a while back my kitchen aid died while I was making bagels. I also lost a toaster oven making bagels. Both of these sat around for a few months waiting to be fixed. A week ago the ricemaker died. So I thought it was time to get serious about either moving on or getting stuff working again. 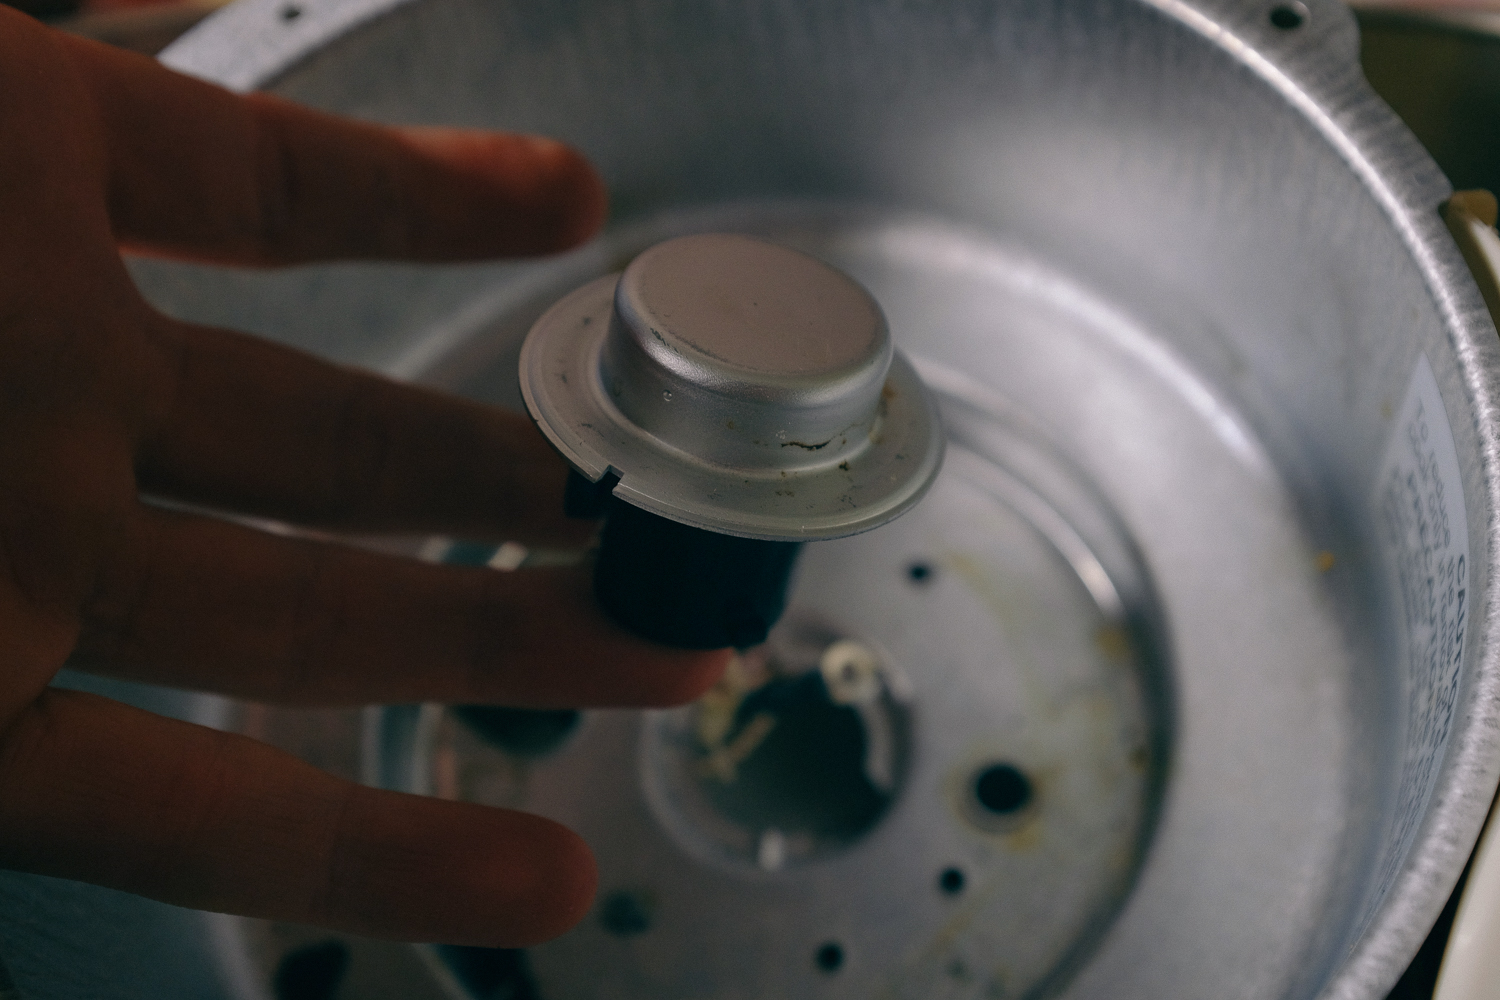
I started with the ricemaker. I’ve got a Zojirushi NS-LAC05XA Micom 3-Cup Rice Cooker and Warmer. It was pretty expensive and I’ve had it for probably about eight years now. I smelled something burning and pulled out the bowl and tried to wipe off the burning stuff from the heating element. I didn’t want to interrupt the cycle, I was making some great smelling saffron rice, but I got an E-02 message and it shut off. E-02 Message means a short. It seems like it means that the thermal fuse blew and is shorting out. I finished the rice on a burner.
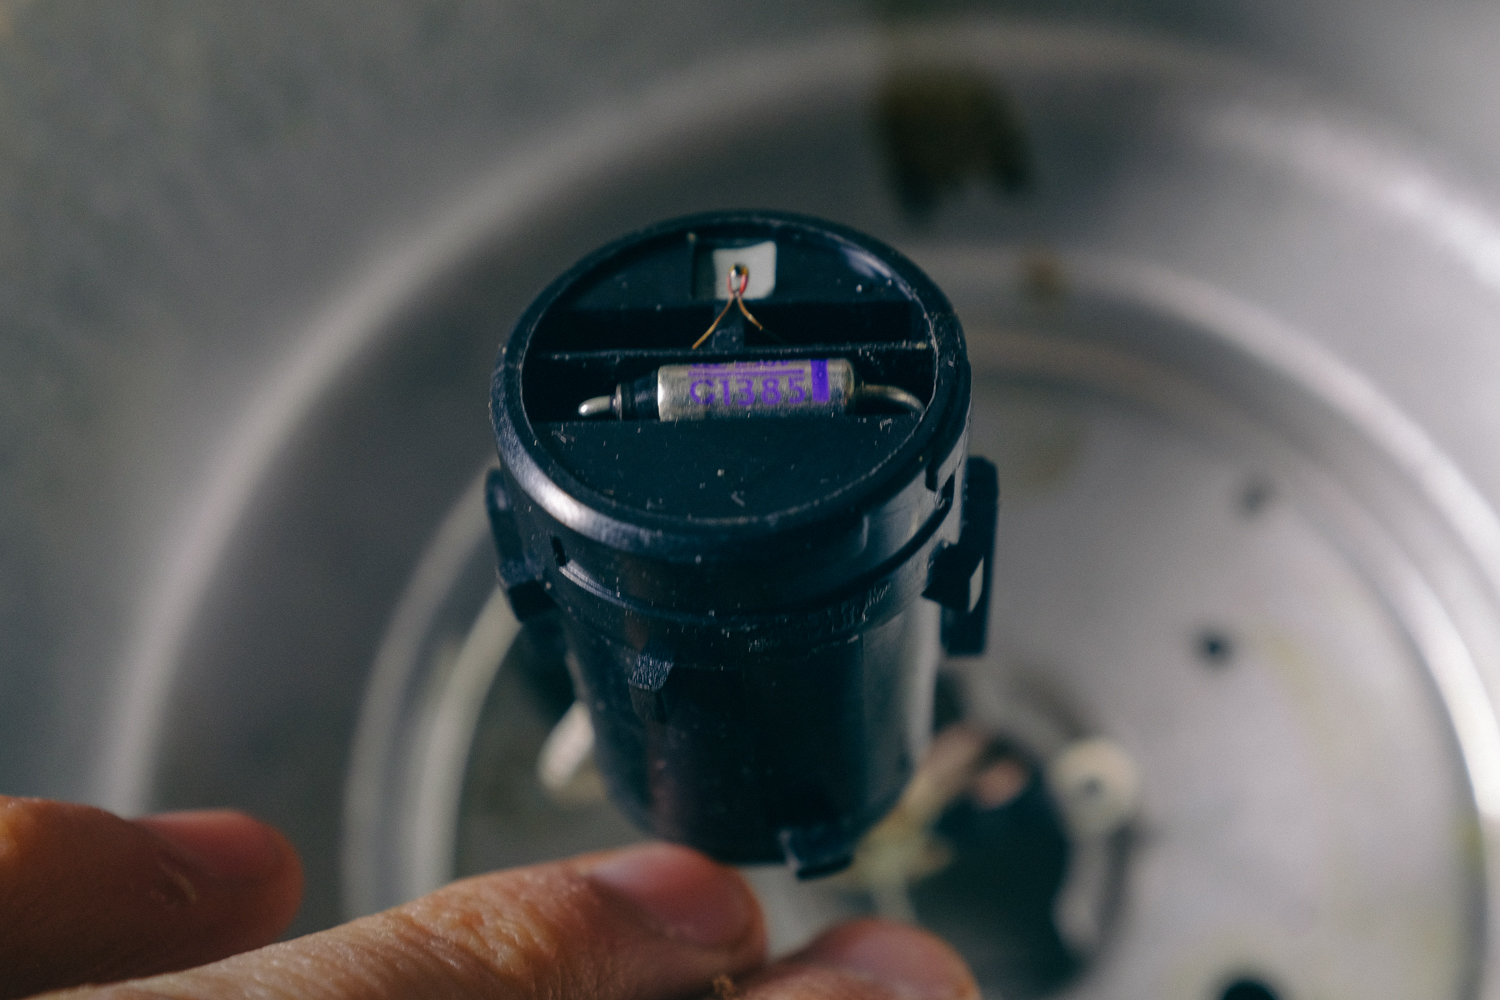
It’s an easy fix once you find the fuse. It’s in the little springy thing under the bowl. You’ve got to unplug the rice cooker, unscrew the plastic bottom. Then you’ve got to take the screws off of the heating element, there’s two holding it, and three holding wires to it. Set aside. The springy piece can then be twisted and pulled into the bowl assembly. Then the aluminum cover swivels off. You’ve sort of got to push down and turn at the same time. Underneath is the thermal fuse. It’s a Sefuse SF-152e. I bought a few on ebay. They’re about a dollar each. It’s not really that easy to find shipping from the US. You could probably just put a higher rated one into it, but I dont wanna melt my rice cooker / have it catch on fire if something goes wrong.

I snipped the leads and soldered it on. It’s pretty easy to get back together, although be careful not to shred the wires of the springy part on the sharp edge of the bowl housing. Oh and look at the clips of the side of the springy part to get it back on. It’s a little tricky : you’ve got to put it through one way and hold it and twist 90 degrees. It gets held on by the heating element. It’ll make sense once you’re doing it. Then there’s three wires on the side of the heating element with two screws and two wires on the other one screw side. Everything is color coded and nice on the inside. Whoo. saved $131.00.
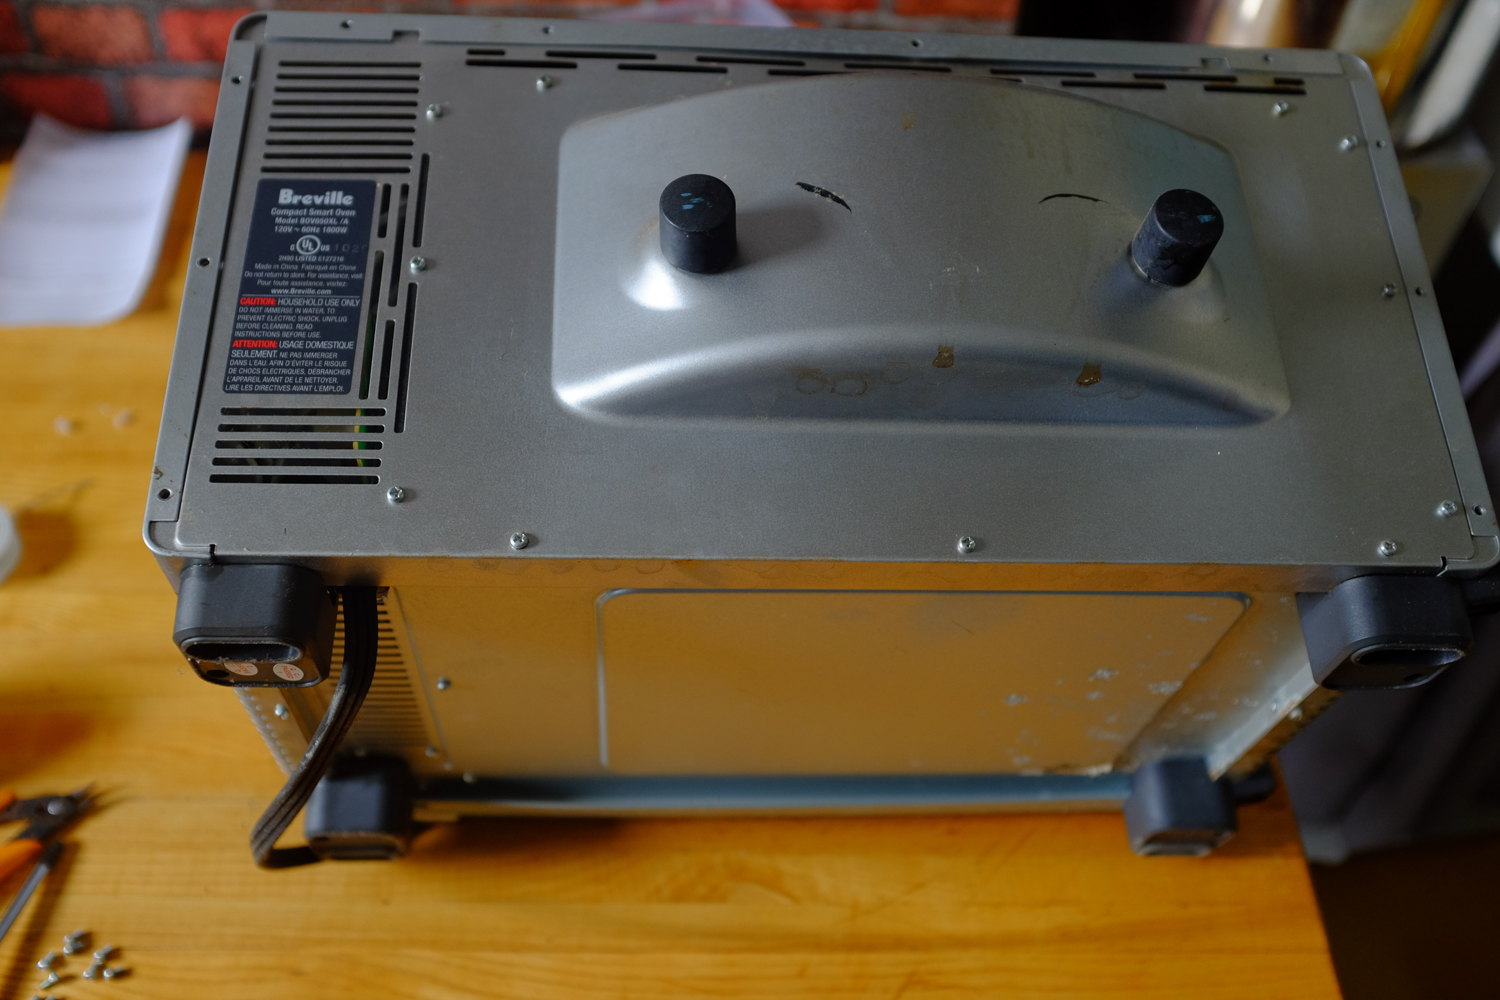
The toaster oven is a Breville BOV-650XL compact 4 slice toaster oven it’s even easier to fix. I bought the thermal fuse from radio shack it’s this one. About a dollar. It’s a bit higher death value than the stock fuse, but I tend to push toaster ovens harder than they’re made to take, so I thought go as high as I can. Also, the oven goes to 450 so why wasn’t the fuse around there ? It takes longer to get out all the screws than to replace the part.
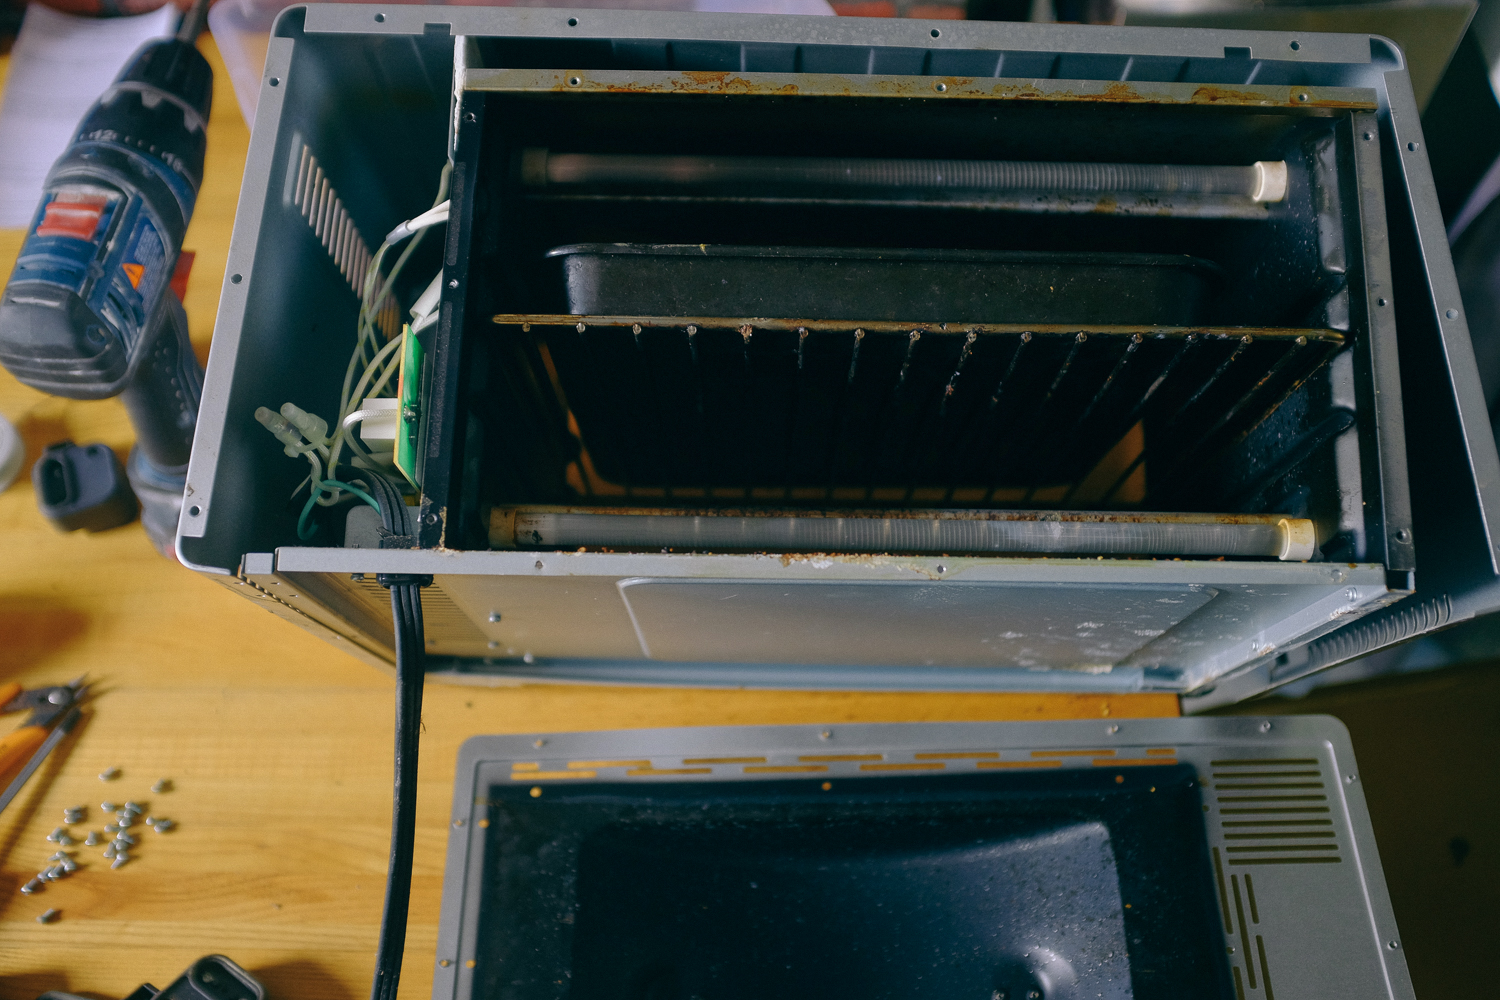
It’s the white thing clipped to the side.
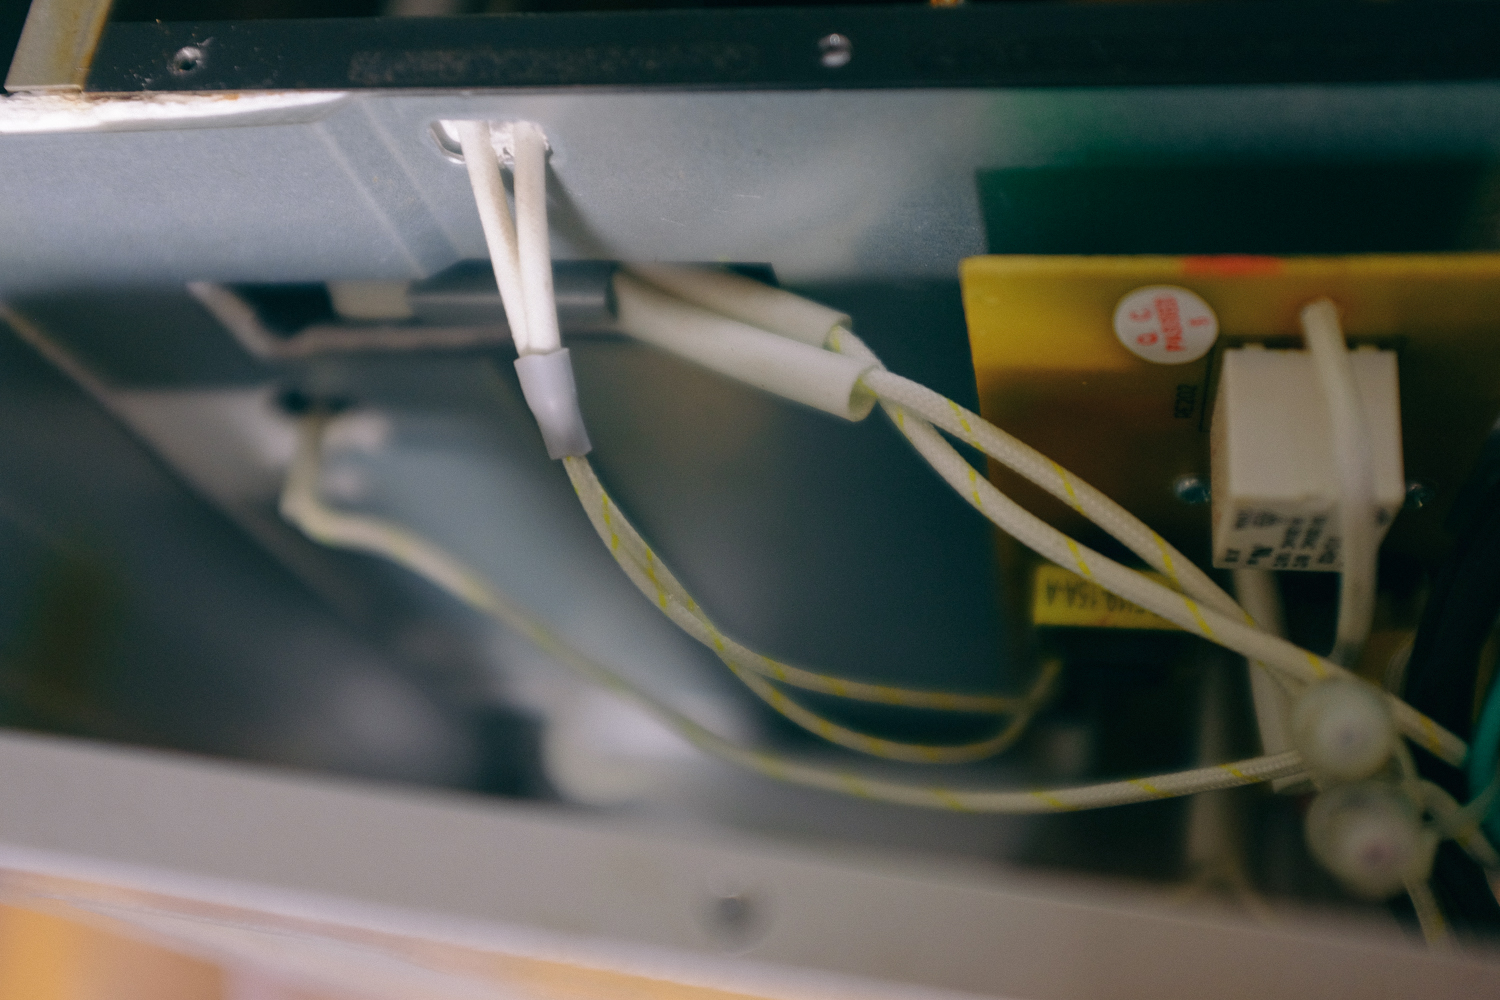
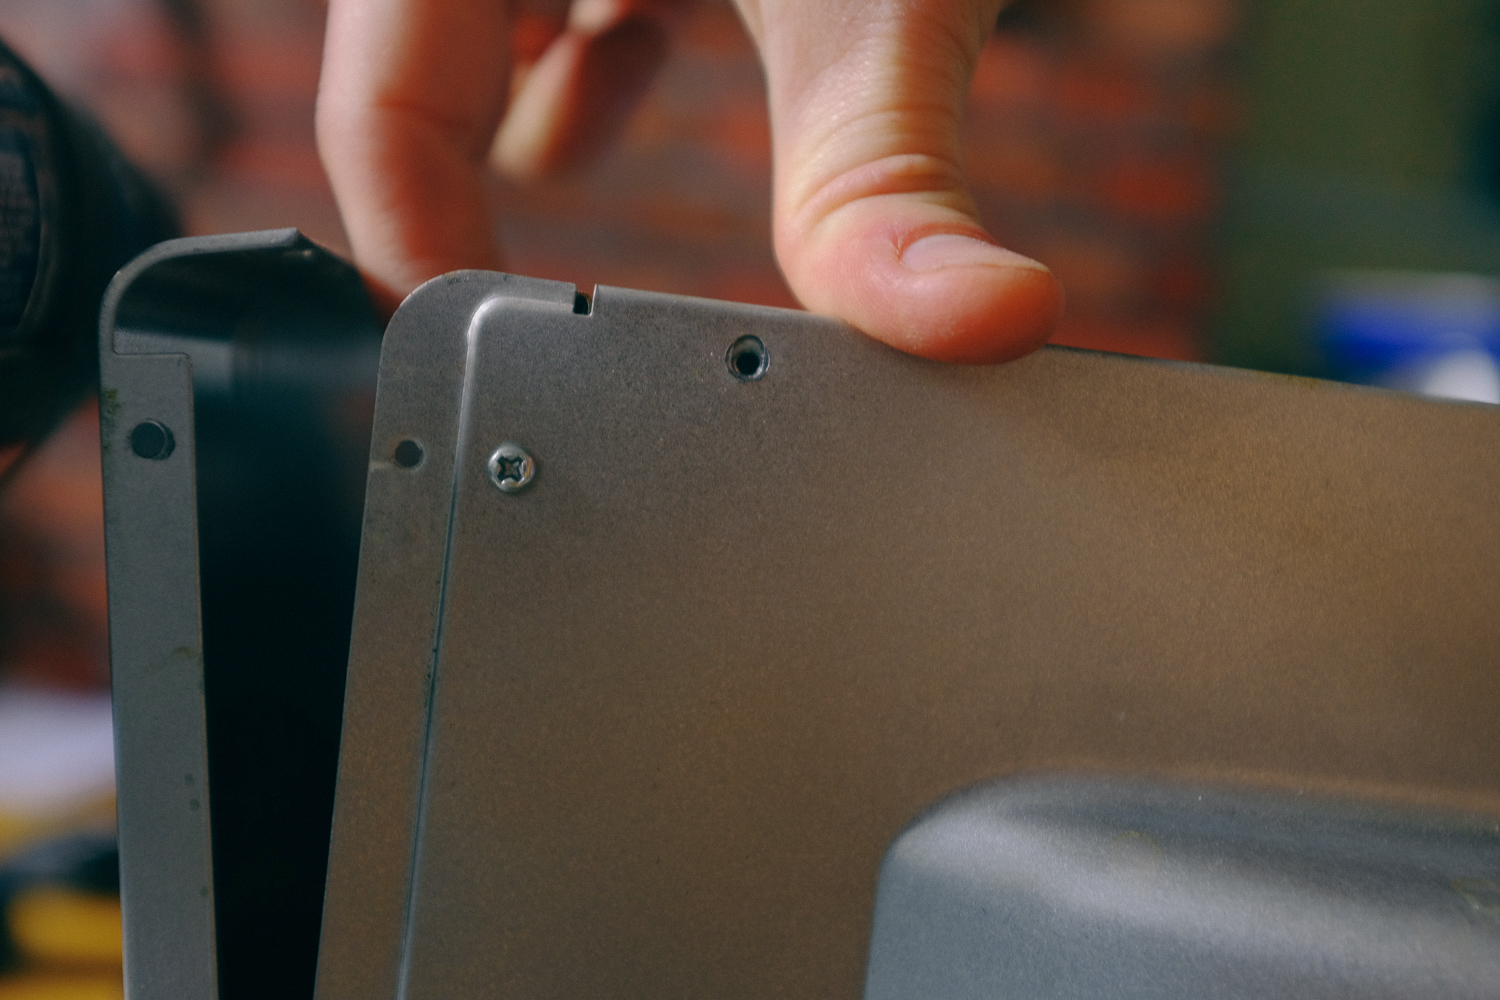
You slide back the thermal plastic and snip the dead fuse out then take off the plastic and solder one side, slide on the plastic and solder the other, then replace. The only tricky thing with getting it back together is remembering which feet go in which position. Oh and you might have to pull up before putting on the bottom screws to get the back lined up.
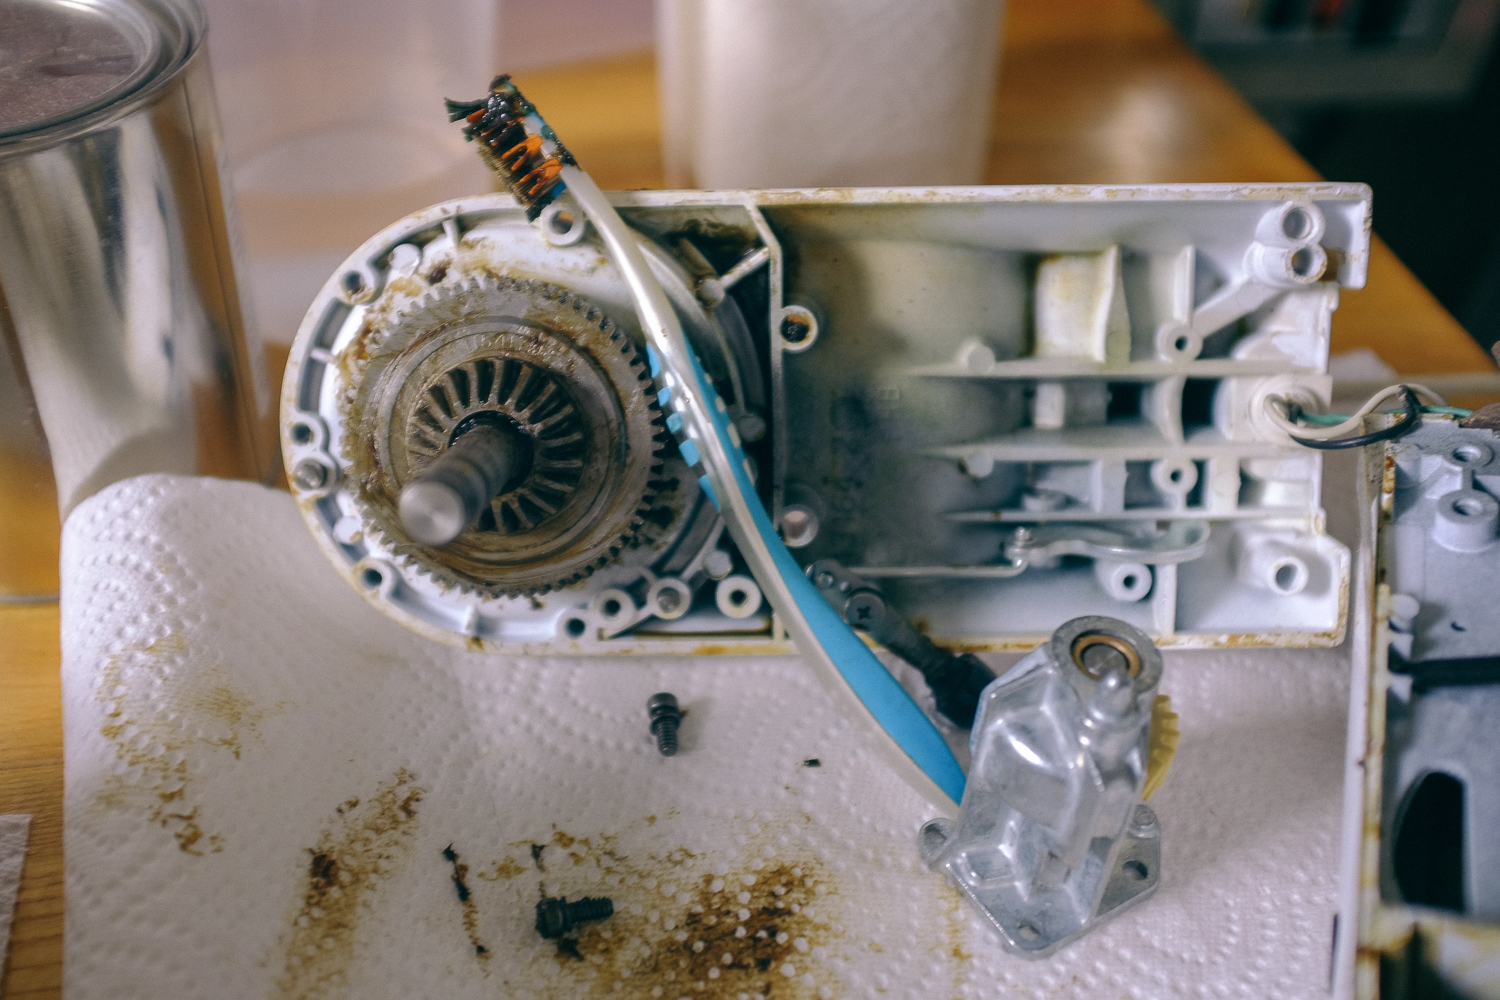
 The kitchen aid mixer broke when I was mixing probably too much and too stiff bagel dough. I can’t really blame it. It turned on, but just made some noise and didn’t spin. So a quick search led me to the worm gear. If yours doesn’t turn on, it’s probably the motor bushings. They’re easy to replace too. It’s the screws on the side.
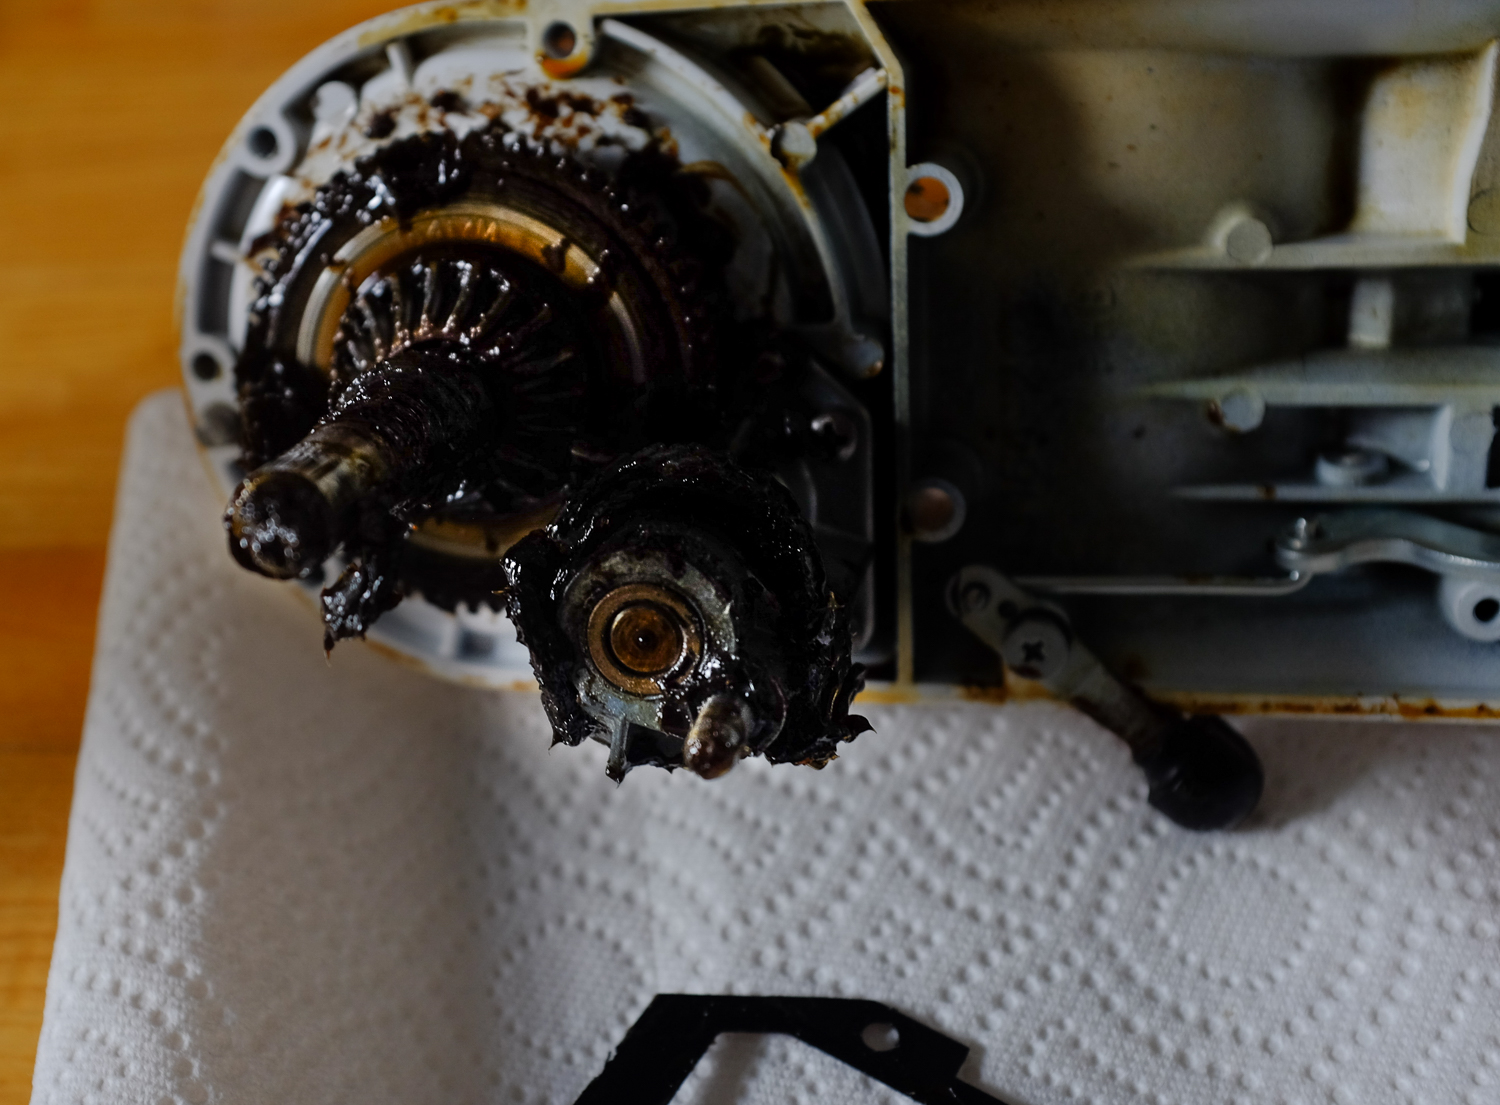
For the Worm Gear, I’d buy the whole assembly, it’s only $7.75 at amazon. It’s the piece that’s supposed to break before you chew up the gears through the rest of the mixer. The annoying part is buying the grease, it’s $25 at amazon. You’ve got to clean out the old and put in the new grease before you reassemble. Pop out the three screws on the back of the motor. Use a screwdriver to pop off the metal rim around the planetary gear mechanism. There are 5 or so screws under there, take them out. Use a pin puncher to smack out the pin that holds it all together. You should now have the main body open. Separate it and start to clean out the grease. Use paper towels, q tips, and an old toothbrush. Even if the toothbrush is new that’s okay, it’s food safe grease anyways.
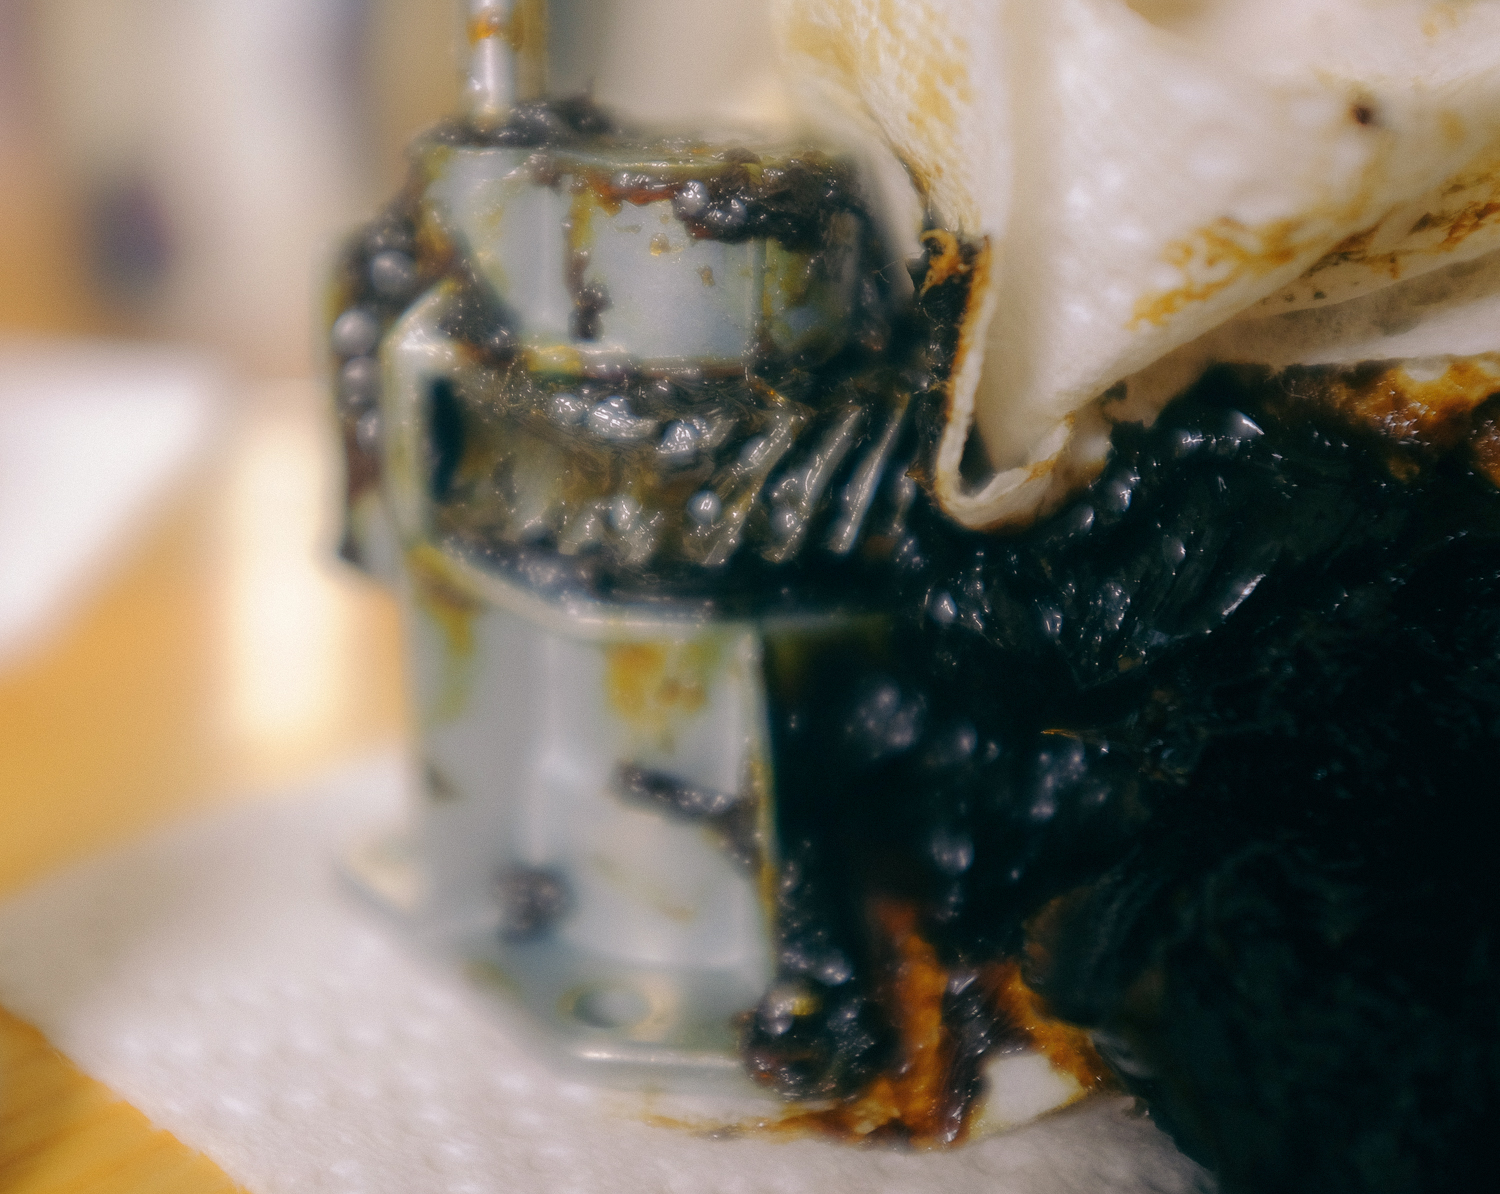
Get it all clean and put the new worm gear back into place. Reassemble as you disassembled in reverse. By the way, if you’re like me, you’ll buy another spare worm gear for the next time you break it. Happy fixing, good luck.