
by Maggie and Ed | Nov 23, 2016 | Dessert, Equipment, Food, New Techniques, Vegetarian
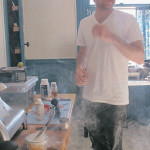
We’ve been waiting on Joule to arrive for the last few months. One of our circulators didn’t make it out of Steve’s Deli alive, and Ed’s fairly convincing when he believes the latest gadget will make us overall better human beings. The little guy came in the mail last week, and we decided to test out a variation on ChefSteps creme brulee.

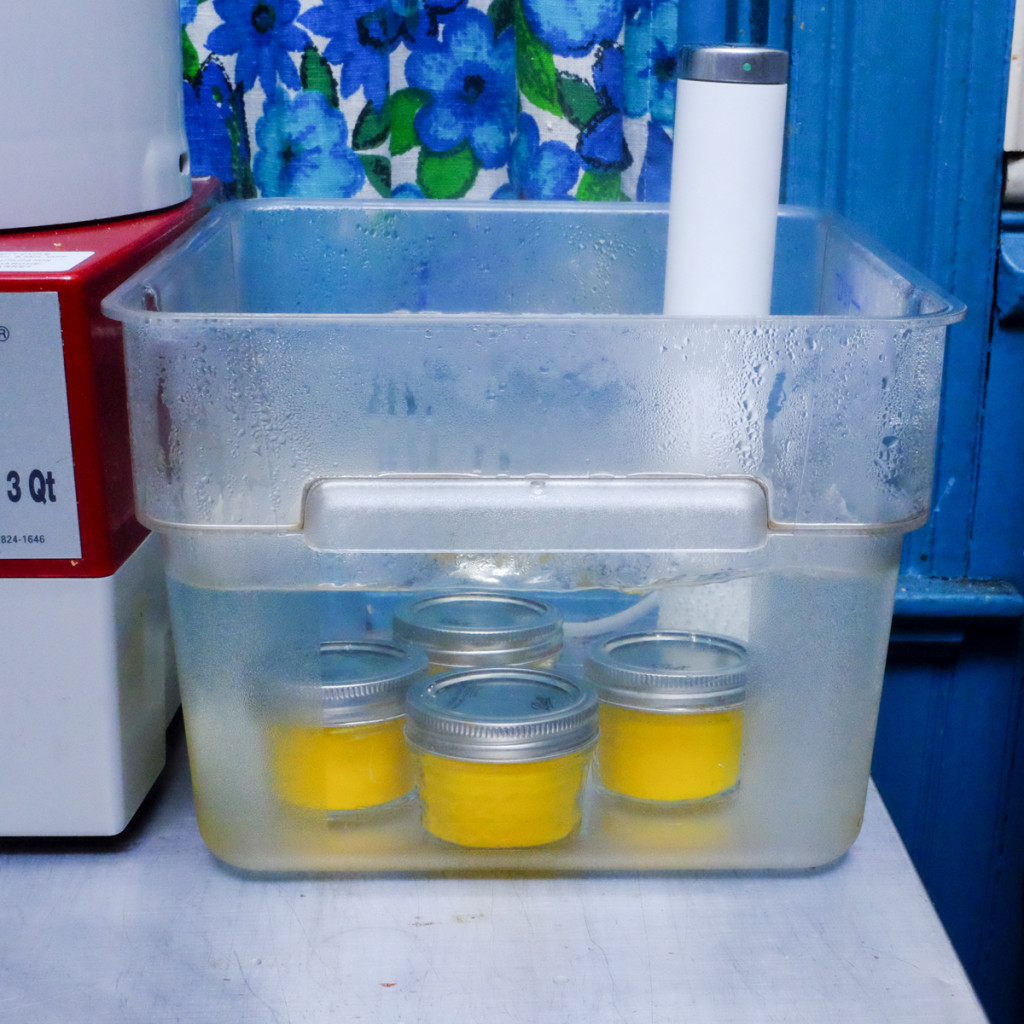
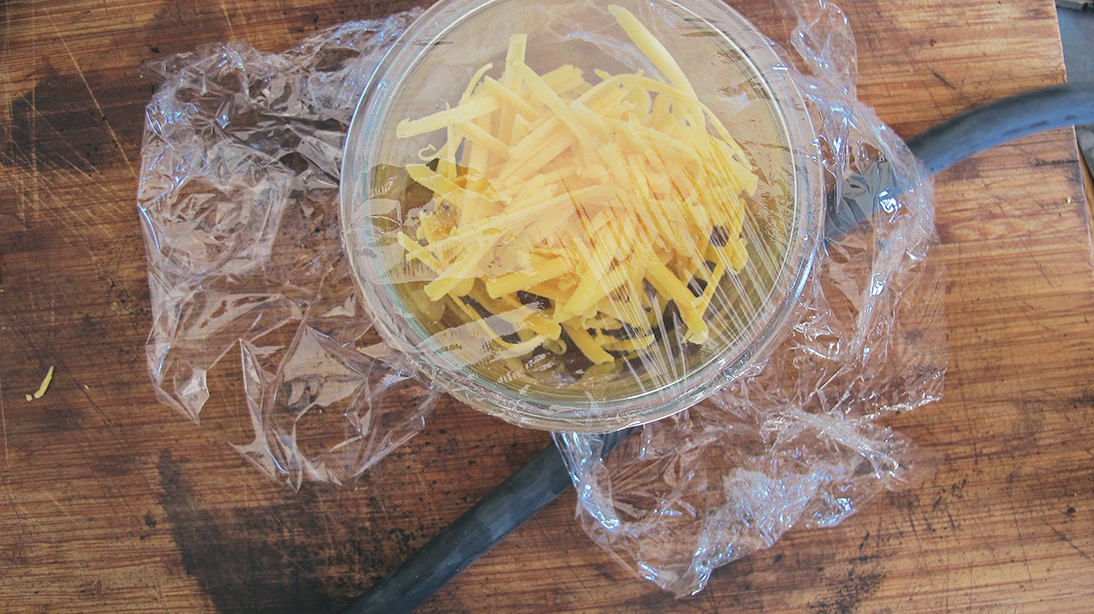
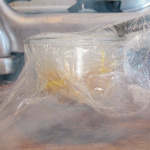
High on my recent squash mania, we decided to do a quick test on a last minute thanksgiving addition: Kabocha Creme Brulee. I roasted a halved kabocha for 90 minutes at 400 degrees and tossed it in a vacuum bag with creme to bring it up to temp to temper the egg mixture. I left the two to mingle for a few hours while I did some stuff around the house, and then blended before adding to the eggs.
This may have been the nail in my coffin for texture. Some overzealous blending left me with kabocha whipped cream, which is really fucking good, but maybe not the optimal choice for custard. C’est la vie! Jar, water bath, chill, and slightly over an hour later we had some delicious cups of squashy pudding. The final result edged a little more toward pumpkin pie texture than I planned, but not a total failure.


by Maggie | Jun 26, 2015 | Equipment, steve's deli
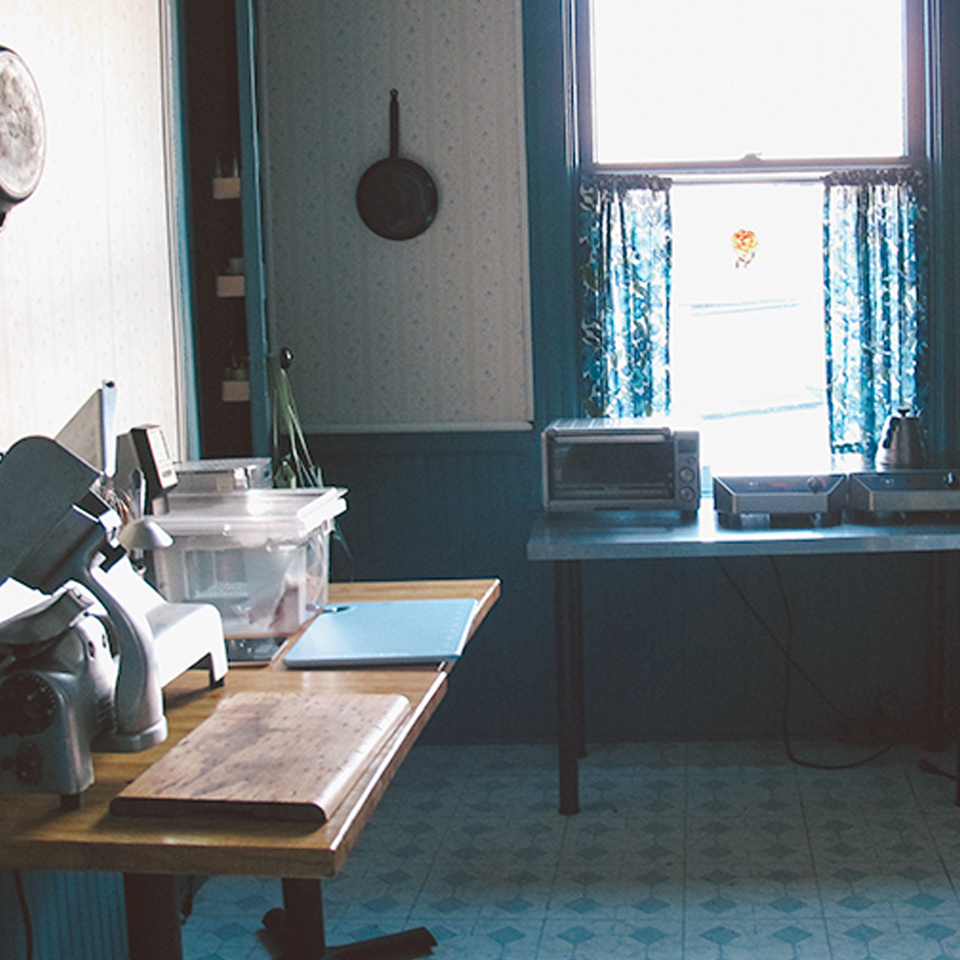
Since moving into the house nearly three years ago, we’ve been slowly chipping away at home renovations, collecting enough commercial kitchen equipment to make our first floor look like a second hand restaurant supply store, and cooking, cooking, cooking. Making progress on a budget can be frustrating, and sometimes it seems as if there isn’t a light at the end of tunnel.
This past Valentine’s Day, we decided to make a big leap and explore a shared kitchen space in the Pittsburgh Public Market in the Strip District. With the help of the team there, we’ve rolled through a tumultuous six months of workshops, business classes, certifications, logo designs, and convincing people we have any idea what we’re doing. We’re still a bit nervous that we’re forgetting things, but we’re set to have a real live shop up and running by mid July!
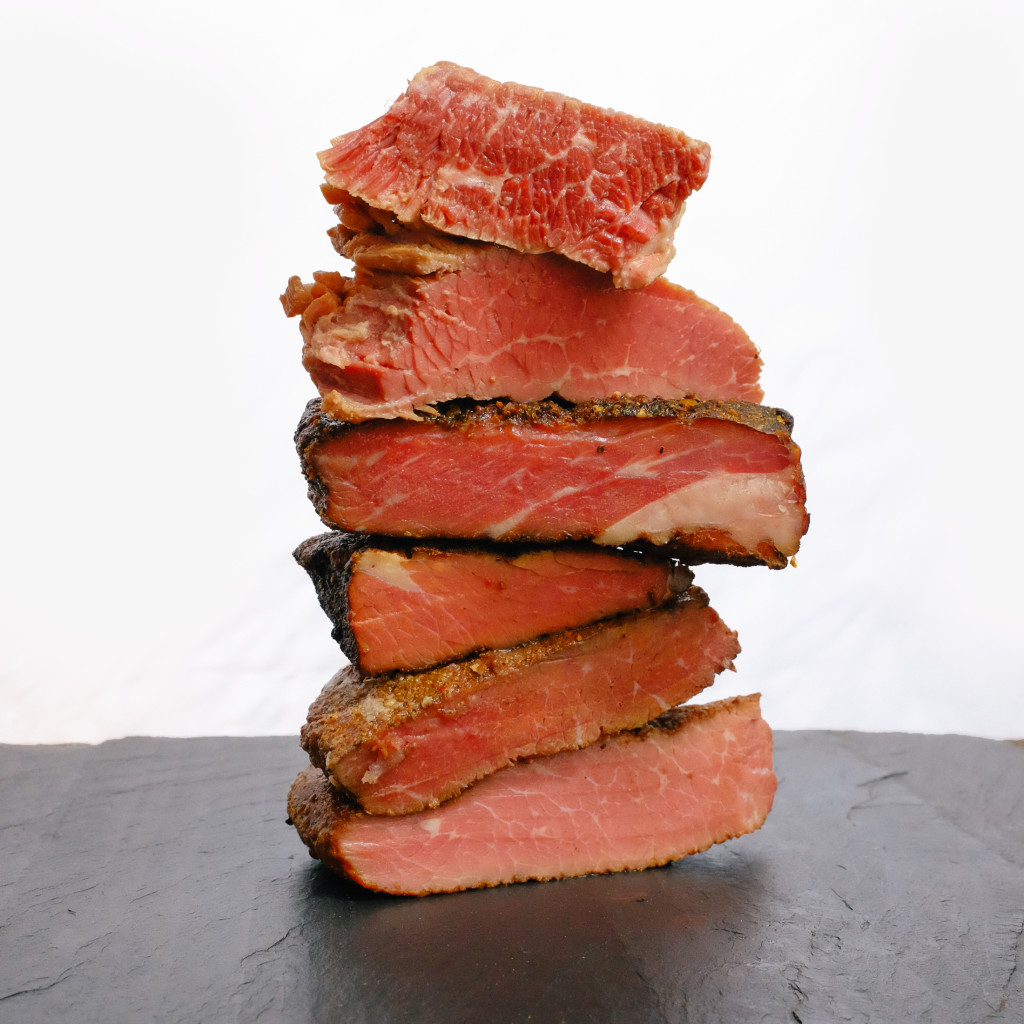
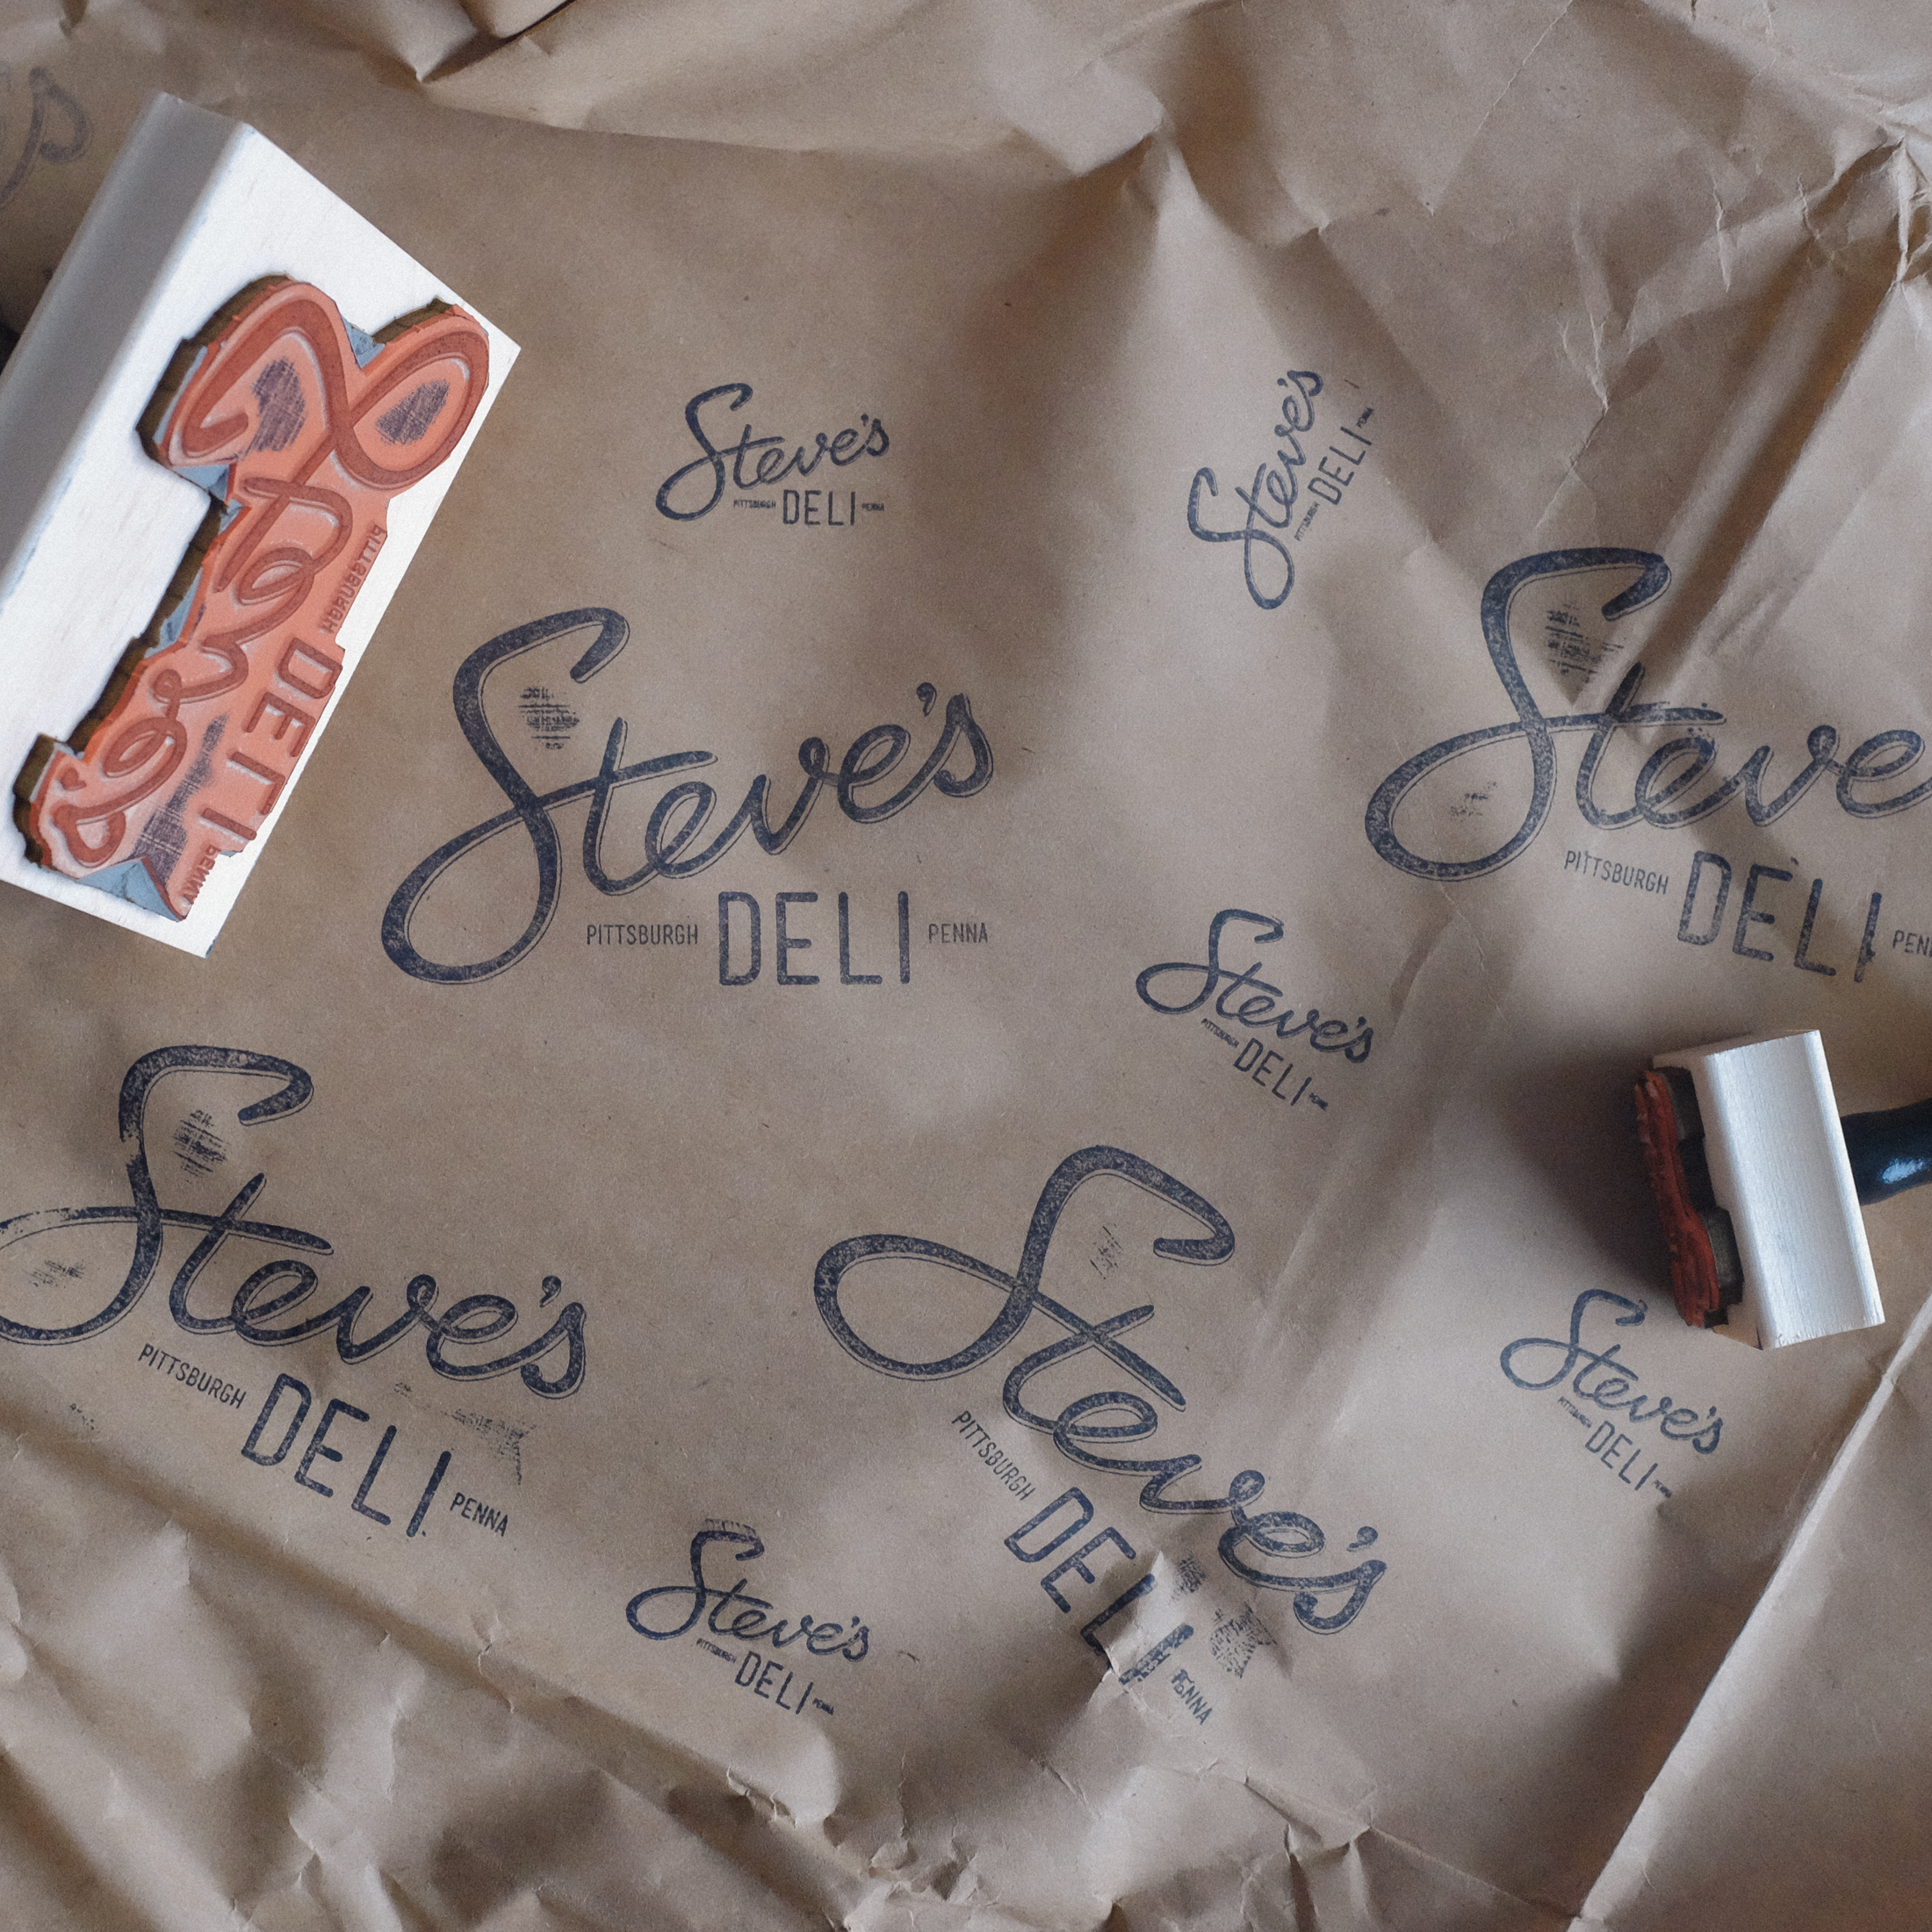
So we’ve collected our notes and we’re finally doing some side by side tests on corned beef, trying to finalize our recipes for opening. The stack above is corned beef and pastrami cooked sous vide and conventionally in brisket and short ribs. We’re going with a 80/20 mix of the two, going to use the corned beef at the Strip District and pastrami later on.

That picture looks pretty good. For a preview of our menu, visit stevesdelipgh.com. See you soon!
by Ed Hyp | Feb 16, 2015 | Equipment, Uncategorized
So, a while back my kitchen aid died while I was making bagels. I also lost a toaster oven making bagels. Both of these sat around for a few months waiting to be fixed. A week ago the ricemaker died. So I thought it was time to get serious about either moving on or getting stuff working again. 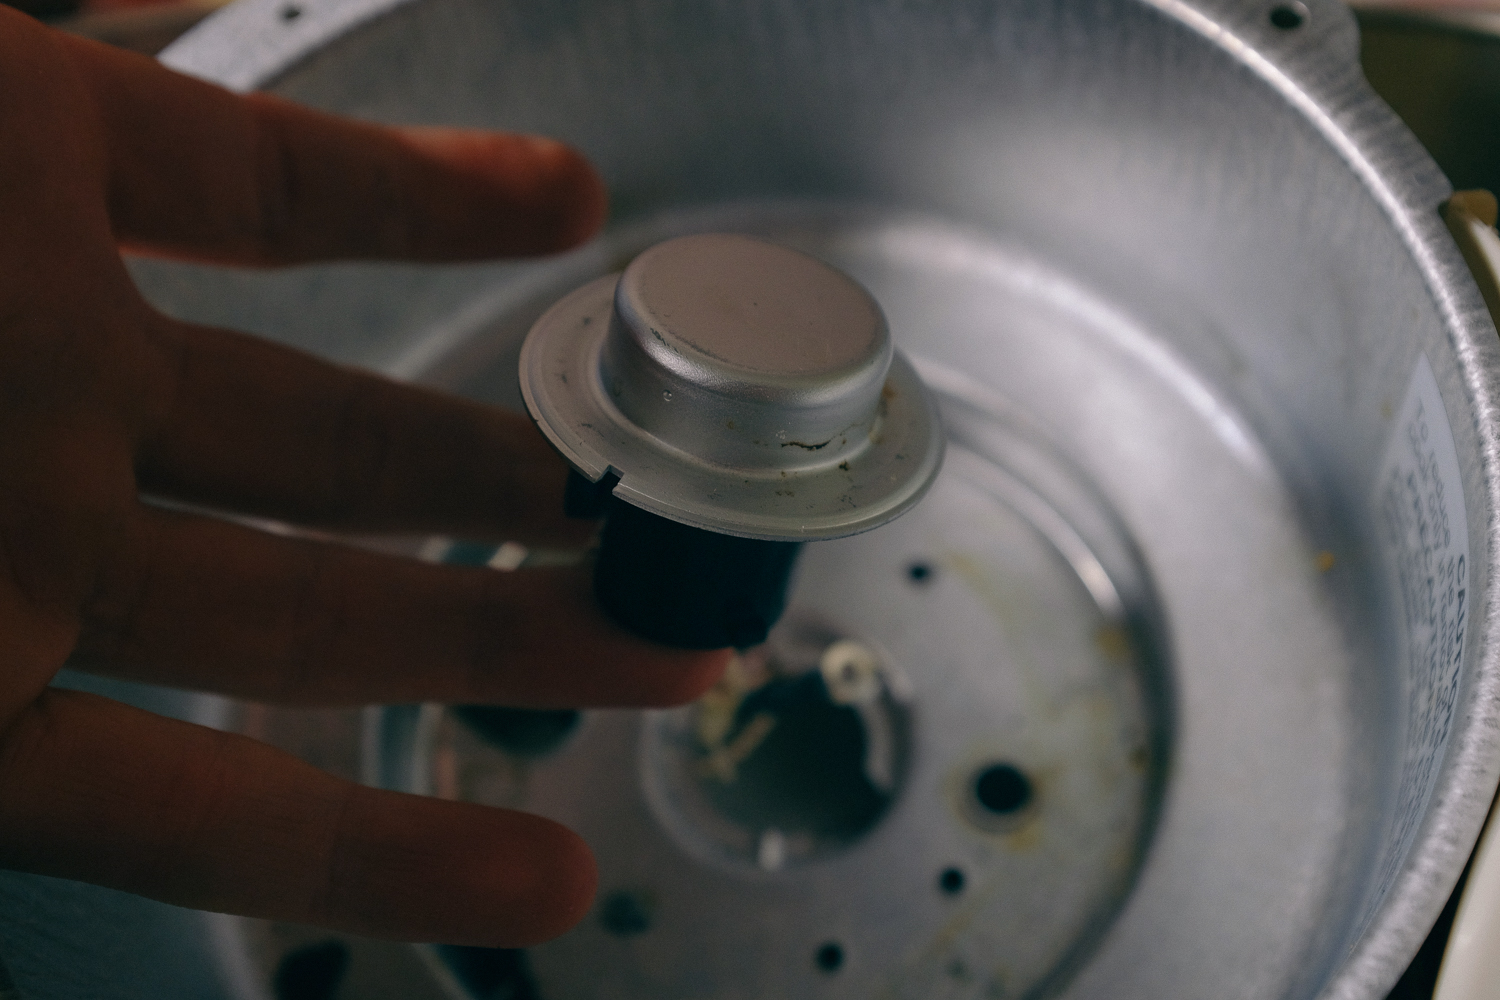
I started with the ricemaker. I’ve got a Zojirushi NS-LAC05XA Micom 3-Cup Rice Cooker and Warmer. It was pretty expensive and I’ve had it for probably about eight years now. I smelled something burning and pulled out the bowl and tried to wipe off the burning stuff from the heating element. I didn’t want to interrupt the cycle, I was making some great smelling saffron rice, but I got an E-02 message and it shut off. E-02 Message means a short. It seems like it means that the thermal fuse blew and is shorting out. I finished the rice on a burner.
It’s an easy fix once you find the fuse. It’s in the little springy thing under the bowl. You’ve got to unplug the rice cooker, unscrew the plastic bottom. Then you’ve got to take the screws off of the heating element, there’s two holding it, and three holding wires to it. Set aside. The springy piece can then be twisted and pulled into the bowl assembly. Then the aluminum cover swivels off. You’ve sort of got to push down and turn at the same time. Underneath is the thermal fuse. It’s a Sefuse SF-152e. I bought a few on ebay. They’re about a dollar each. It’s not really that easy to find shipping from the US. You could probably just put a higher rated one into it, but I dont wanna melt my rice cooker / have it catch on fire if something goes wrong.

I snipped the leads and soldered it on. It’s pretty easy to get back together, although be careful not to shred the wires of the springy part on the sharp edge of the bowl housing. Oh and look at the clips of the side of the springy part to get it back on. It’s a little tricky : you’ve got to put it through one way and hold it and twist 90 degrees. It gets held on by the heating element. It’ll make sense once you’re doing it. Then there’s three wires on the side of the heating element with two screws and two wires on the other one screw side. Everything is color coded and nice on the inside. Whoo. saved $131.00.
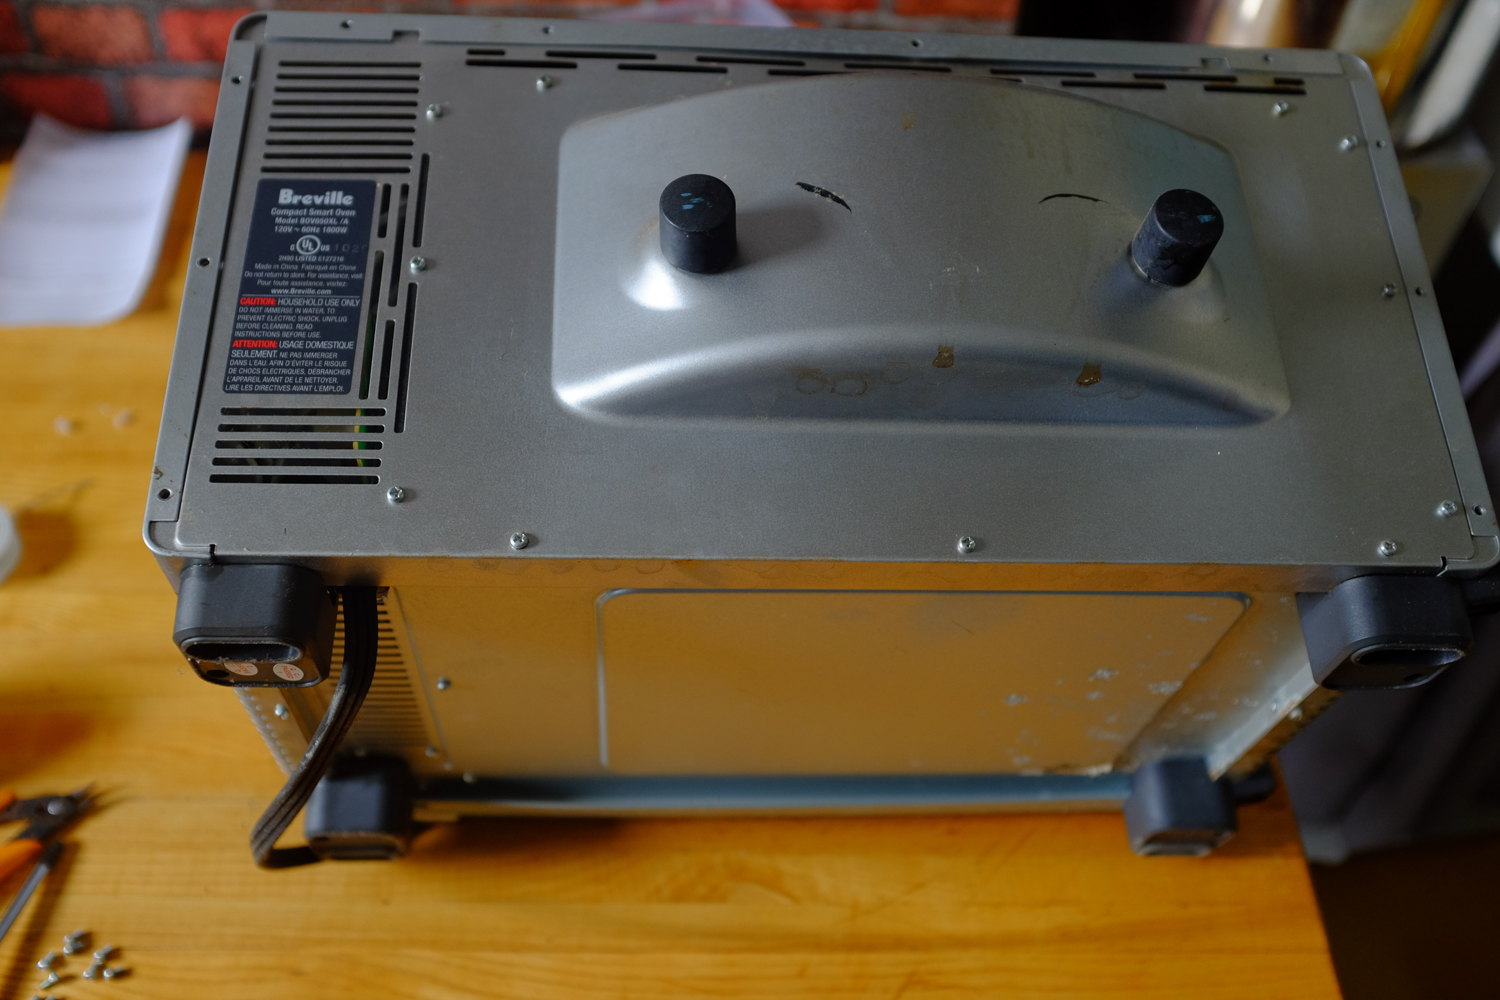
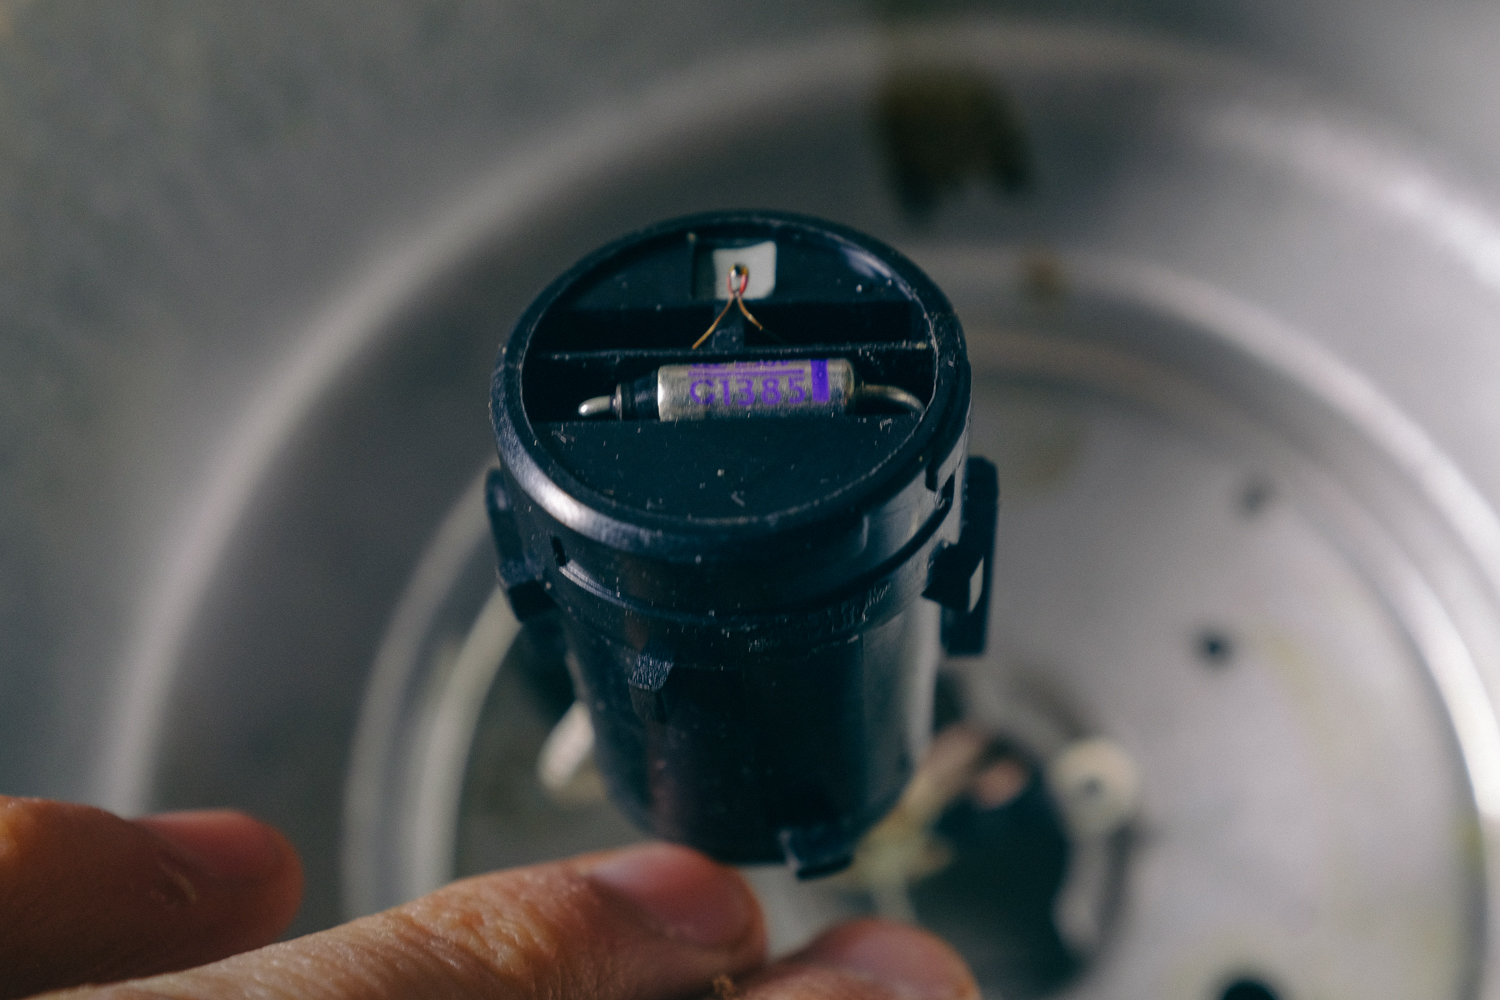
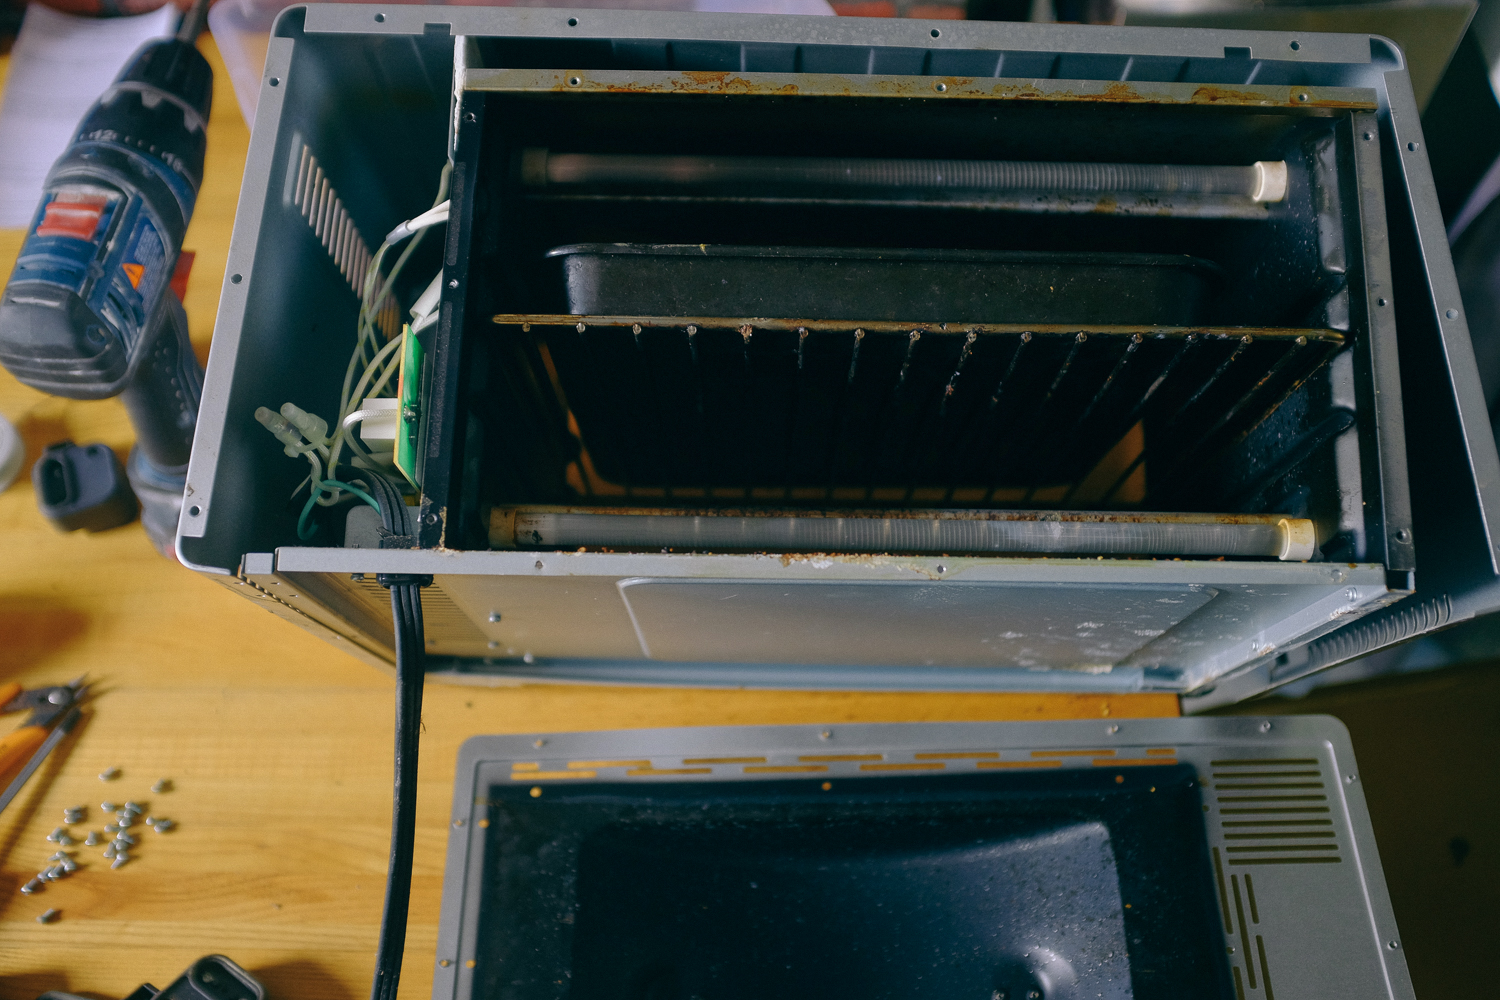
The toaster oven is a Breville BOV-650XL compact 4 slice toaster oven it’s even easier to fix. I bought the thermal fuse from radio shack it’s this one. About a dollar. It’s a bit higher death value than the stock fuse, but I tend to push toaster ovens harder than they’re made to take, so I thought go as high as I can. Also, the oven goes to 450 so why wasn’t the fuse around there ? It takes longer to get out all the screws than to replace the part.
It’s the white thing clipped to the side.
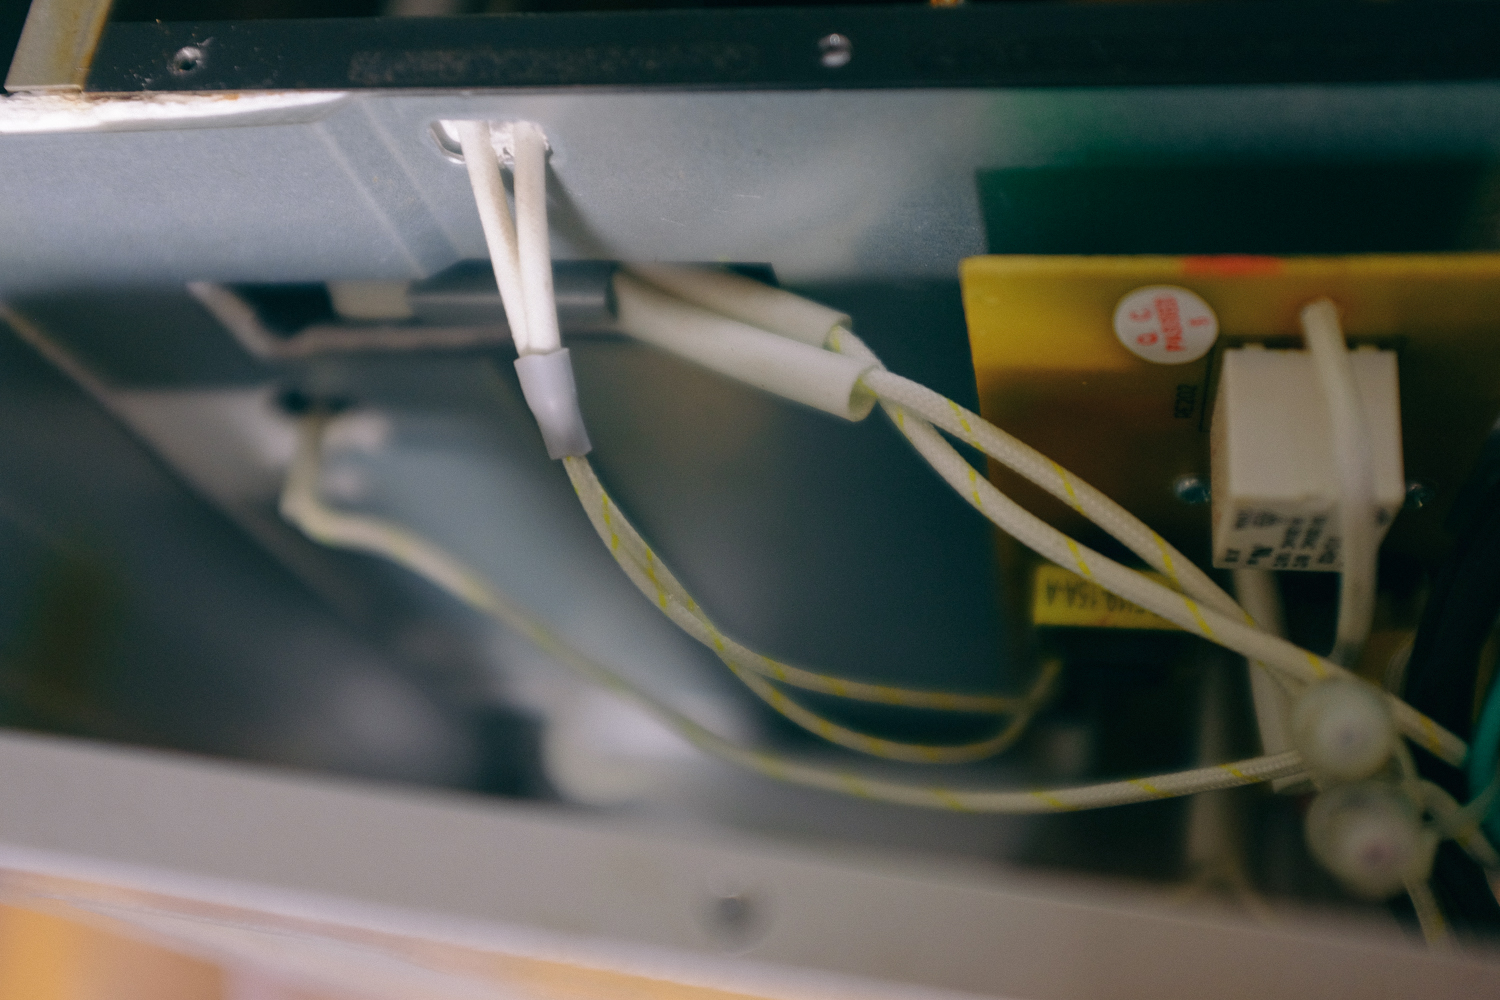
You slide back the thermal plastic and snip the dead fuse out then take off the plastic and solder one side, slide on the plastic and solder the other, then replace. The only tricky thing with getting it back together is remembering which feet go in which position. Oh and you might have to pull up before putting on the bottom screws to get the back lined up.
 The kitchen aid mixer broke when I was mixing probably too much and too stiff bagel dough. I can’t really blame it. It turned on, but just made some noise and didn’t spin. So a quick search led me to the worm gear. If yours doesn’t turn on, it’s probably the motor bushings. They’re easy to replace too. It’s the screws on the side.
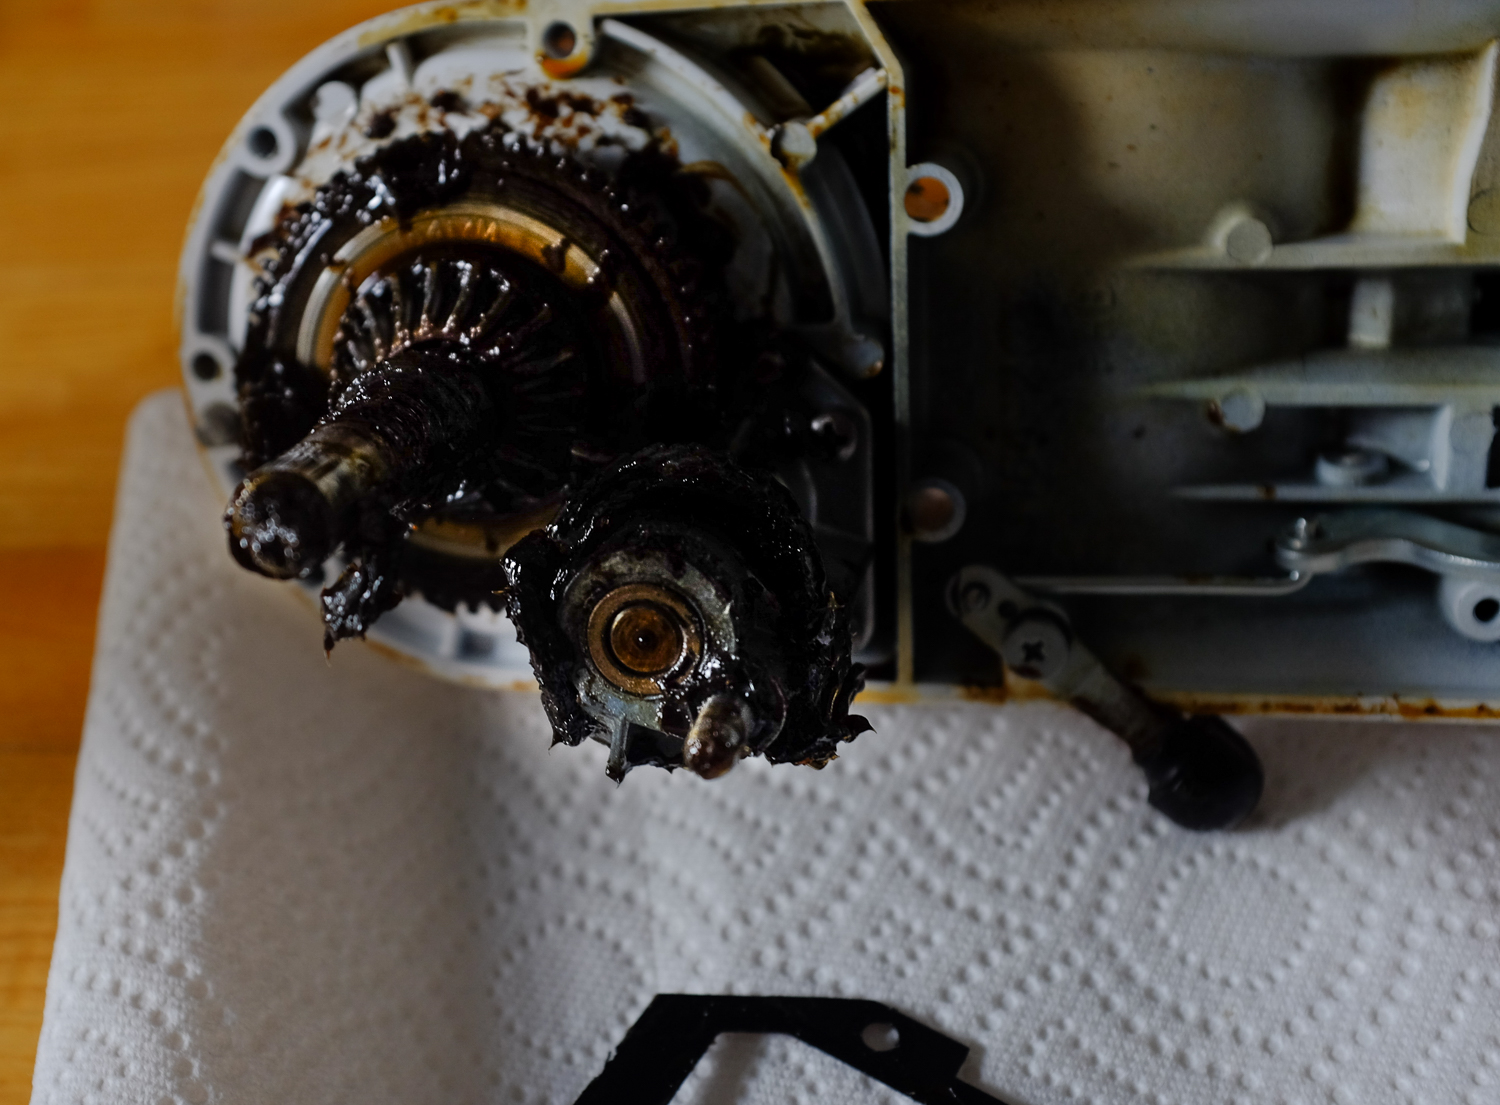
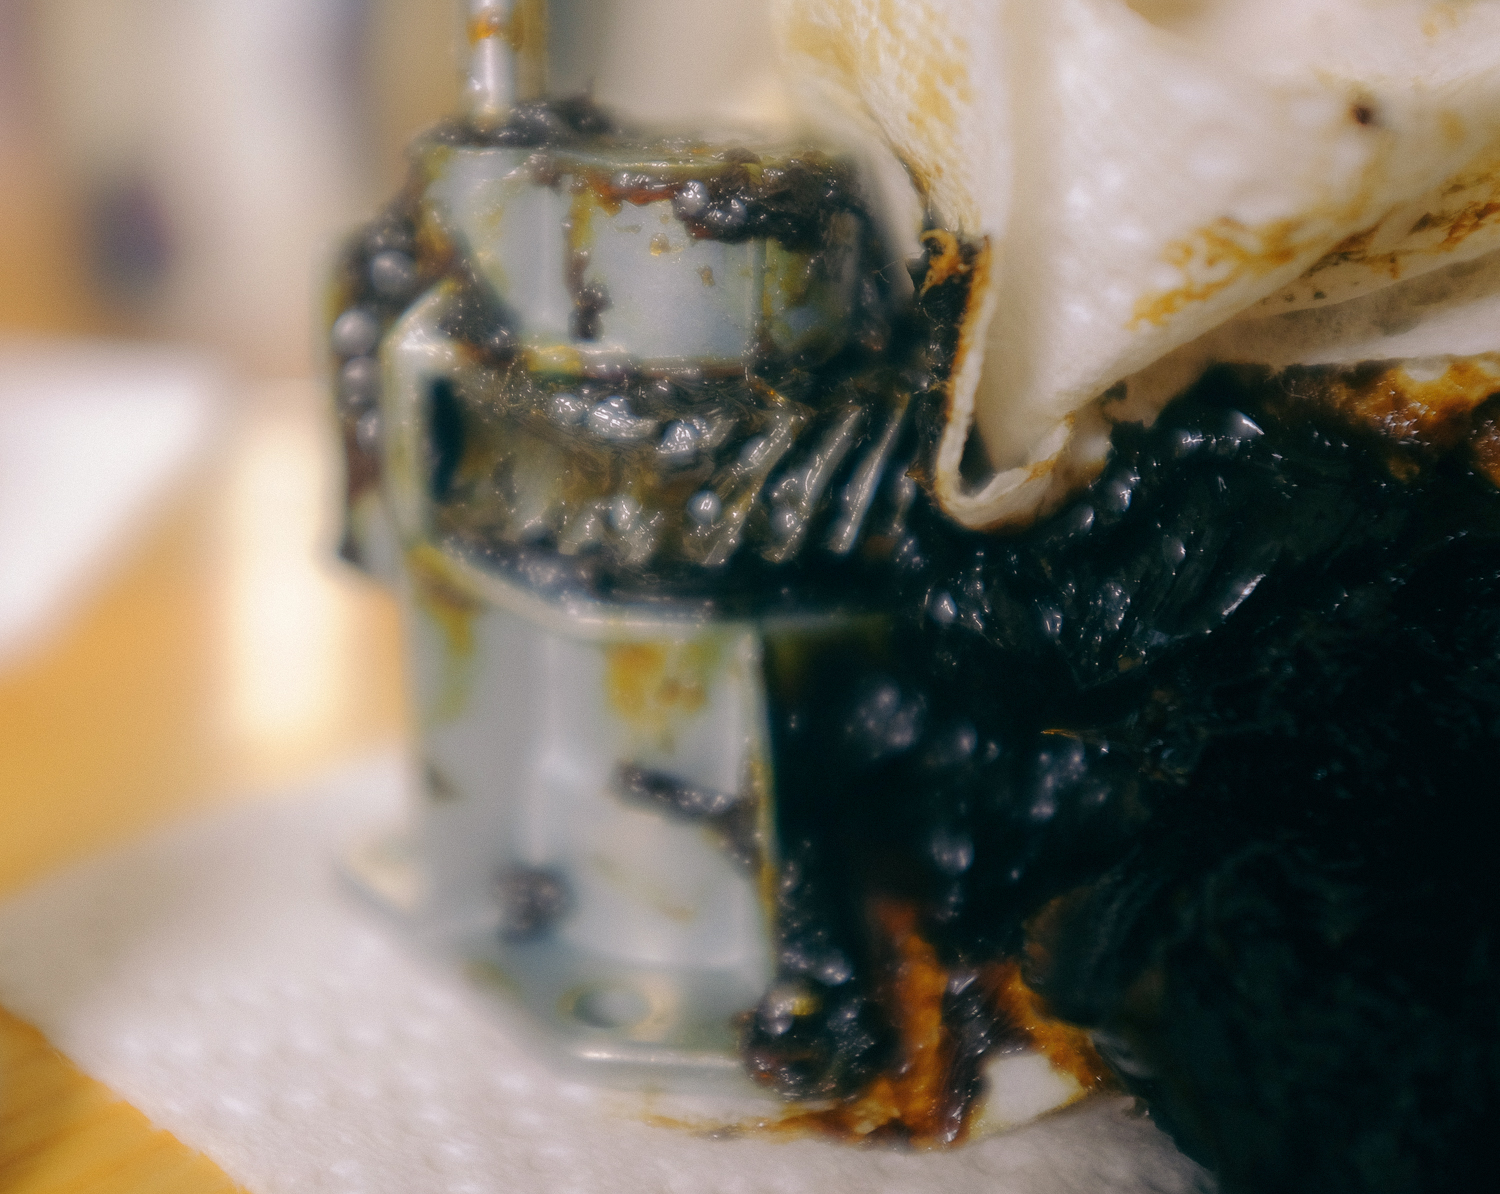
For the Worm Gear, I’d buy the whole assembly, it’s only $7.75 at amazon. It’s the piece that’s supposed to break before you chew up the gears through the rest of the mixer. The annoying part is buying the grease, it’s $25 at amazon. You’ve got to clean out the old and put in the new grease before you reassemble. Pop out the three screws on the back of the motor. Use a screwdriver to pop off the metal rim around the planetary gear mechanism. There are 5 or so screws under there, take them out. Use a pin puncher to smack out the pin that holds it all together. You should now have the main body open. Separate it and start to clean out the grease. Use paper towels, q tips, and an old toothbrush. Even if the toothbrush is new that’s okay, it’s food safe grease anyways.
Get it all clean and put the new worm gear back into place. Reassemble as you disassembled in reverse. By the way, if you’re like me, you’ll buy another spare worm gear for the next time you break it. Happy fixing, good luck. 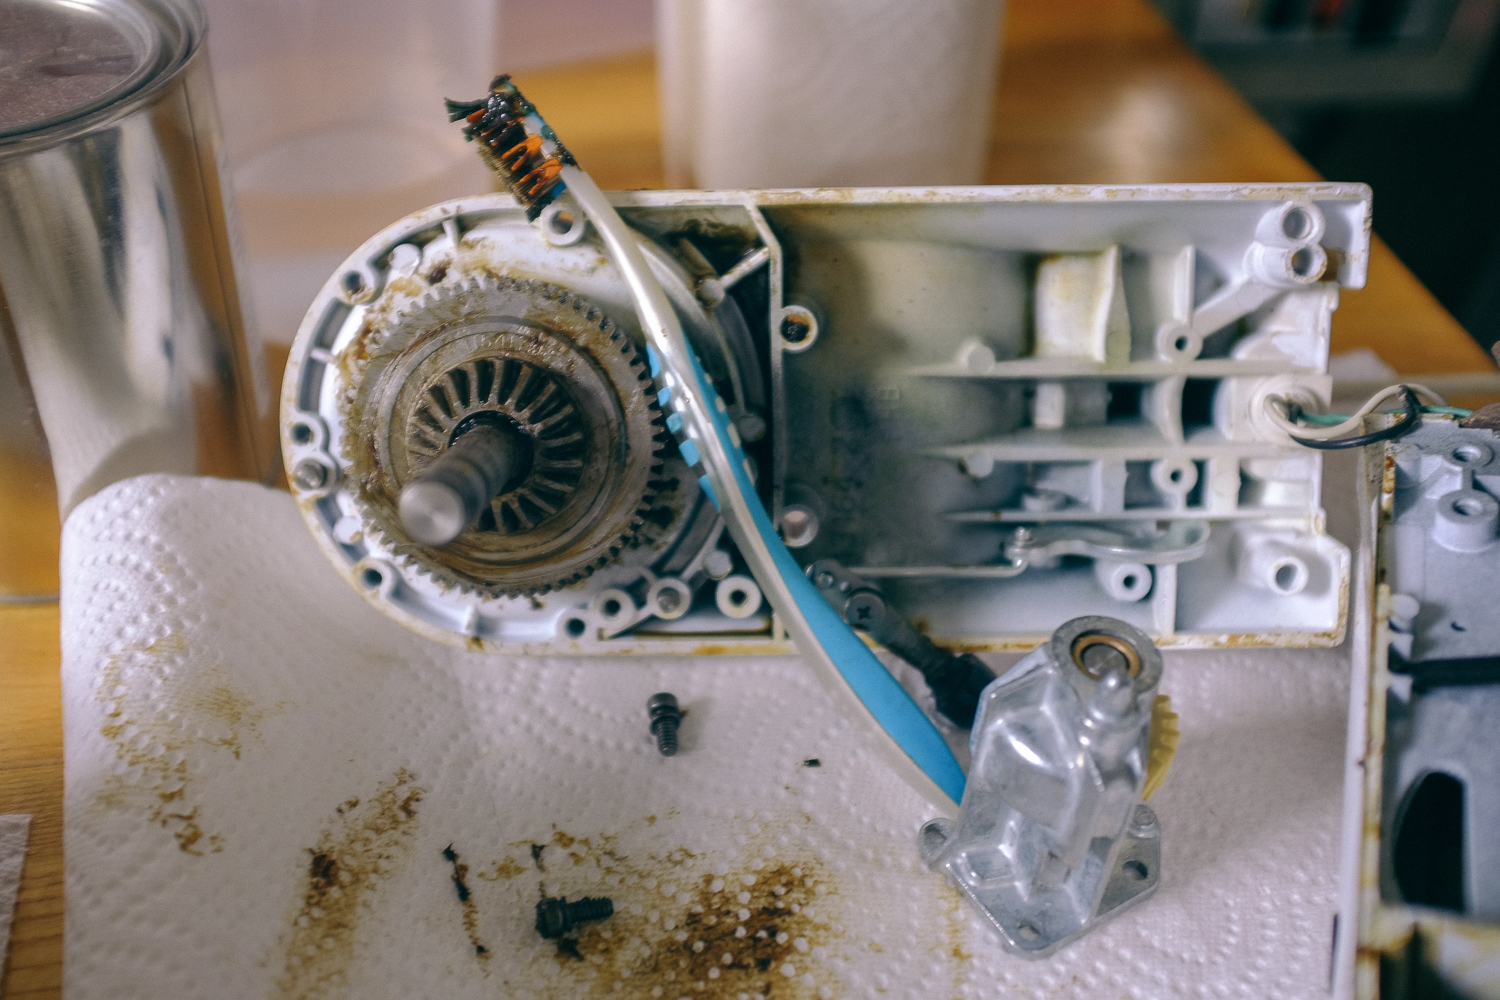
by Maggie and Ed | Feb 15, 2013 | Equipment, Food, Home Renovation, Technology

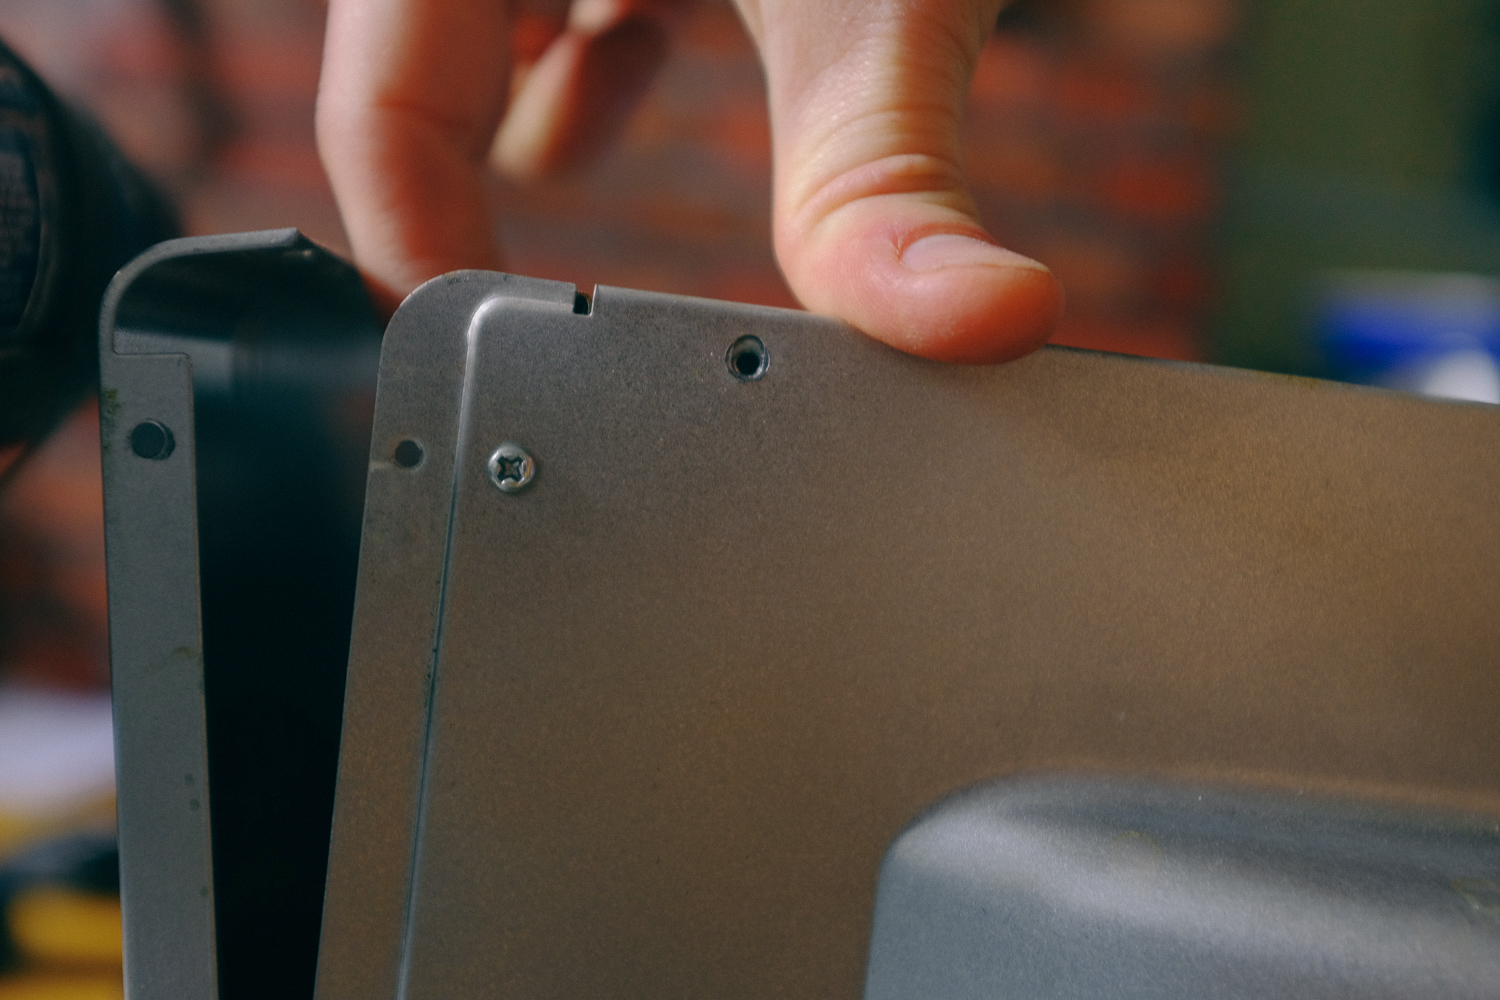
>When I bought the house, my kitchen didn’t come with much. It actually came with less than I expected. The seller was supposed to leave the refrigerator- which would start me off with a refrigerator and a sink. No cabinets, counters, range, or anything else. I was sort of excited about this, since I could create whatever I wanted. Once we got to the final walkthrough, a day before closing, my realtor, lets call him Steve, and I realized that he took that too. So I started with a sink.
Steve was furious. He called the seller’s realtor and yelled. The other realtor called the seller and he yelled that he wasn’t giving me a cent for it and it didn’t work anyway and he’d call the whole sale off over it. He had a bit of a short temper. Steve made a deal with the other realtor (at this point we just wanted to leave the seller out of it and deal with the other three sane people) that they’d each give us $200 to make up for the fridge. So, Steve got me $200 for it. Conveniently, Steve also had a new fridge for sale for $400, so I got that the day I moved in.
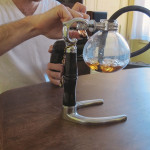
I moved in my circulator, toaster oven, vitamix, kitchen aid mixer, and vacuum brewer to add to my refrigerator and sink. I was still pretty excited, since I could fully appreciate each piece of equipment as I added it. I needed some burners though. Not having a gas line and wanting to not get anything I couldn’t use in the deli, I scrapped the idea of a gas range for now. I thought I’d try an induction burner. I got a cooktek 1800W one used. I had heard good things about induction, but was nervous I’d miss the gas. It took a bit to get used to, but I don’t. Induction is cleaner, faster, and plenty variable. I stuck with this for a while. Then I added a meat slicer, 3500W 220V cooktek burner, an espresso maker, a 40 lb CO2 tank, and a centrifuge. I’ll do some individual posts on each eventually.
I found out pretty quickly through, that running all this on 60 year old wiring wasn’t going to cut it. I ran everything through surge protectors and had extension cords going into the basement. I couldn’t do laundry and make toast at the same time. Or grind coffee and heat up my espresso maker. Try making bacon, eggs, toast and coffee – yuck! Here’s how I did it: Preheat espresso maker, unplug espresso maker, plug in grinder, grind coffee, swap plugs again, turn on espresso maker, pull espresso, try to sip for long enough to have some left with breakfast. Cook bacon on cooktek, make toast to 75% in toaster oven, put bacon in toaster oven to keep warm, cook eggs on cooktek, plate eggs, heat up toast the rest of the way with bacon, put out food, get ready to eat, wish I had more coffee. After a while, it bothered me too much, so I got an electrician to run some new circuits, including one for my 220V cooktek. I got 4x20A 120v circuits and a 220x20A one to the kitchen. I’ve never been so excited to turn two things on at once.
The electrician was great. He did all the kitchen wiring, put in a few basement circuits, one for the bathroom, and a couple on the third floor in two days. Fast, reasonable (~1800) and clean. One gfci was messed up and he came to fix it the next day. We even went out to have a famous fish sandwich at Armands together and, after a bit of I wouldn’t do this normally but what the hell talk, a beer.
The kitchen has come along from when I moved in, but it’s still an ongoing process, and I’m moving slowly to avoid any mess ups along the way (and it’s expensive). That’s why my circulator and centrifuge live on the floor, and my mixer and blender live in a cabinet and go on chairs or in front of things. I’ll make more posts as we add equipment and finalize our plans for renovation.
by Maggie and Ed | Nov 1, 2012 | Equipment, Technology

Poor Curtis. He was a good power strip. Dutifully running my refrigerator all day, and usually not shorting out when I turned on my induction burner. Protecting my ungrounded and probably dangerous wiring. We had a funeral today, after months of service, Curtis tripped his last trip. Maybe you can protect Jesus’s computer from power surges in heaven Curtis. You deserve it.

by Ed Hyp | Nov 1, 2012 | Equipment, Food, New Techniques, Technology
The Polyscience Smoking Gun has a pretty funny origin story. This is off the cuff, so don’t complain if some of it isn’t true. Hand held keyboard vacuums were popular in the 90s. People in their basements smoking jazz cigarettes like playing on the computer. They eventually realized that it was too much work to manually smoke the hot weed. Someone eventually noticed that if they reverse the direction of the fan in their keyboard vacuum and add a bowl, then blammo, auto-smoker. As modernist cuisine says, “inspired by a different type of smoking.” Ha. Anyway, I wanted something to play with and I like my polyscience circulator, so I got one.
(more…)