Skim Coating Ceilings
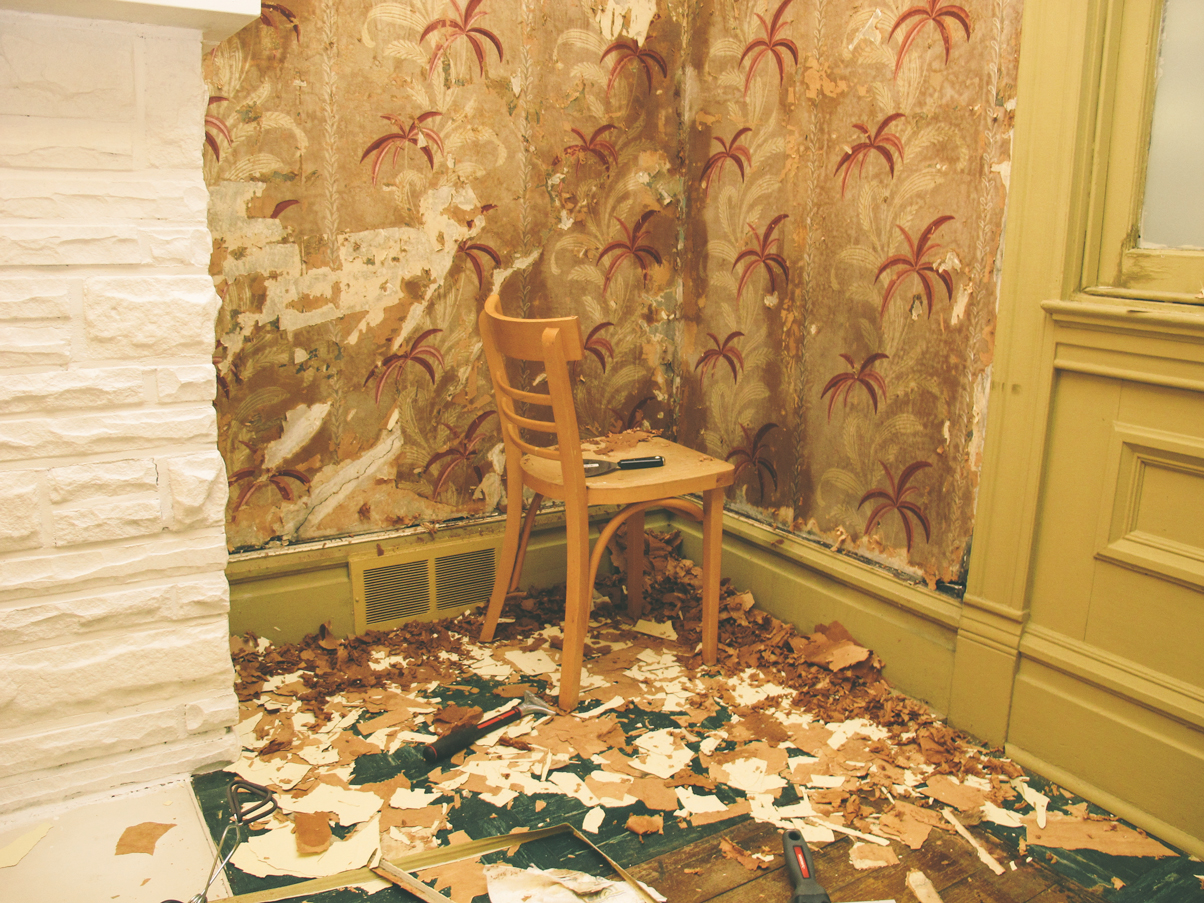
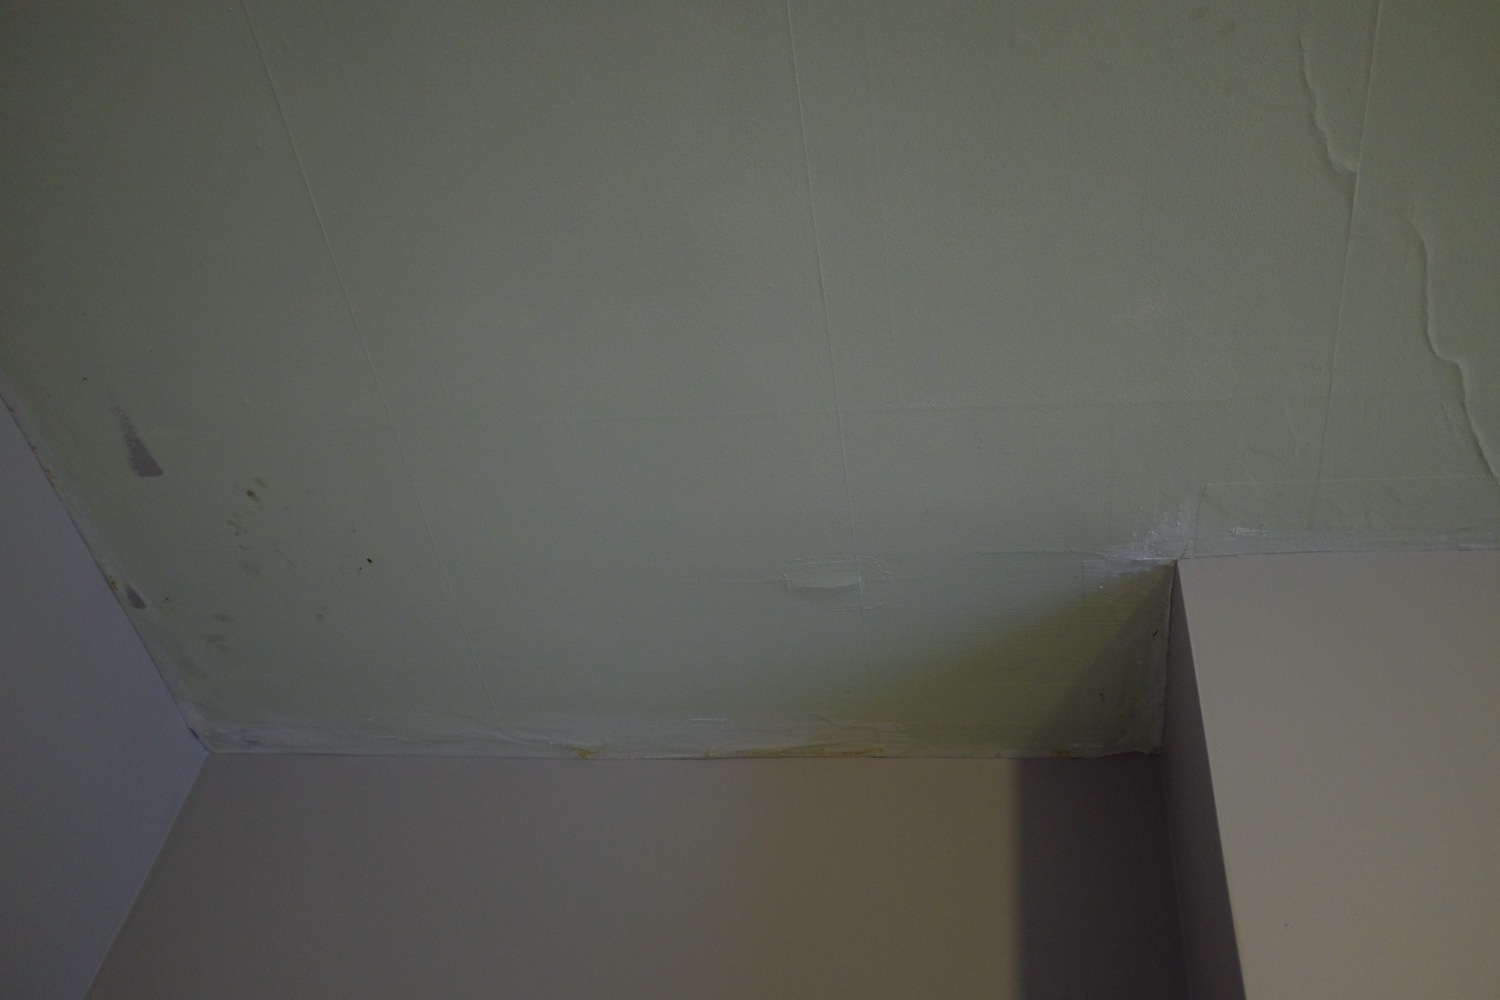
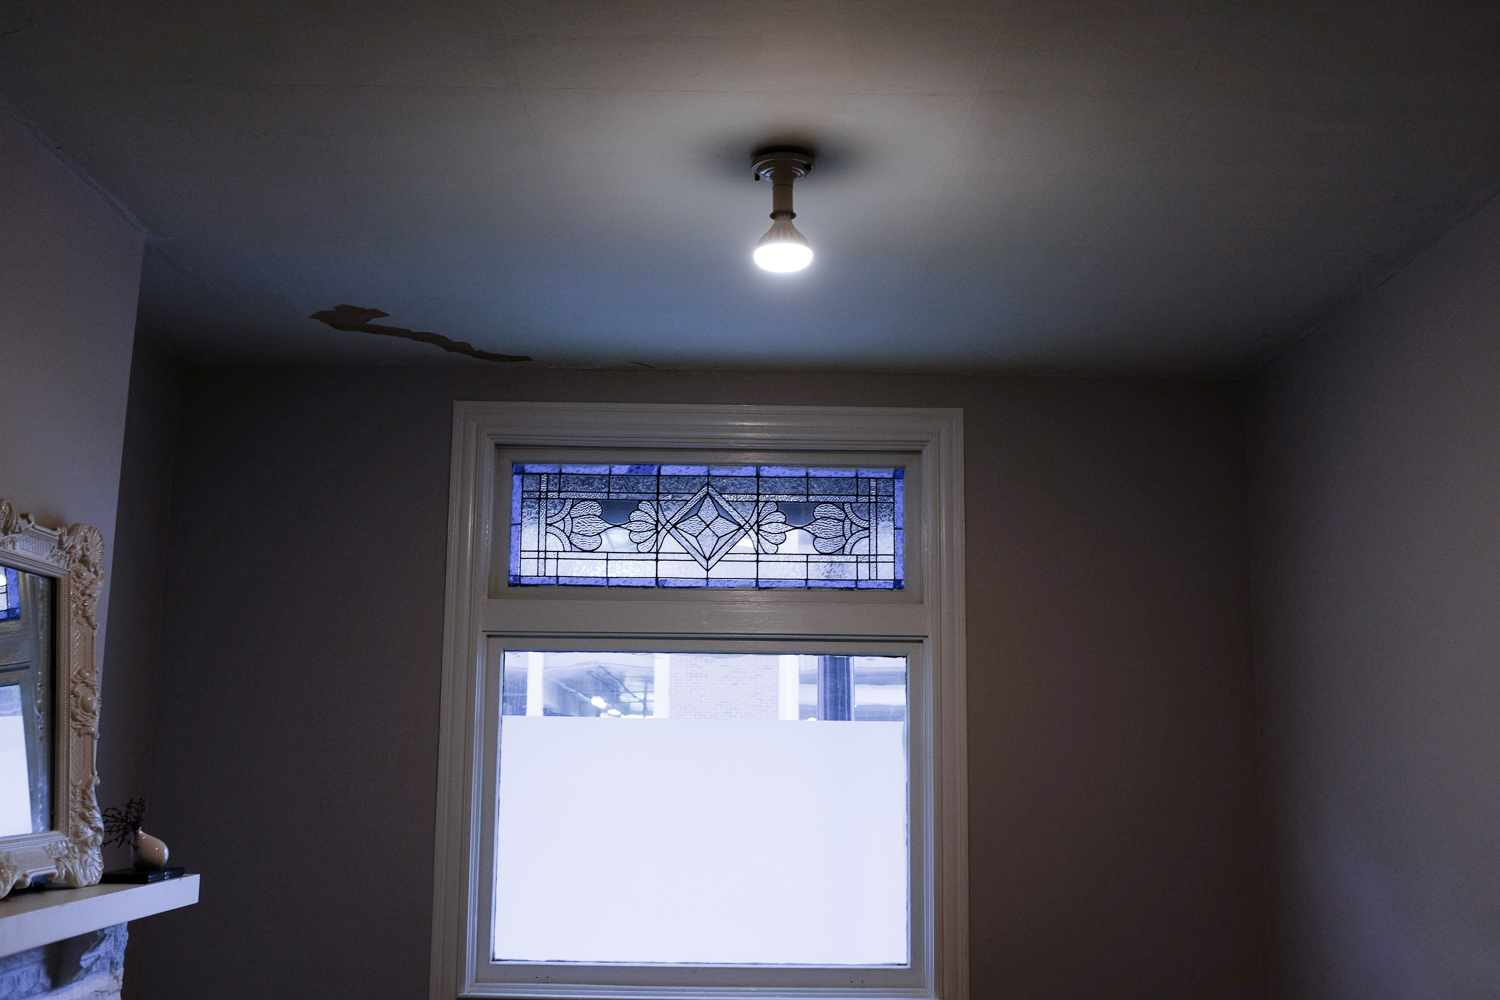
Our ceilings were in pretty rough shape. They’re Plaster and lathe, which was partially cracking, but still solid. They’d been wallpapered (ceilingpapered?) several times and were just generally bumpy and gross looking. The greenish tinted white paint didn’t help either.
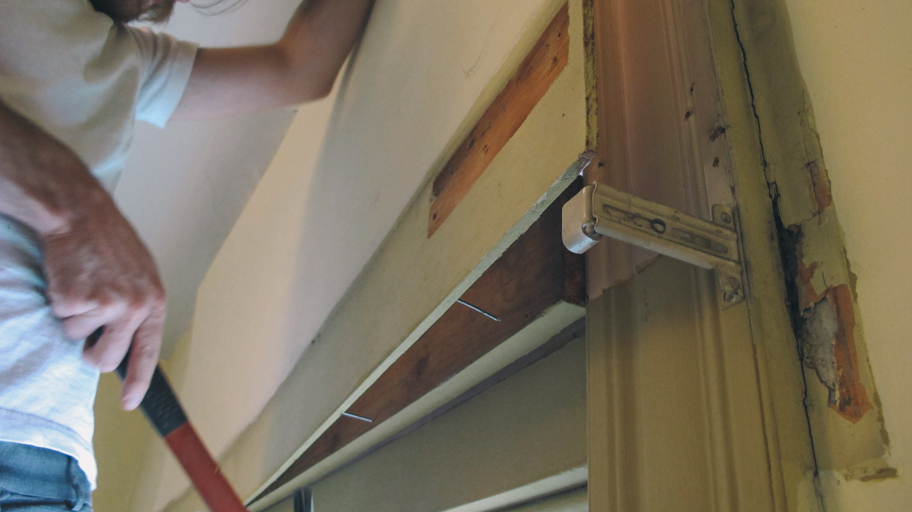
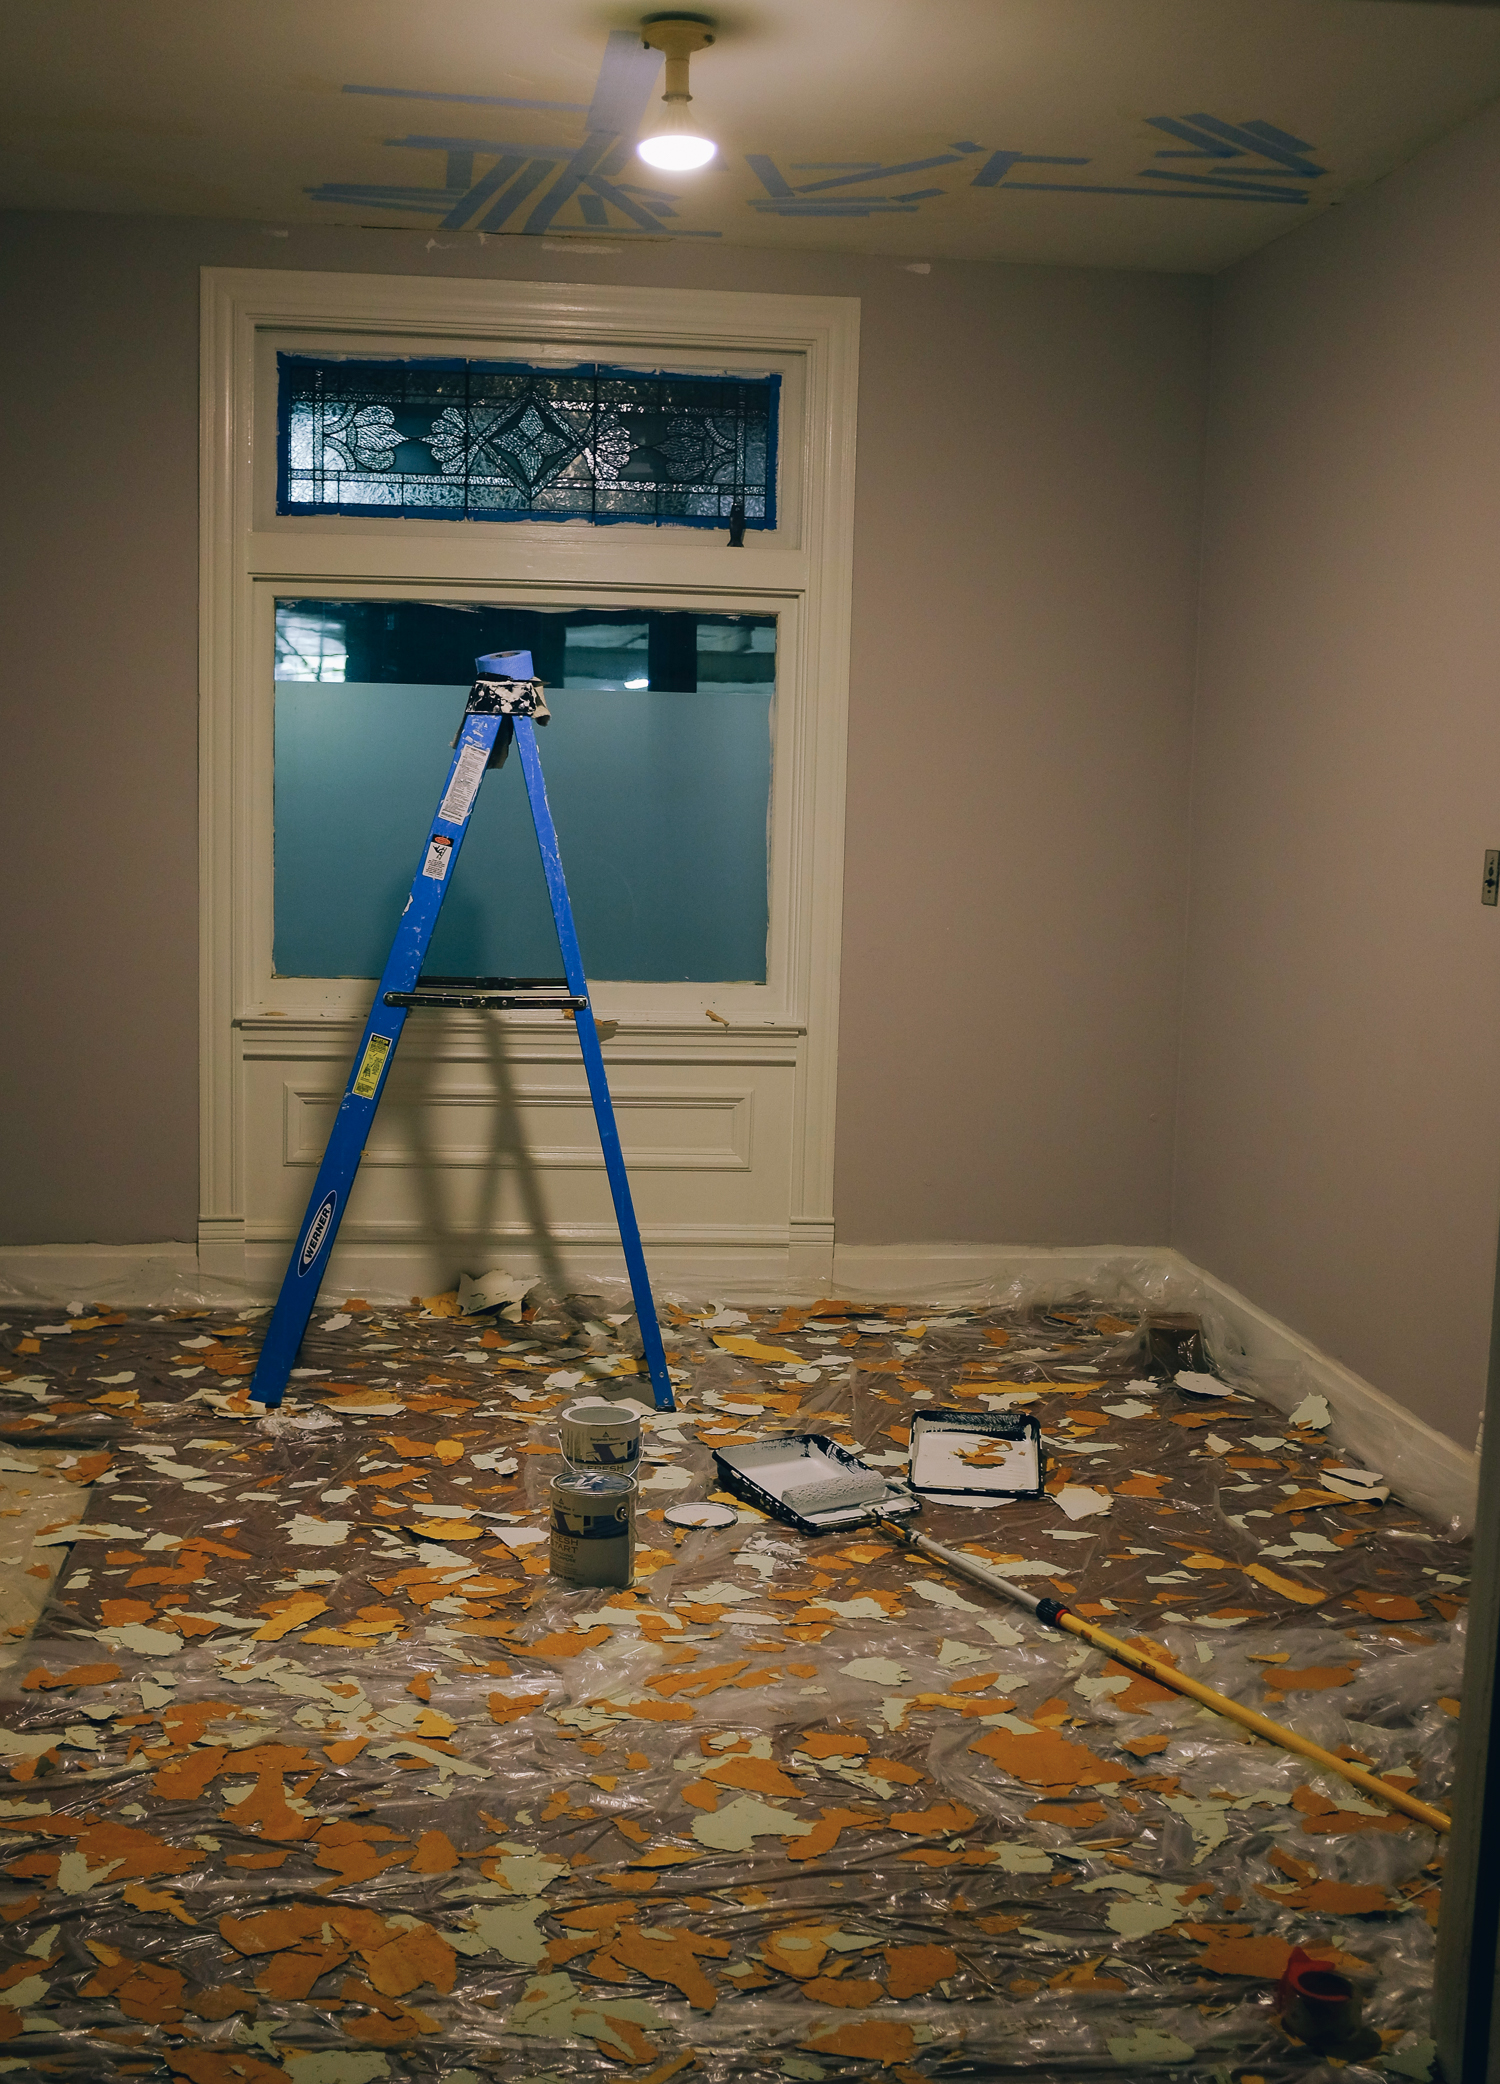
I inquired about having the plasterers do the work, but they wanted an additional ~$3000 so I thought we’d have to go a different route. We were planning on putting in crown molding and after getting the walls fixed and the floors put in, I couldn’t put it off any longer. I wasn’t all that confident about skim coating so we started to look at tin ceiling tiles. After learning that you need backing boards for tin ceilings, adding even more cost and work, we looked at styrofoam tiles that glue up. We ordered some samples, and they looked pretty lousy unpainted. So they’d have to be brushed by hand. Then we tried to find filler material and kept coming up short. I started looking at ceilings more and realized that there were a lot of tin ceilings in Pittsburgh and wondered if it was worth it to put in a faux version of what half of the shops here have anyways, at a cost of about $600, and a bunch of time finishing. We went through a couple of other ideas, and decided to put up hexagon molding in the middle room and to tape and joint compound the ceilings. I bought a product called magictrowel and was feeling pretty confident. Just first have to scrape off any loose wallpaper.
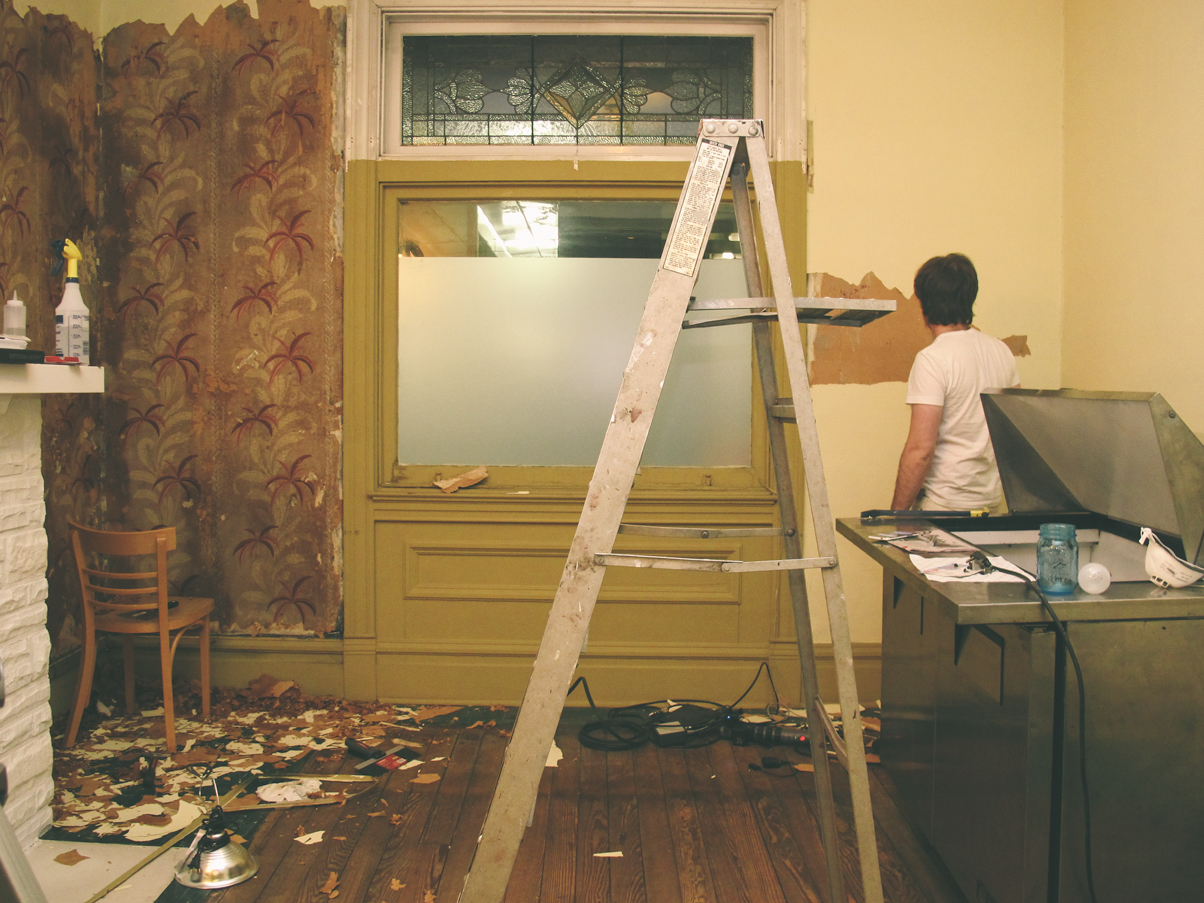
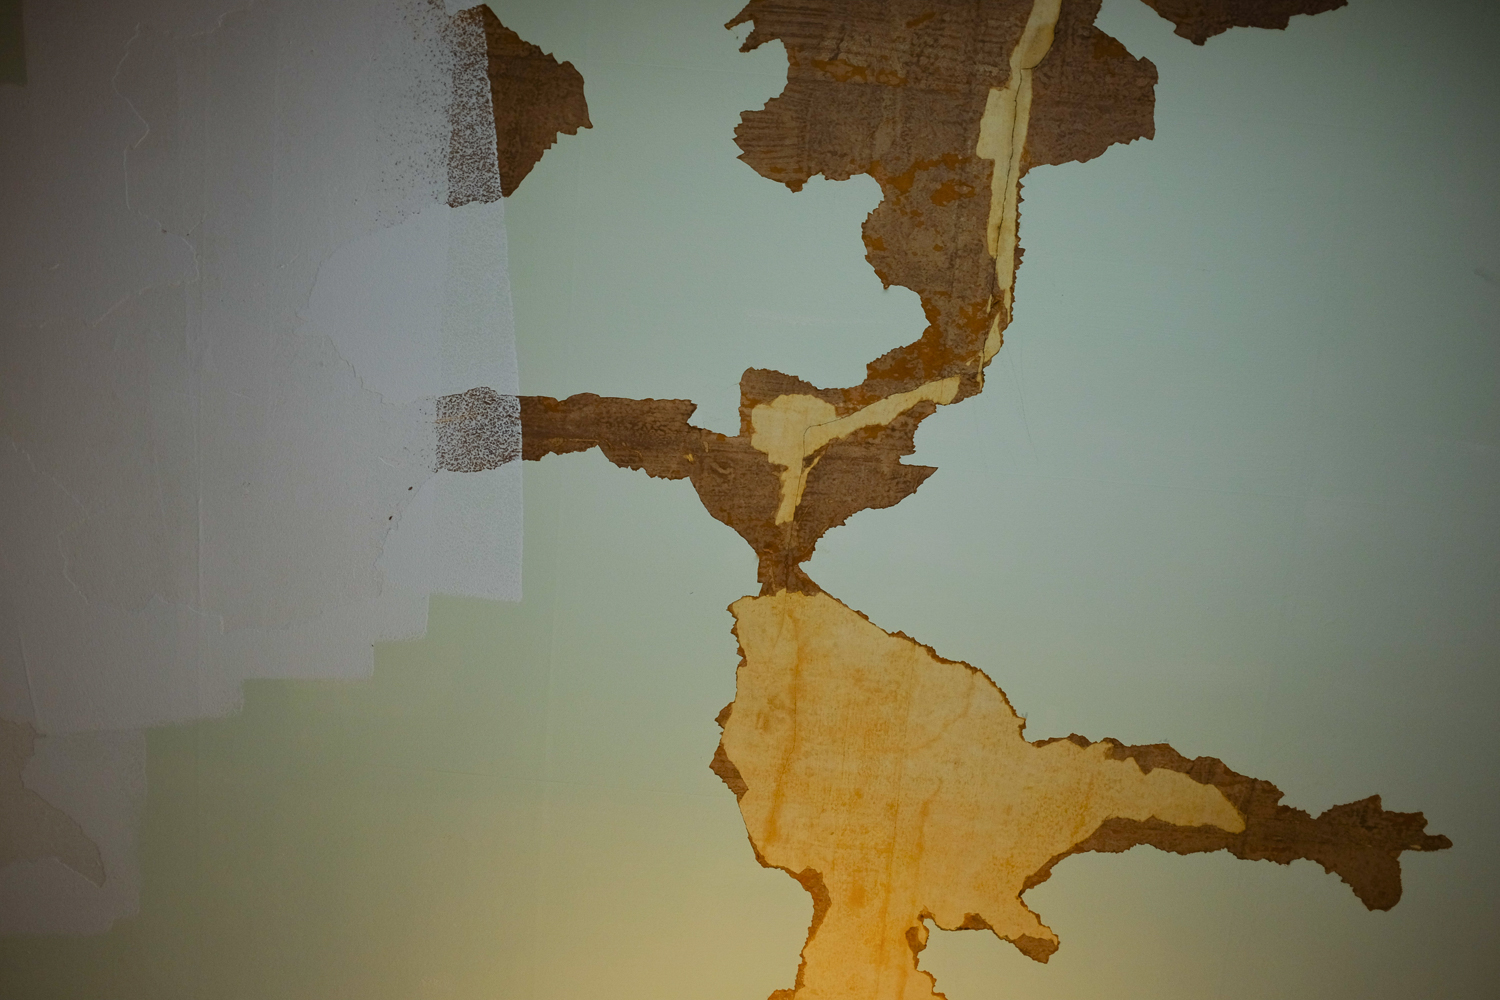
There was a lot of loose wallpaper. Most of the ceiling was loose. I painted a few coats of primer to seal the paper that remained and covered everything that looked suspect with joining tape. I got a thick nap roller and thought no problem I’ll mix up some JC and magictrowel it out and it’ll look perfect.
I had no luck at all with the magictrowel. My first unfortunate test with 30 minute joint compound dried so fast the trowel did nothing and I had a textured ceiling. That was my fault, a dumb thing to try. I jumped on a ladder with a 24″ trowel and pressed as hard as I could to try to smooth it. Then sand sand sand to fix my mistakes in a respirator of course (which is exhausting), and with dropcloths covering all exits. I tried with 90 minute, better but not great. Jumped onto ladder with trowel and sponge desperately trying to avoid sanding again. Maggie and I tried one with each. Worked better but not smooth. Again, on the ladder. Which got me thinking maybe I should just give up the gimmicky thing and learn to smooth this stuff the real way. At least I’ll be to blame if it comes up lumpy.
 So, I bought a hawk, which was more fun than you’d think and got on a ladder for 6ish hours a day for a week and put up 1/4 bags of 90 minute joint compound until i got the ceilings smooth.