We went through a lot of different ideas about what to put on the ceilings. We started with tin tiles, which were too expensive, and backing boards seemed like a pain. Styrofoam faux tin ceilings seemed like a good idea, but were ugly in real life, and needed to be painted and there was no filller available. One night when we were drinking we decided to put up decorative plaster ceilings and were going to cast them ourselves.
That one should be sort of obvious to why it wasn’t a good idea. Then we were going to vacuum form styrene into a decorative pattern. I still think this is a cool idea, but we priced out styrene and it was going to be over $1000, plus techshop fees, glue and paint for something that we weren’t sure would work all that well. Maybe for the alcove in our bedroom.
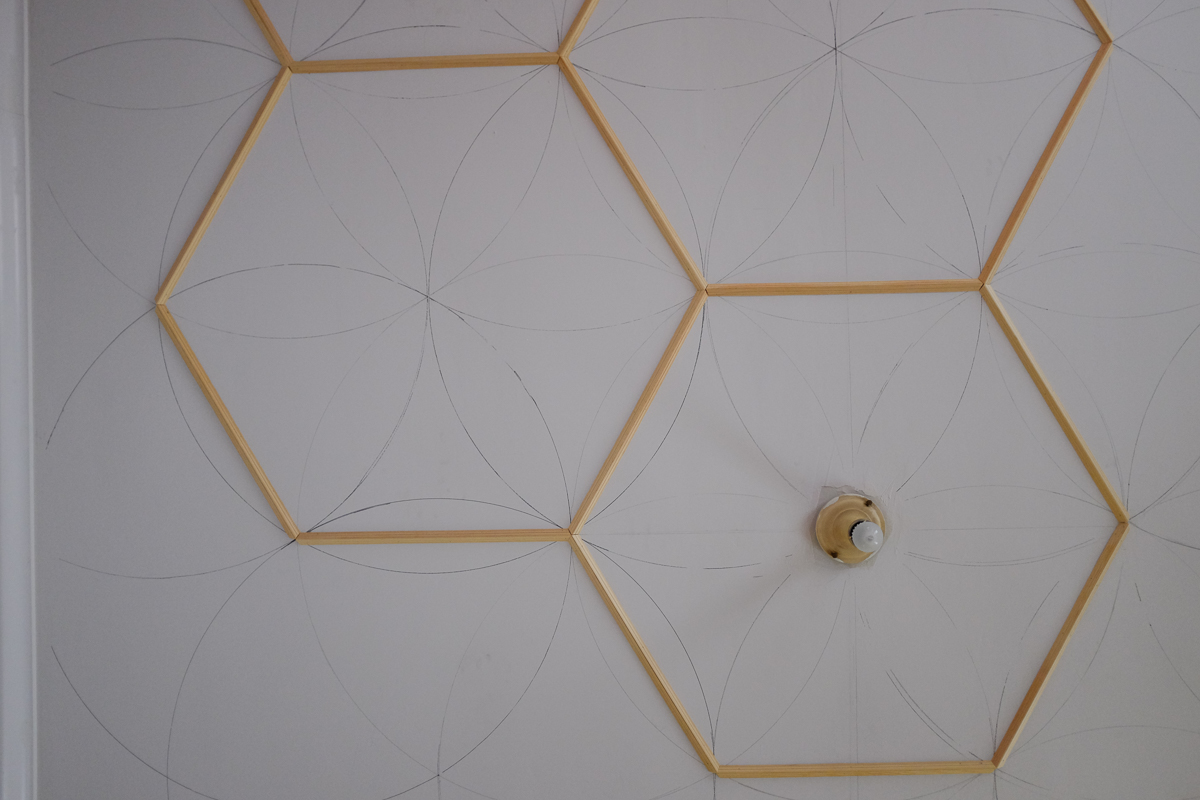
But this thinking all turned out to be useful, since we eventually came up with a solution. Use small strips of molding to make a pattern semi inspired by plaster ceilings. We thought hexagons would be a good compromise between something easily cut out, visually interesting and fitting with the style of our future chandelier.
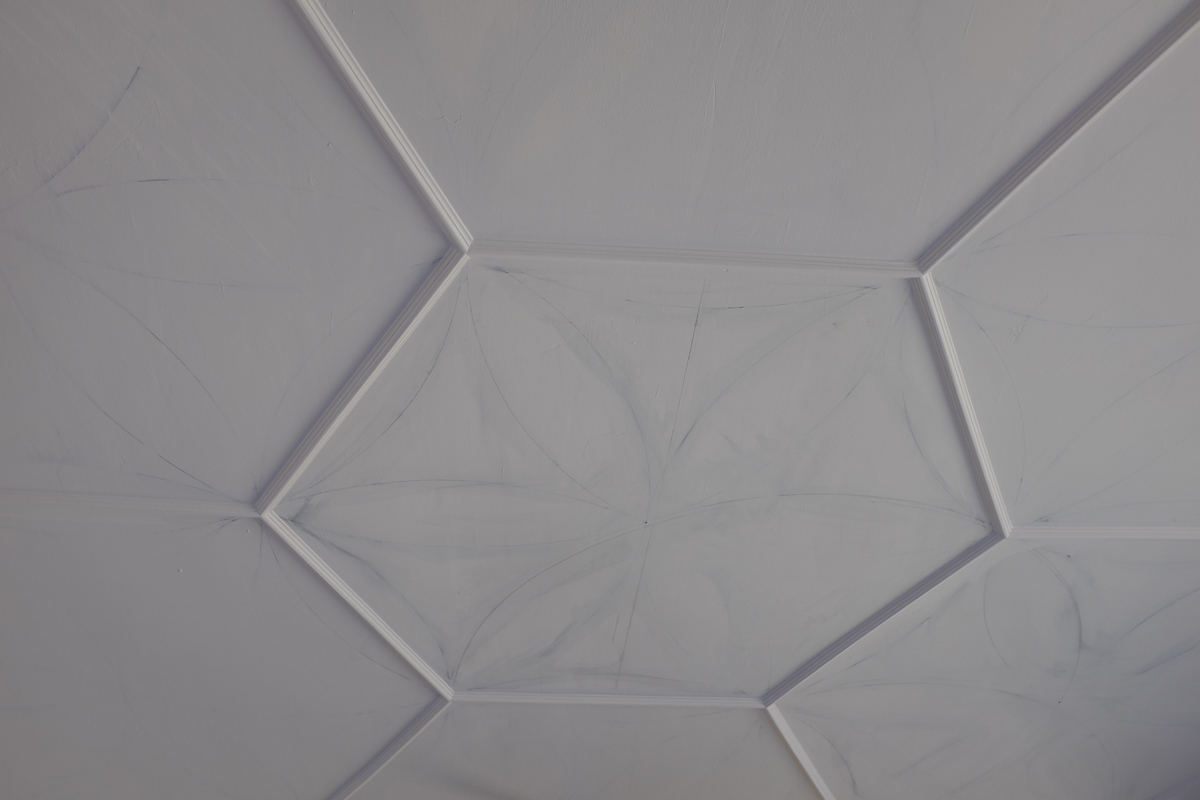
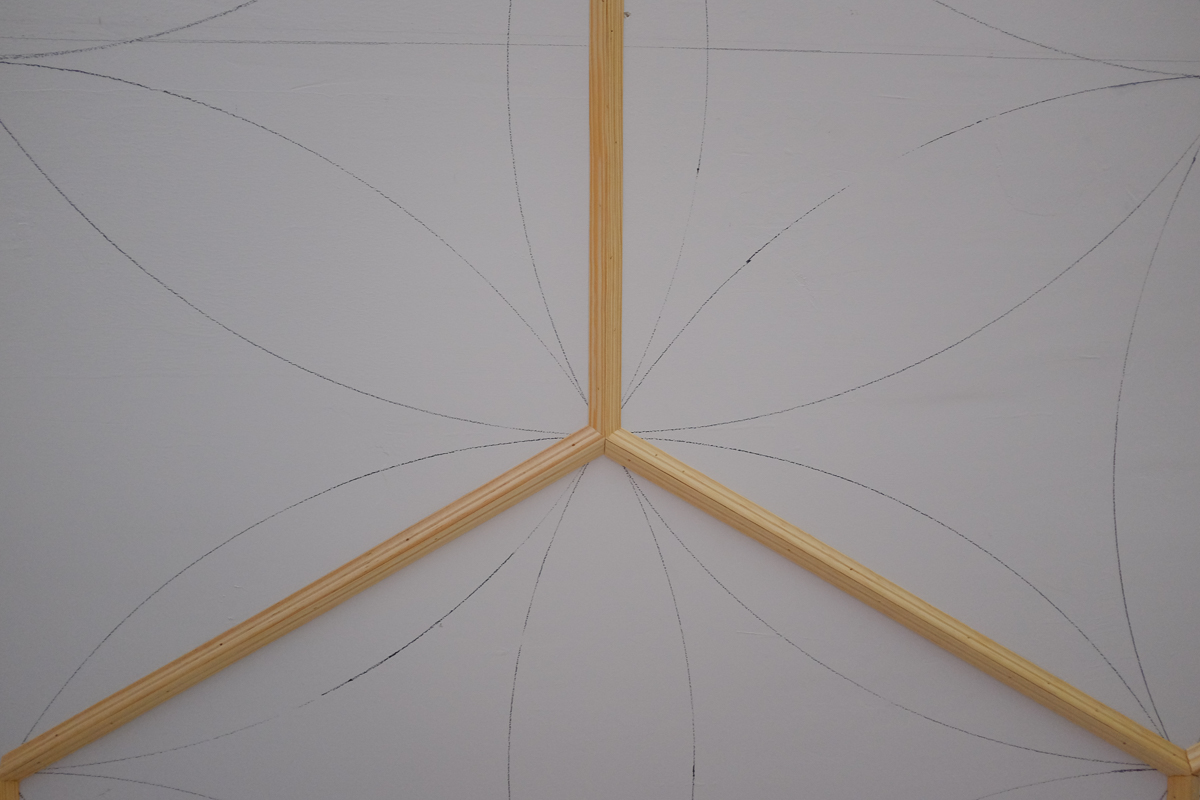
Then there was the problem with how to lay them out. I was stumped for a little while considering laser guides, overhead projectors, string? Nothing seemed to be such a great solution. Finally I remembered the Euclidian Constructions or Compass and Straightedge Construction I did for a day or so in math class years ago. There’s a gif of the relevant one right on the wikipedia page. So, all I had to do was draw a line across the center of the room and start drawing circles.
You first have to find the center of the room the long way. I used a laser distance measurer, but you could use another person instead. Draw a line across the room. Draw your first circle around your light fixture, or the center of the room. Then you move to the intersection of that circle and your center line. Draw another circle. Move to the next intersection, draw a circle. Basically draw circles centered on every circle intersection until you fill the entire ceiling. I drew mine with a nail and a makeshift compass that I made out of a scrap piece of wood. I drew up the hexagons in cad so I could determine the sizing I wanted, then calibrated my compass to that on a piece of cardboard. I could pound a nail in that spot and then swivel my compass around. It was surprisingly accurate, though I did have problems with the marker getting worn down.
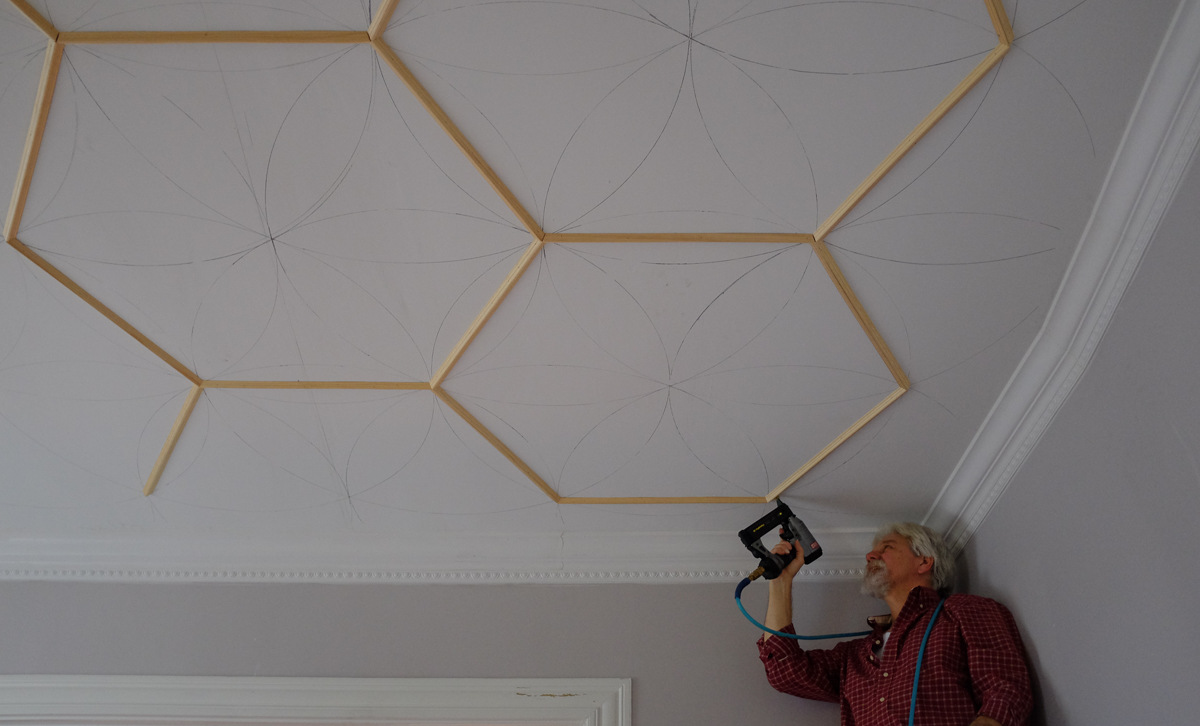
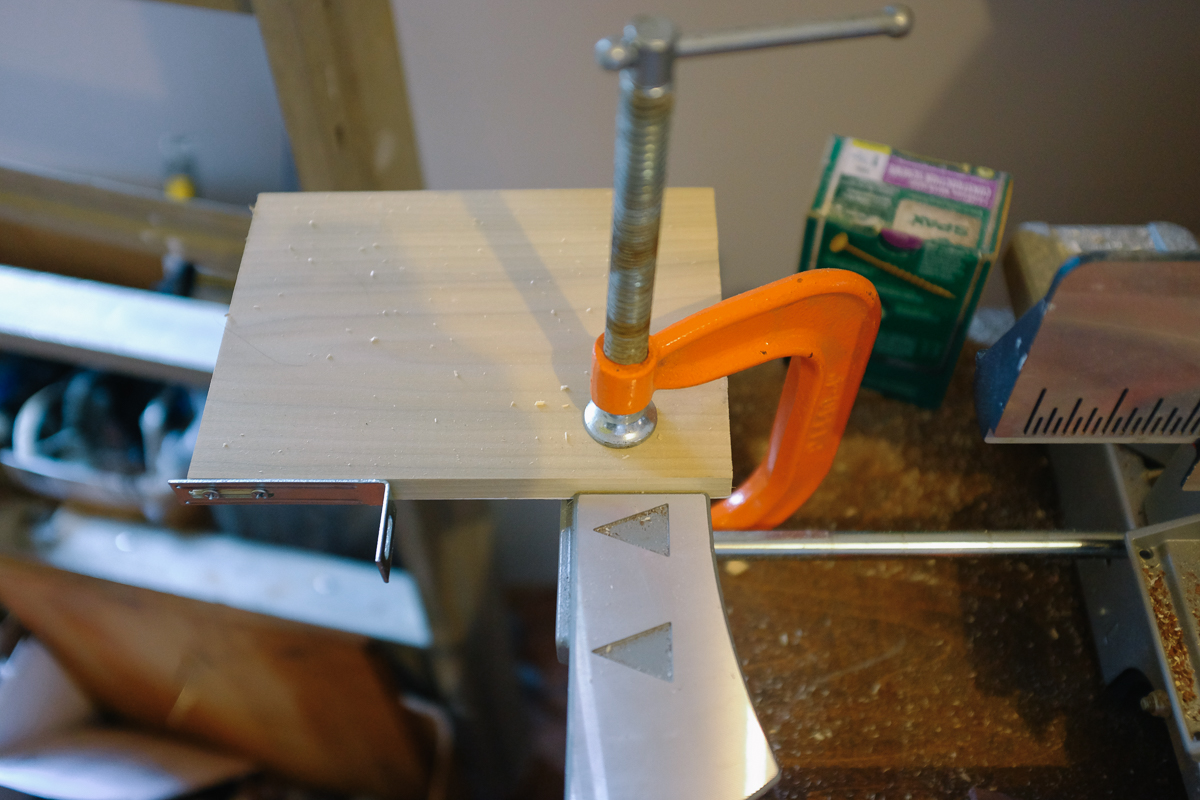
After drawing all the circles, I cut all the strips of molding. There are two pieces to each side of the hexagons. Since the internal angles of hexagons are 60 degrees, you need a 30 degree cut on each side of the pieces. I considered painting before I put the pieces up, but since I was nailing them up individually, I decided not to. It might save some time if you do though. Check on your pattern to make sure you’re certain of the length of your pieces, work in batches of about 1/4 of the ceiling. To set up a template, I clamped a board with a stop onto the rail of my miter saw. I then took eight-ish boards and cut the first 30 degree angle onto the ends. Then I could make five cuts between the saw adjustment. It goes a lot faster that way. You’re going to need a lot of boards, I got four segments per strip of molding, which is 1/3 of a full hexagon. I think i bought 30 to do the ceiling, and had a couple left over.
Now the tedious part. you’ll have to caulk around all the joints. Pick out some good radio shows to listen to. It took me about a day and a half to do my room.
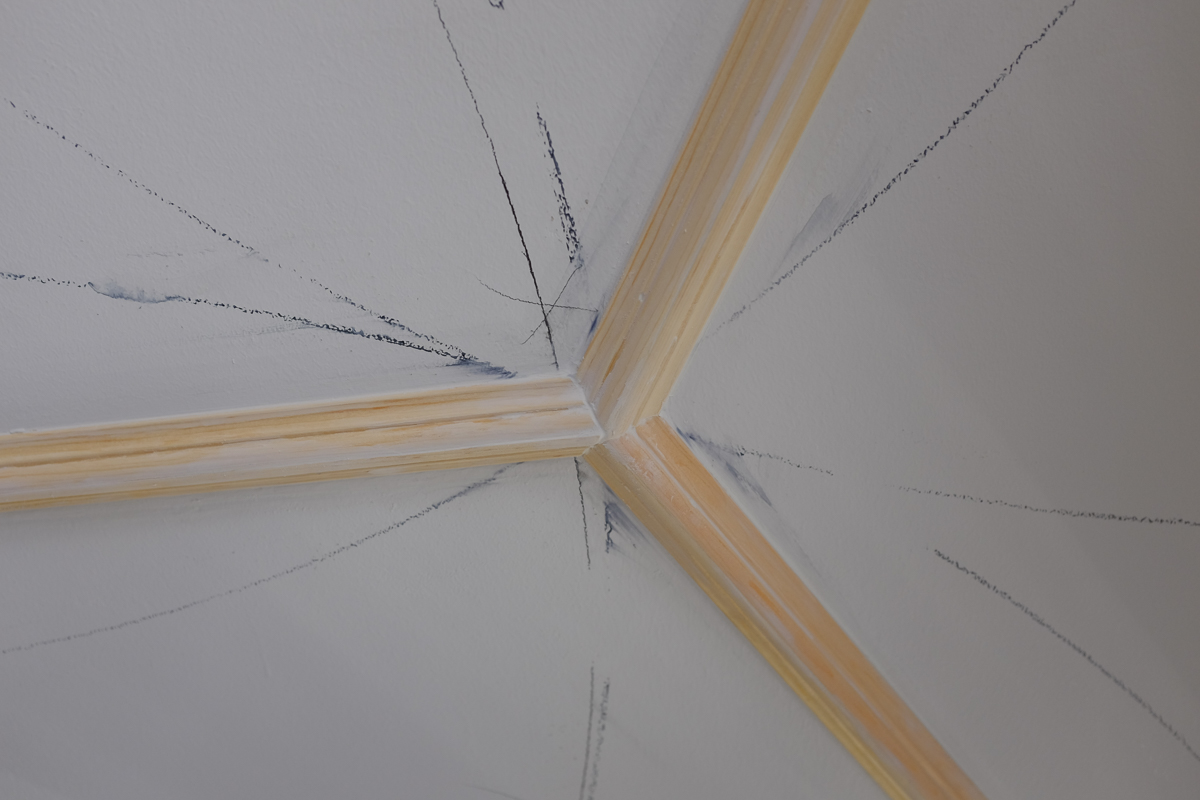
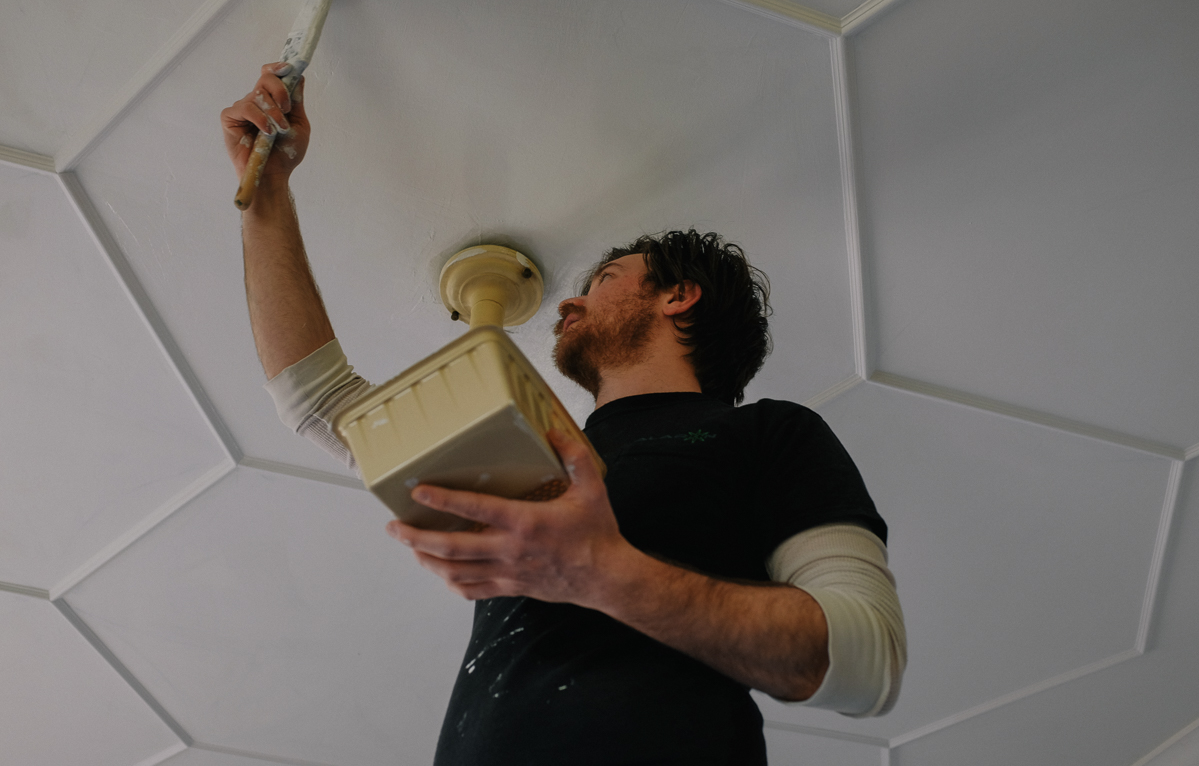
What’s the worst part about painting? Whatever you’re doing right now. I put on a coat of primer, and still had quite a bit of marker showing through. You should try to wash as much of it off as you can before you start painting, otherwise you’re going to have to do an extra coat. Depending on the marker or pencil you use you should be good after a coat of primer and a coat of paint.