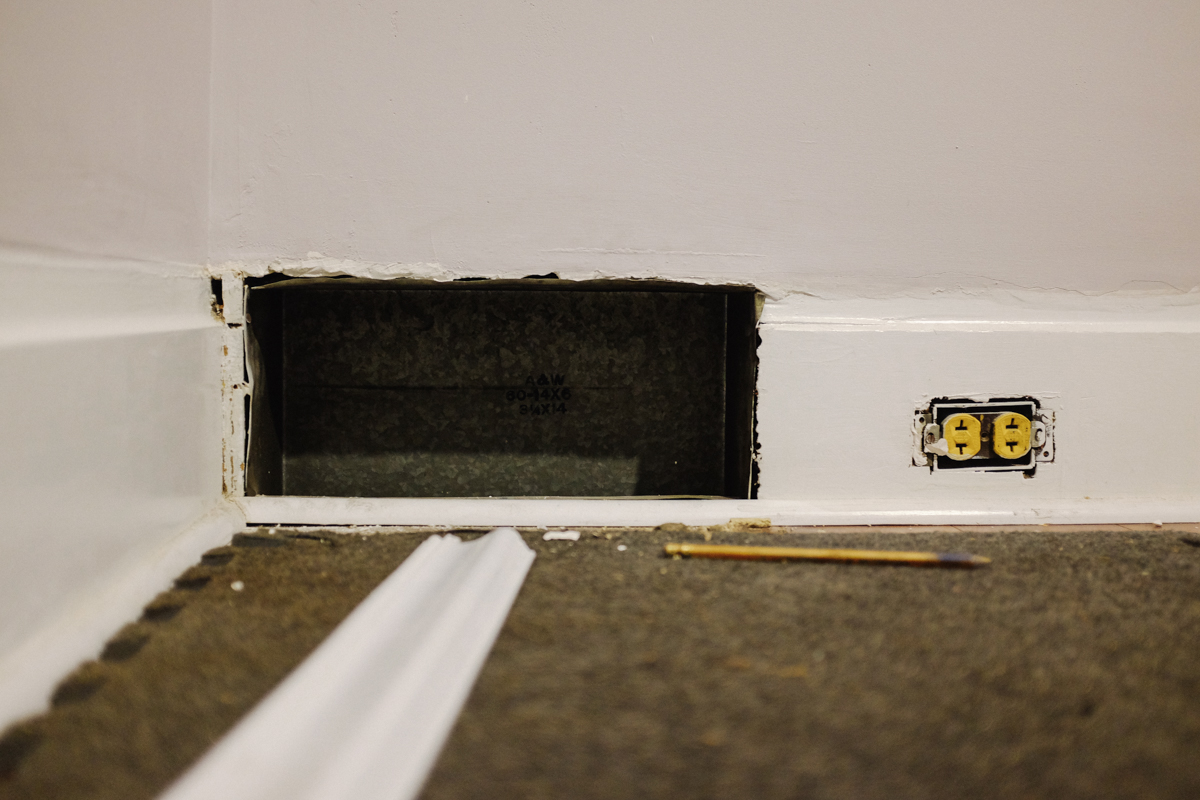
I was never crazy about the vent covers for our baseboard vents, but we ended up having to get creative when it came time to replace them once we got to work on molding. When we had our walls plastered on the first floor, we ran into some problems afterward finding baseboard caps because of the way the walls covered the ledge of the bottom panels. We also lost about an inch between the original sub floor and the bottom of the vent once we installed our flooring. With quarter rounds in place and the new caps for the baseboards ready to go on, we decided to make custom vent covers that would blend seamlessly with the rest of our trim.
Luckily, we have shut off knobs in our basement for all of the vents in the house, so we could make simple screens to cover the vents without losing any of the functionality of removing the adjustable covers. We picked up a few 6′ pieces of 1/2″ decorative molding, a panel of metal sheeting, and some super glue from Home Depot and got to work.
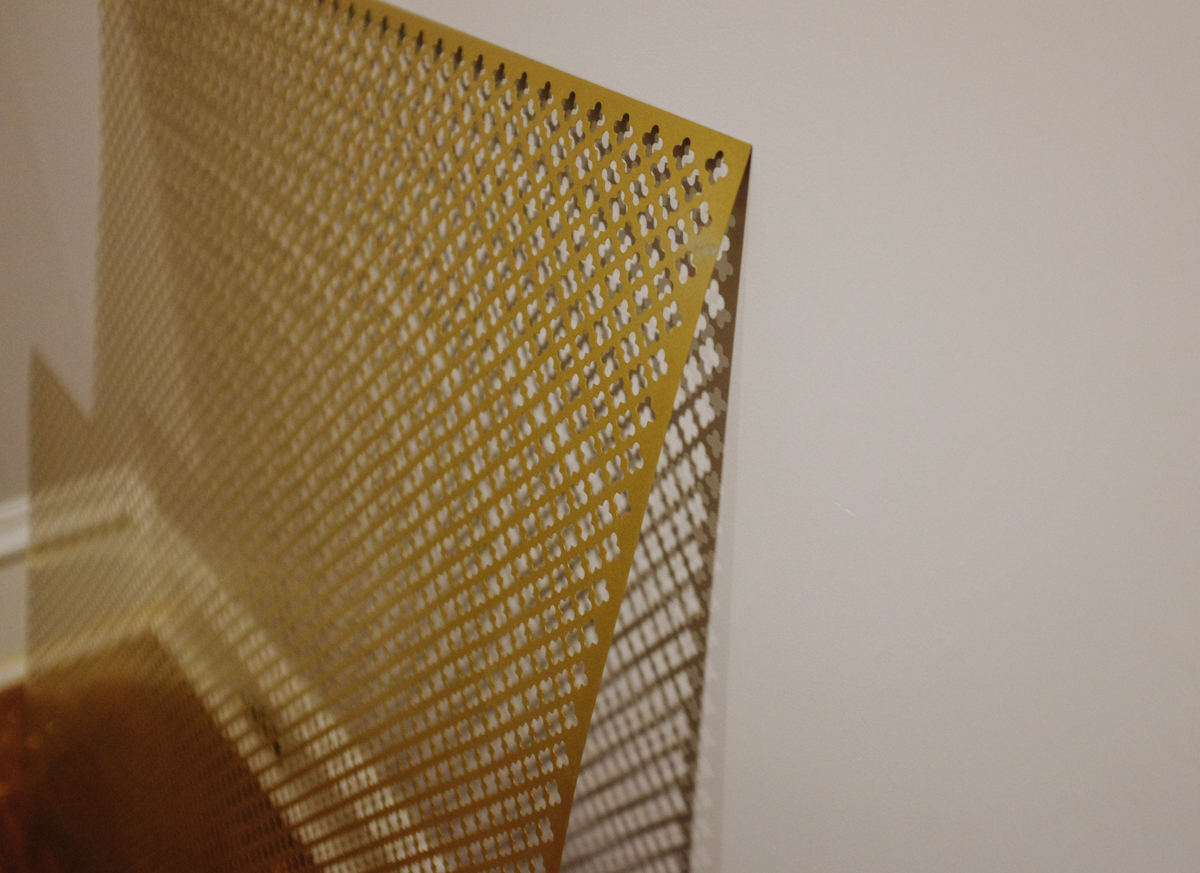

Measure twice, cut once. The edges around the vent were in pretty rough shape in our case, so we had to be pretty careful before making our cuts to ensure that we weren’t exposing any wonky plaster once the covers were in place. I cut the pieces on a 45 degree angle and simply glued them to create a frame. Like the corners in the crown molding, try and get the corners as exact as possible, but you can always fill in any gaps with caulk before painting. I then cut the decorative sheeting to fit within the frame with a pair of heavy tin snips. You may get some curling along the edges, just snip these off after you get the general shape so the sheeting will lie flat against the frame. I also found that using some flat thumbtacks to hold the screen in place while gluing was a huge help.
The superglue took quite a bit longer to dry than I expected. I would let them set up for at least 20 minutes before attaching them to the wall. After they feel sturdy and we were sure the sheeting was tightly in place we nailed them directly to the baseboard with a brad nailer.