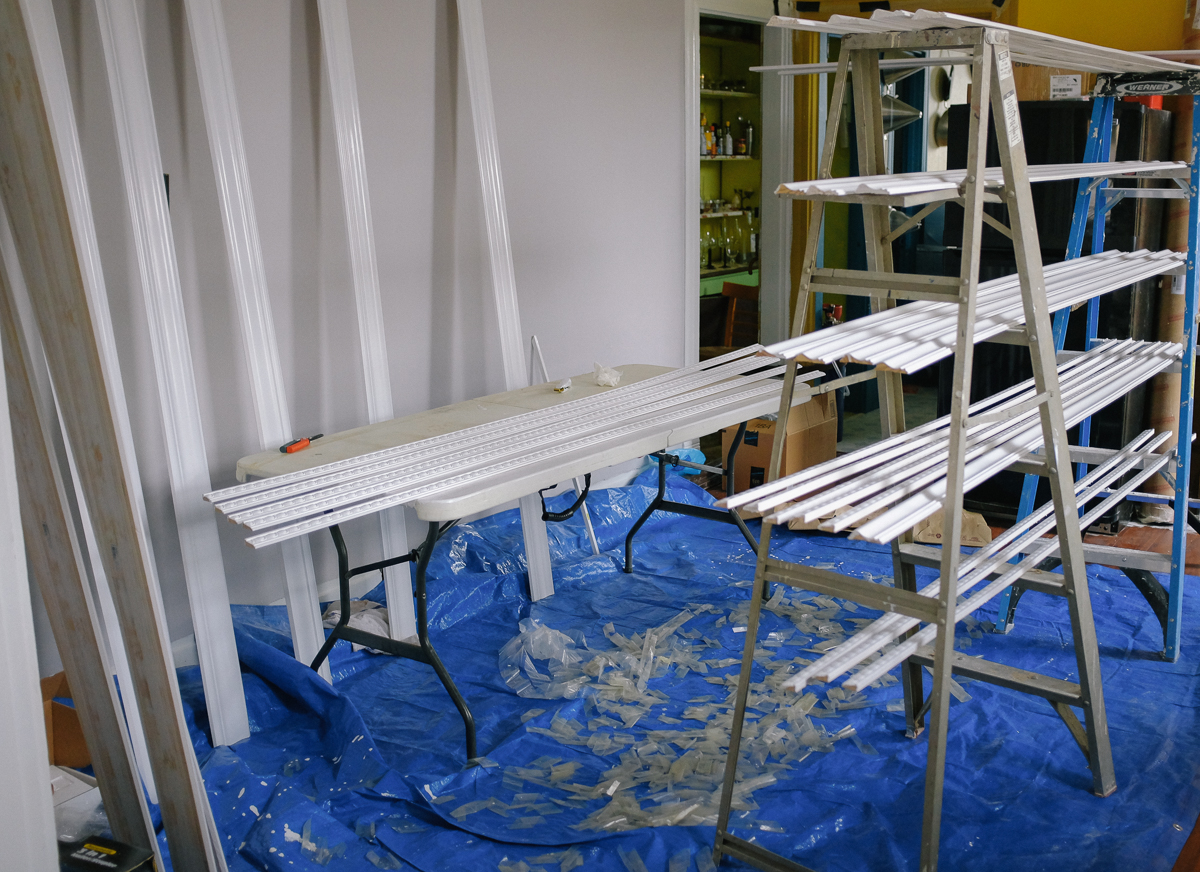
Our decision to just skim coat the ceilings got us pretty excited about having some extra money around to buy more intense crown molding. We looked around a settled on a 3.5″ crown from Allegheny Millworks and Lumber and got a decorative strip from lowes. Tip: If you’re buying a lot of strips of molding or other finished lumber at lowes and they don’t have a discounted price for volume, you should talk to the guy at the computer near there and ask for one, they’ll take off about 20%. First step: Paint all the trim before you put it up. It’s easier to paint flat on a table. If you’ve got two ladders you can use them together for a drying rack. Load from the top to the bottom so you’ll avoid give just painted pieces a chance to drip and start to dry before putting in the next level.
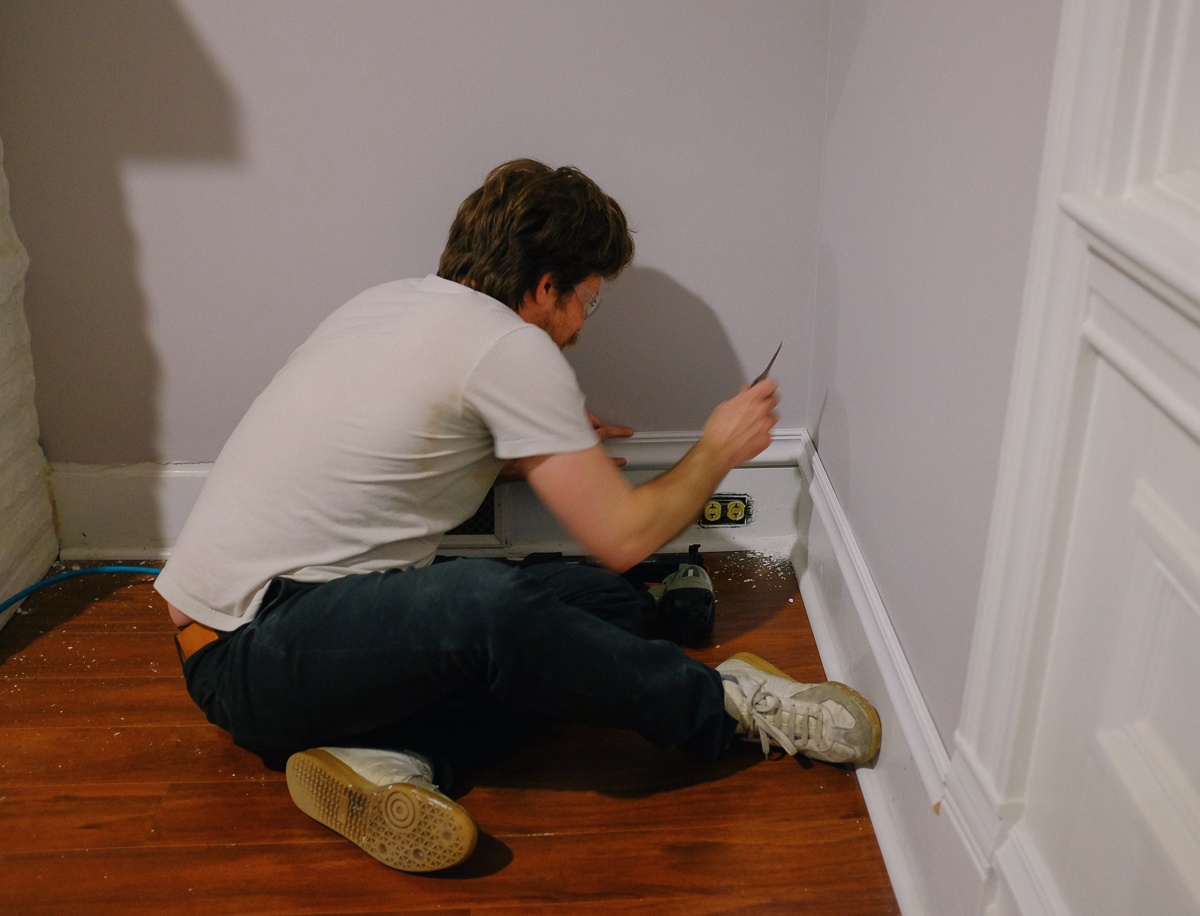
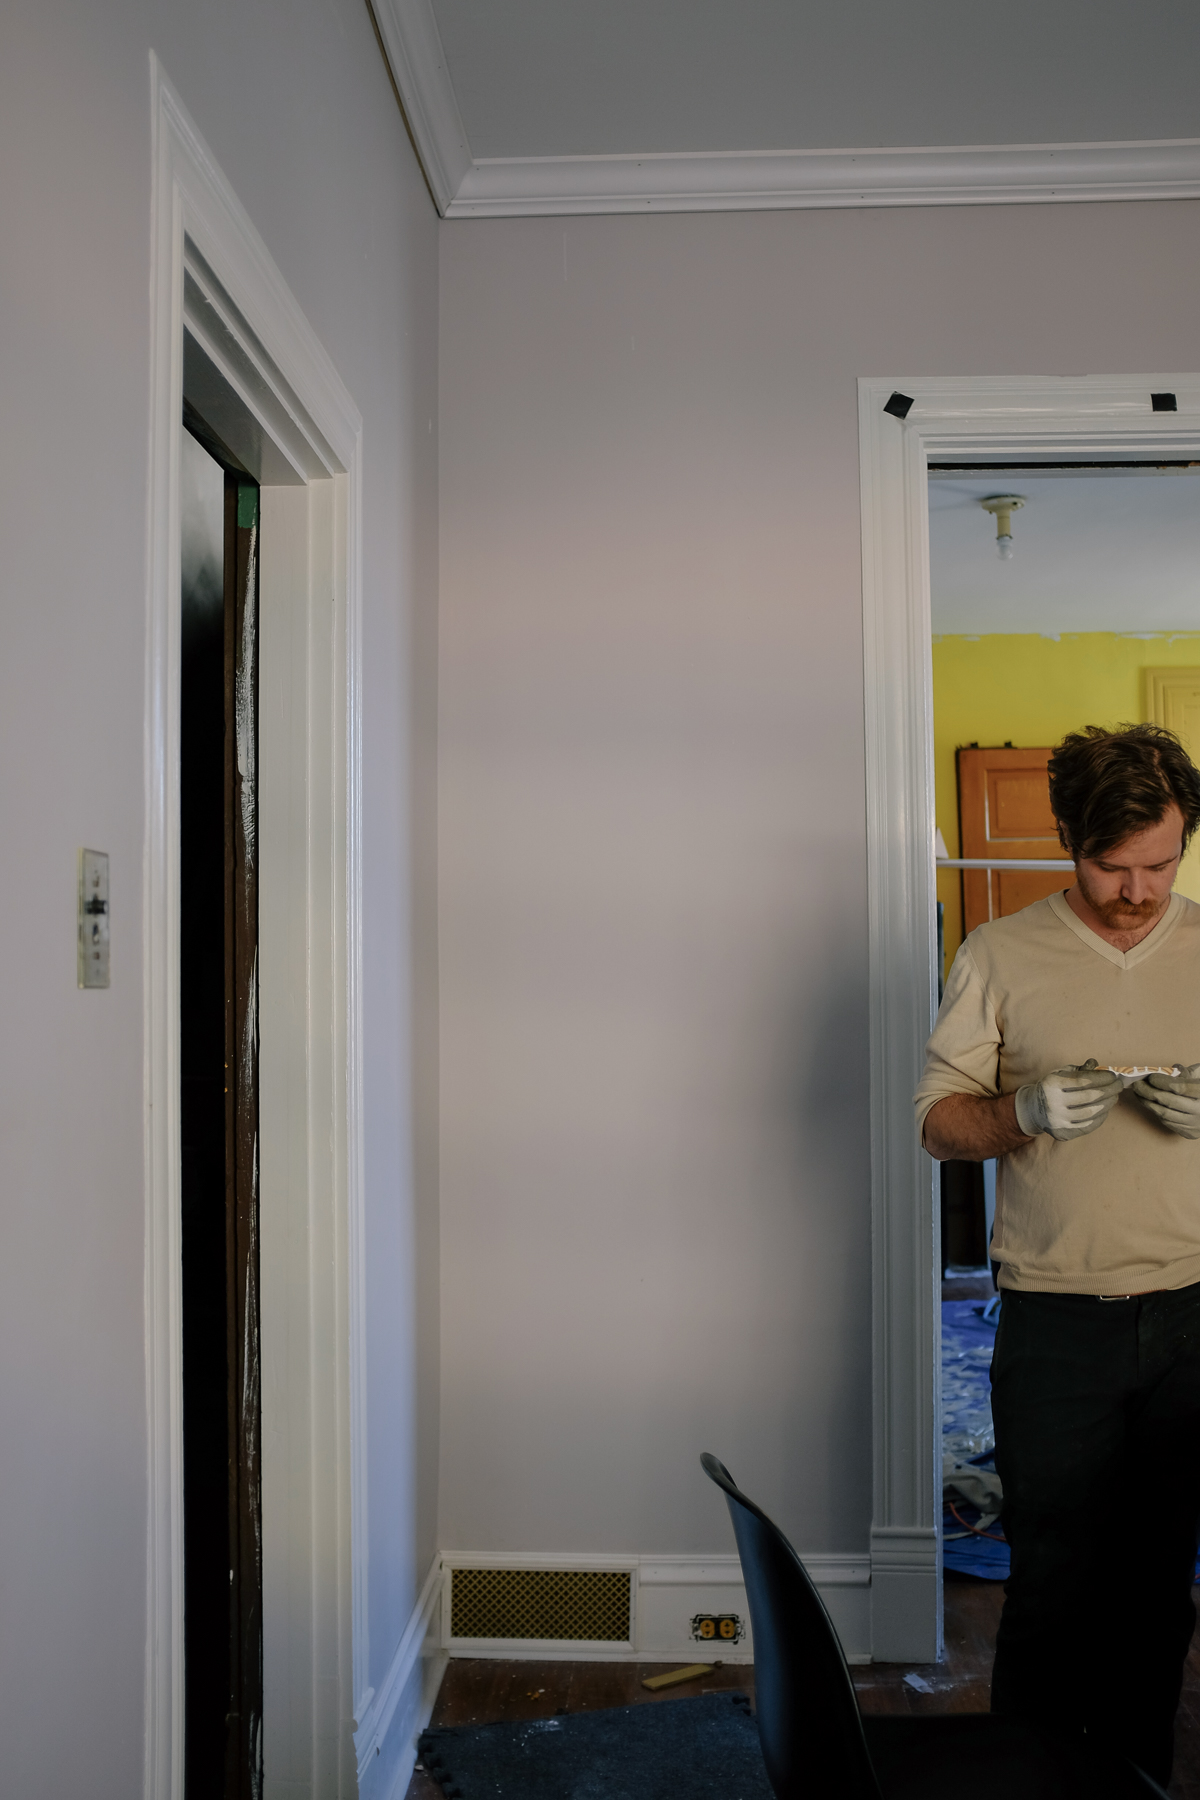
When the plasterers redid the walls, they put up 5/8″ blueboard on top of the plaster I had and then skimmed over it in plaster. That’s great, but left me with a bit of a puzzle with what to do with baseboard caps. Baseboards are two pieces, the bottom piece, which you can see to my left in the picture, which they didn’t want to remove (they said we’d damage them) and the cap, which sits on top of the baseboard. I no longer had a top of the baseboard to put a cap onto, since it was covered in the new walls. So all actual baseboard caps are out. I got samples of some chair rails and eventually settled on one. It’s not too difficult to put in. Just measure your wall angles and cut half that on a miter saw. If your molding sticks out a little bit, like mine does when it meets the around the door molding or around the window molding, pick some angle and remember where you put the board and just be consistent. It’ll look much more finished with some taper. Remember you’re gonna caulk around all of this, so tiny gaps aren’t a big deal. Get it as close to perfect as you can though, but if your house is anything like mine, you’ll have some weird areas.
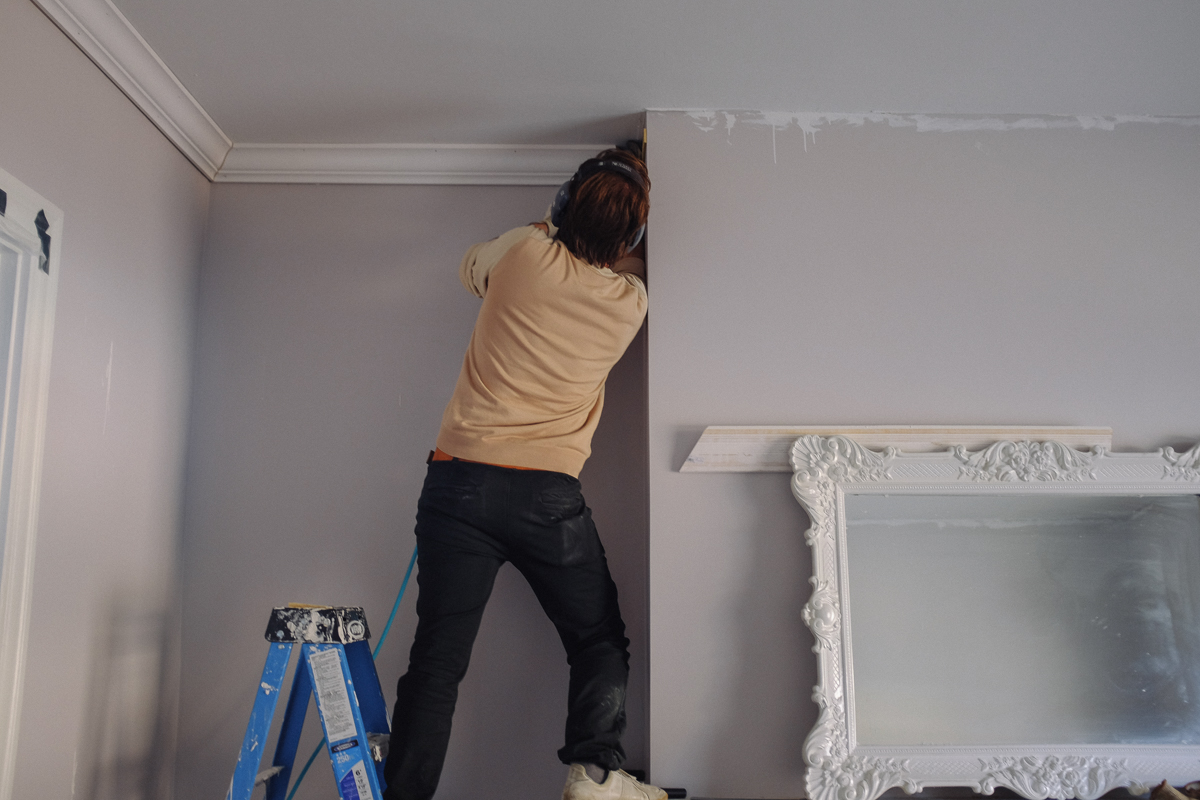
My crown molding and the decorative strip are different by 1/4″ at the bottom and top, so I needed to put a backing strip to pull the crown molding from the wall and get them to line up. I found lathe board at home depot super cheap, I think a dollar a board. Pinning this up was the first step. Do yourself a favor and make a template piece to put on the ceiling to get the right height. You want to be very careful to get this backing board at exactly the right height, which can get a little tricky with how wobbly some of these cheap boards are. I put in a couple nails and then just bent it to shape. Picking boards that don’t look horrible helps too. This will act as a guide for you to get the crown molding at the correct angle. If you don’t need a backing board I’d recommend placing some sort of marking where the bottom of the moulding should go. It’s easy to get confused when you’re so close and put it up a bit tilted, which will change the angles for your corners.
I should probably talk a bit about nailguns. That surebonder 3 in 1 nailgun a few pictures ago was a piece of shit. Avoid avoid. The problem with a 3 in 1 nailgun: think of the size of a staple vs a brad nail. The hammer on those nailguns must be the size of the staple, so even doing very fine nailing, you’re gonna leave pretty wide dents. Also, you’re not going to be able to fire very long finishing nails out of it and the nails are not going to hold as well since they’re t shaped heads because they’re not on an angle. A problem with that one specifically, the feet were too sharp and too hard and pressing it to the wood left more dents. dent city with that nailgun. Not at all recommended.
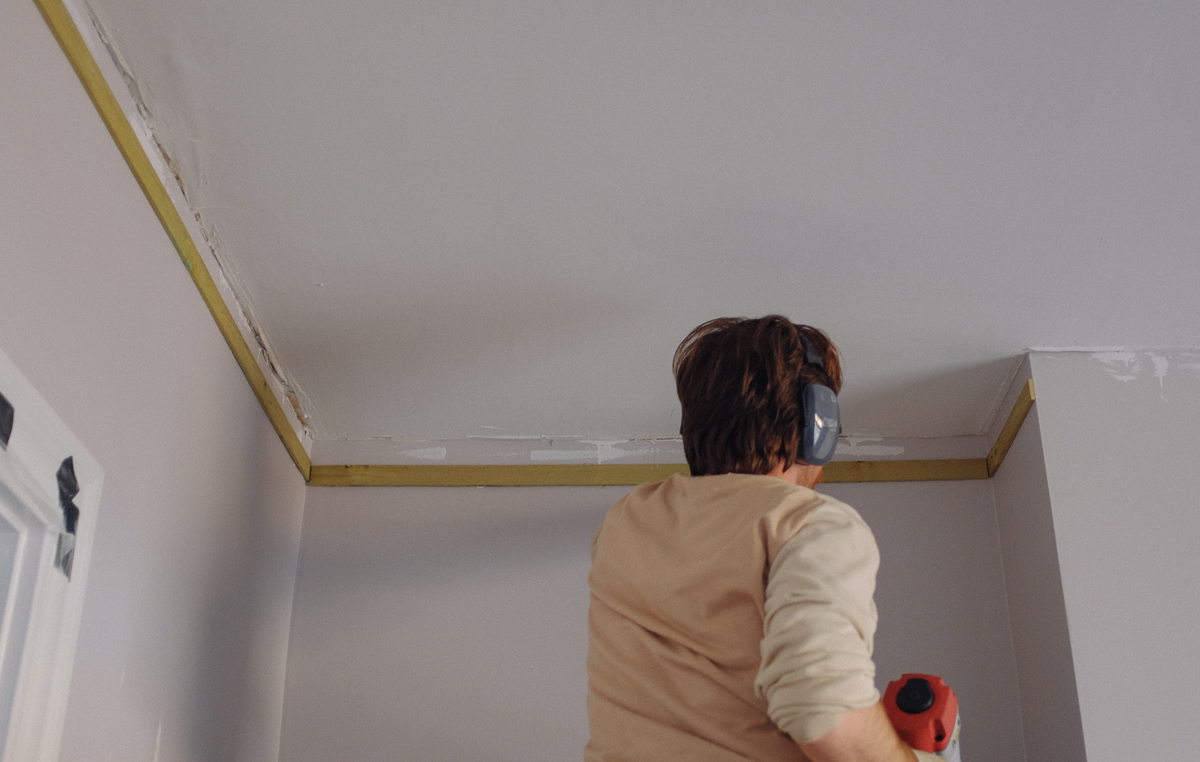
You’ll need a dedicated nailer for finishing nails and for brad nails. The harbor freight one I’m using above worked pretty well. I only used it for one night though, so I can’t talk about it’s longterm lifespan, etc. I found a set of a senco finishing nailer, brad nailer and stapler on craigslist for $160 and bought that and they work great. I haven’t had any problems with them. I’ve also got a little senco compressor that I’m very happy with. I’m a big senco fan. It’s fun to say too and sounds serious.
Next question; do you need a jig? If you’ve got a regular miter saw, yes. If you’ve got a fancy one its sort of a preference thing. I went with the jig for two reasons: it’s easier to think about the angles you’re cutting and I couldn’t find a wall protractor for sale except in the box for the jig that I bought. I’ve got some weird angles in some corners. I’m still a bit conflicted about this decision and I can see why each side thinks they’re doing it right. The jig is kinda a pain, it’s hard to hold, especially when you’ve got an 8 foot piece of wood on it. But keeping a spreadsheet of bevel/ miter angles handy and resetting the saw over and over is a pain too. I had the thing so I used it. Did my corners all turn out perfect? no. But they were pretty good, and I only cut one backwards doing two rooms. Unless you have a really long truck, you’re probably going to have to join some pieces in the middle of a span. To do this is to cut a 45 degree miter on both boards and fit them together.
Use finish nails on the crown molding, not brad nails. You should try to find where your ceiling joists are running to shoot the nails into there. You’ll be especially happy you did that if your ceilings are a bit off flat and you’re trying to wedge things into fitting. If you have plaster and lathe walls you should buy a small metal detector to figure out where your joists are. I’ve tried all kinds of stud sensors, only a metal detector works reliably.
The decorative smaller piece was brad nailed up under the crown molding. This should be a breeze since it sits flat on the wall and you mostly only have to miter cut 45s. Pay attention to your pattern though and try to match it, and buy extra extra for when you have to waste a piece because the pattern won’t line up. Watch this when joining pieces for a span too.
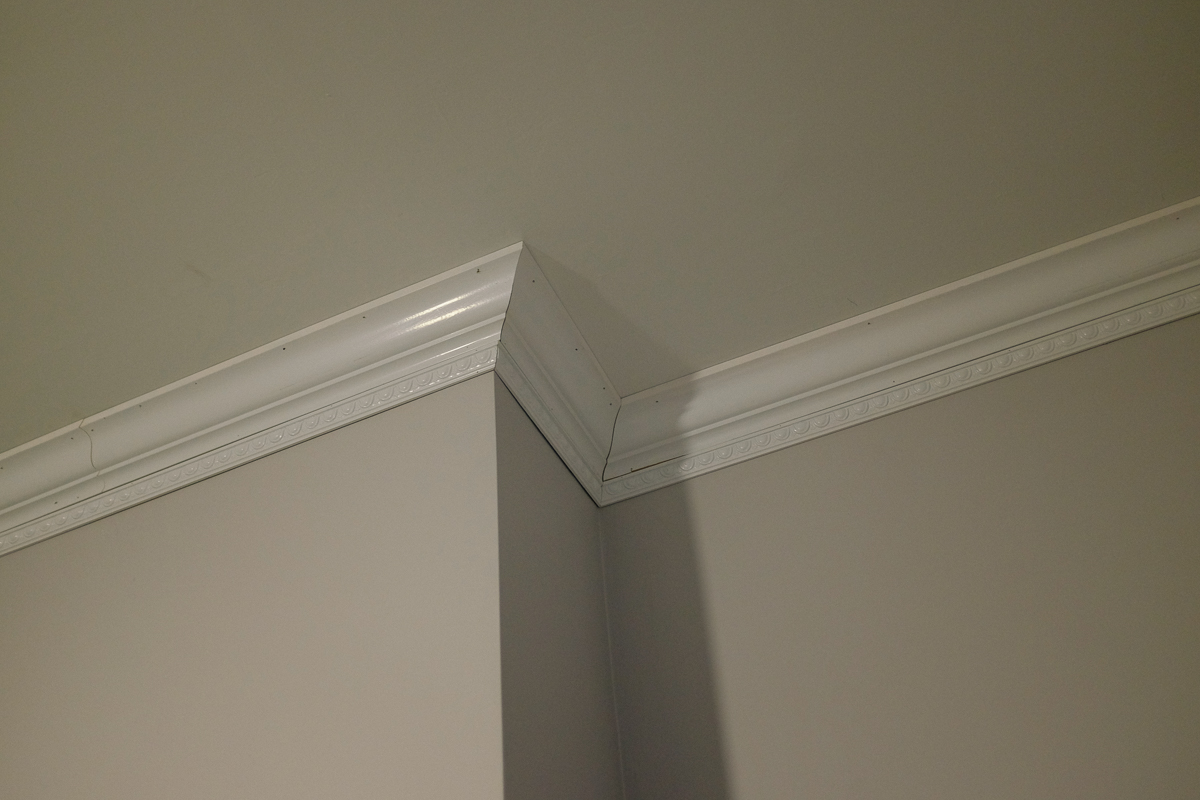
The last step is caulking. It’s tedious, but also pretty fun to see how great it looks after you’re done. You can take all your crappy joints and make them disappear. I always buy alex quick dry caulk. I wear nitrile gloves, keep a quart container of water, a sponge and a roll of paper towels on my ladder. Get into a routine and follow it the same way all around the room. Put a thin line of caulk in the joint, then between the crown and the ceiling, then between the decorative piece and the wall, then between the two pieces. Put the caulk gun on the ladder, wet finger run along a line, dab caulk into nail holes, wet finger run along joint, repeat, repeat. You’ll probably put on too much caulk at first, and it takes a little practice to get used to squeezing a bit, then hitting the release once you finish your line, but stick with it, it’s not that tough.
Oh, don’t ever buy one of those caulk spreading tools they sell. they’re junk. They seem like a good idea, but they just end up getting gunked up constantly and are difficult to clean off, and then they start to leave lines where you don’t want them. Buy gloves, use your fingers.

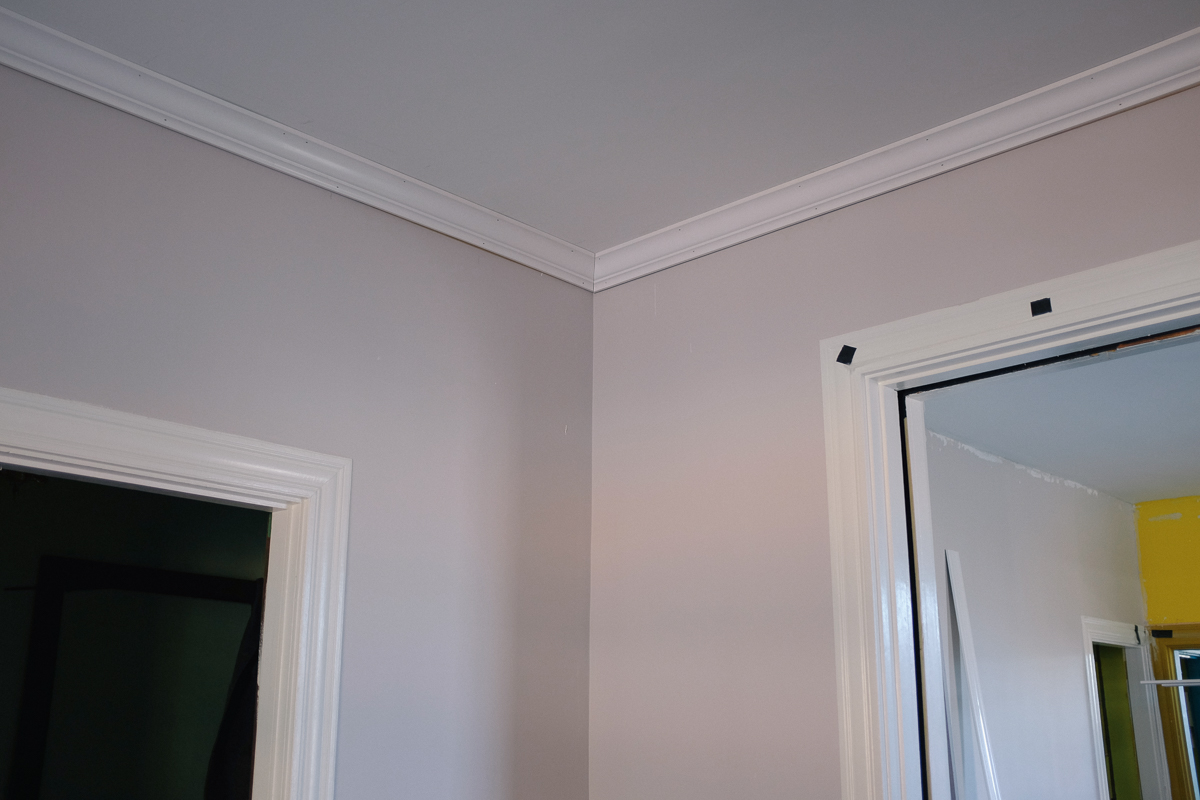
Then a coat of paint and you’re done! The crown molding makes a huge difference in how the rooms look. It’s a fun project too.