by Maggie | Jan 3, 2015 | Home Renovation, Product Reviews


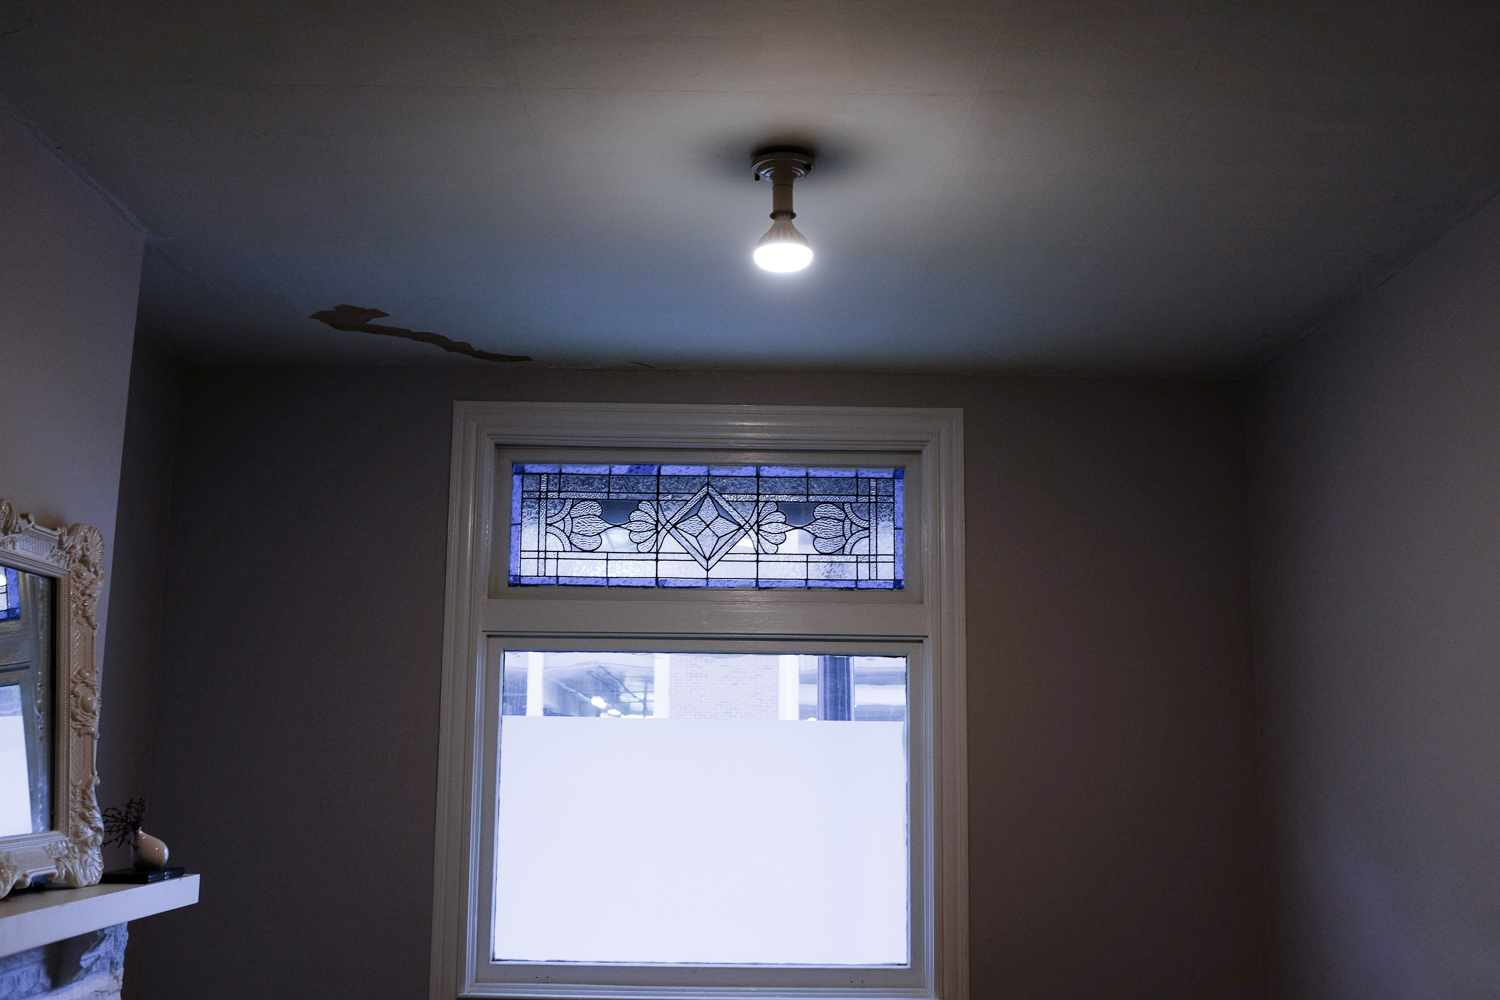
Who doesn’t dream of a modern home of wifi connected devices, changing the color temperature of your room with the click of a button? We’ve been eying up the bulbs and LED strips from Philips Hue for quite a while now. I treated myself to a set of new pendants slated to be the centerpiece above our dining room table last summer. While we’ve been waiting to install them until after the ceilings were finished, we’ve been trying to finalize a design for the lighting canopy. Knowing that the pendants themselves won’t give off enough ambient light for the room, the Philips Hue LED strips seemed like a great solution to incorporate into the canopy.
Ed rigged up a temporary panel to act as the canopy while we tested the lights (an empty cardboard box). In the evening the lights look great, filling the room with rich color and changing easily through the phone interface. The problems? (Spoiler alert: we returned them)


1. We don’t live in a discotheque.
The color changing effect is really exciting and novel for about a day. Then you show your mother the cool toy you bought with the Home Depot gift card she gave you at Christmas, and immediately realize the mistake you’ve made by the horrified look in her eyes. If you aren’t an 8 year old that wants to pretend your room is underwater and you’re not outfitting an Asian theme restaurant, I’d think long and hard about this purchase.
2. The white light on the LED strips is lousy.
While it handles rich colors in low light extremely well, the LED strips just don’t excel at white light. That creates two problems — it is hard to reach a subtle light temperature and it doesn’t provide adequate brightness during daylight. The Philips Hue bulb we purchased didn’t fall into the problems, but once we decided the LED strips had to go, it was hard to justify keeping the hub for a single bulb. Which brings me to the next problem…
3. The system is not cheap.
The hub, two strip lights, and one bulb set us back about $260. After we realized that we would never utilize the color changing enough, the price tag was just too hard to justify.
4. Using your phone as a lightswitch is not as great as you think.
I was really impressed by a lot of the features that came with the Hue hub. The control panel was really responsive, the subtle gradient changes on the bulb were really funny to play around with, and I was really falling for the alarm function. Relying on your phone as a lightswitch, however, is just not that practical or intuitive. I found myself always reaching for the switch before my phone, which wasn’t always in hand. Also, keep in mind that if you turn the lights off with the phone, you have to turn them back on with the phone or your physical light switch is completely useless. I was constantly running up and down the stairs to retrieve my phone just to turn the lights off and on.

The white light on the LED strips is not bright enough to properly light a room during daylight.
by Maggie and Ed | Dec 17, 2014 | Home Renovation
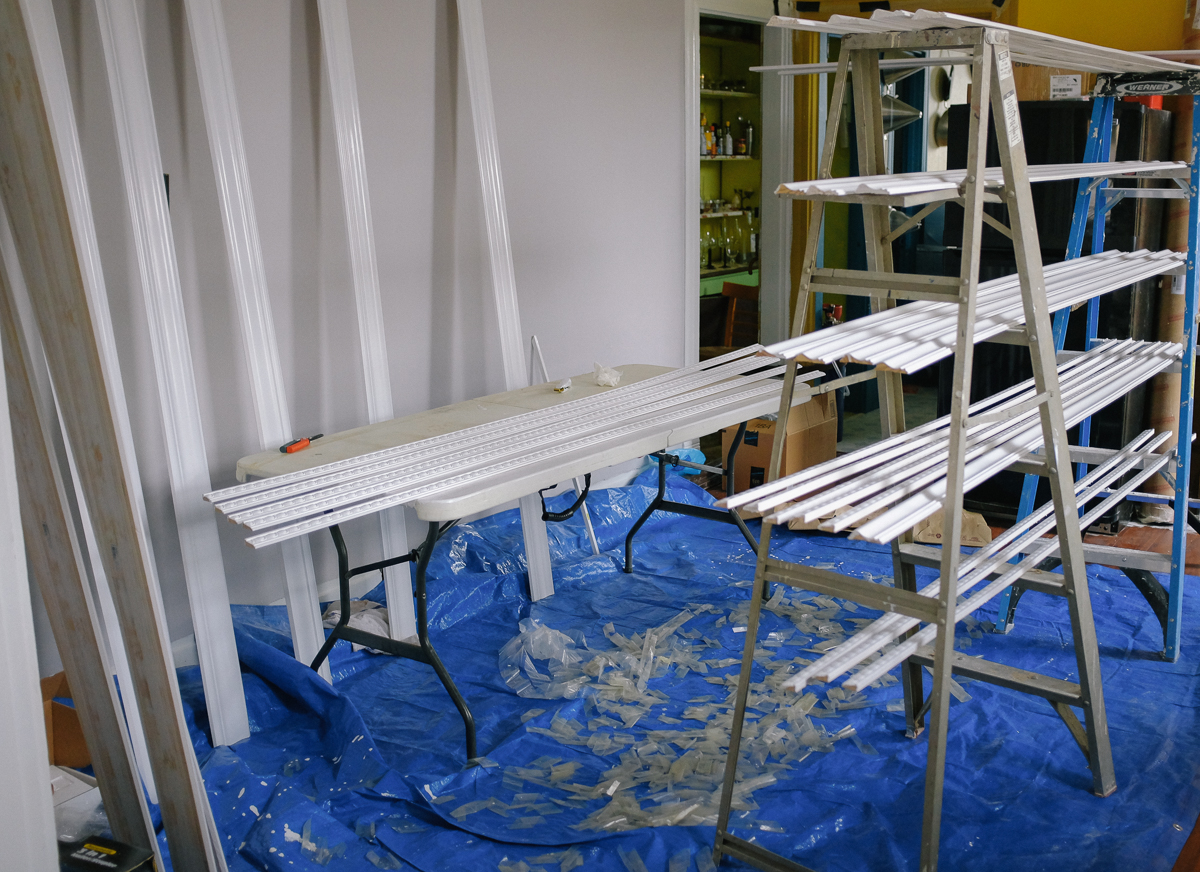
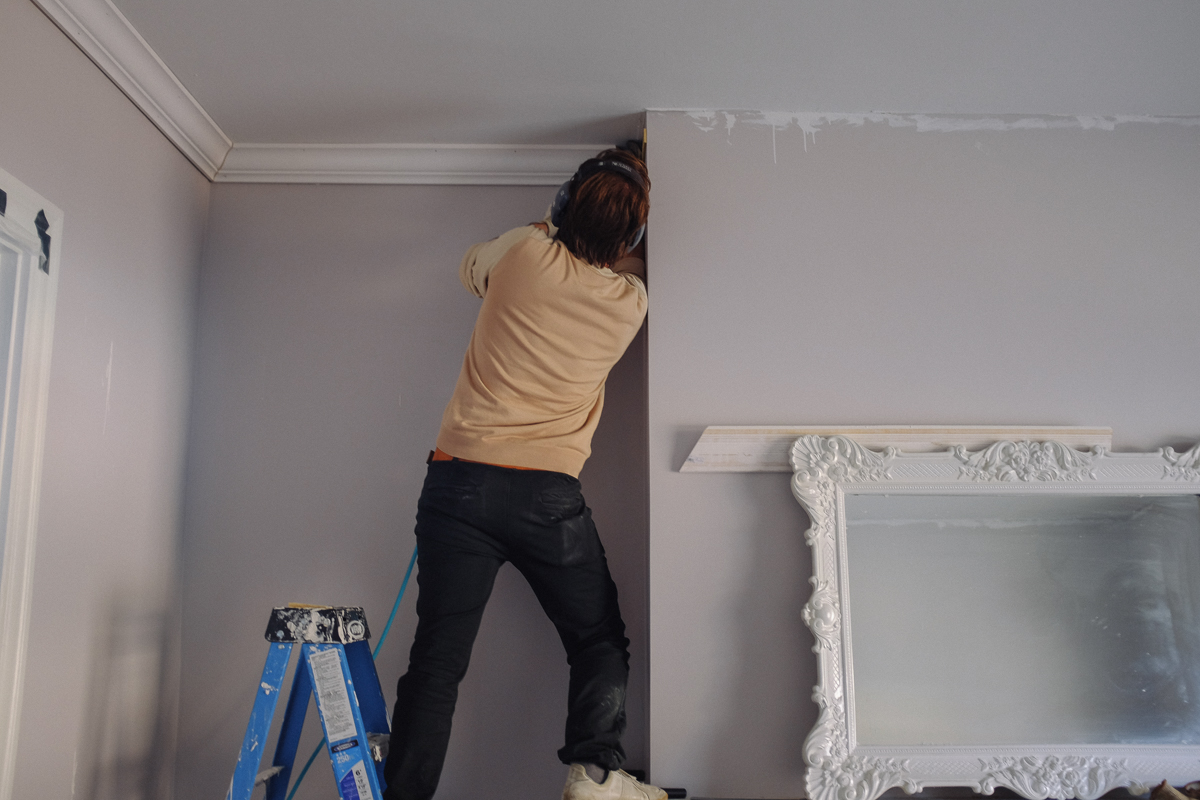
Our decision to just skim coat the ceilings got us pretty excited about having some extra money around to buy more intense crown molding. We looked around a settled on a 3.5″ crown from Allegheny Millworks and Lumber and got a decorative strip from lowes. Tip: If you’re buying a lot of strips of molding or other finished lumber at lowes and they don’t have a discounted price for volume, you should talk to the guy at the computer near there and ask for one, they’ll take off about 20%. First step: Paint all the trim before you put it up. It’s easier to paint flat on a table. If you’ve got two ladders you can use them together for a drying rack. Load from the top to the bottom so you’ll avoid give just painted pieces a chance to drip and start to dry before putting in the next level.
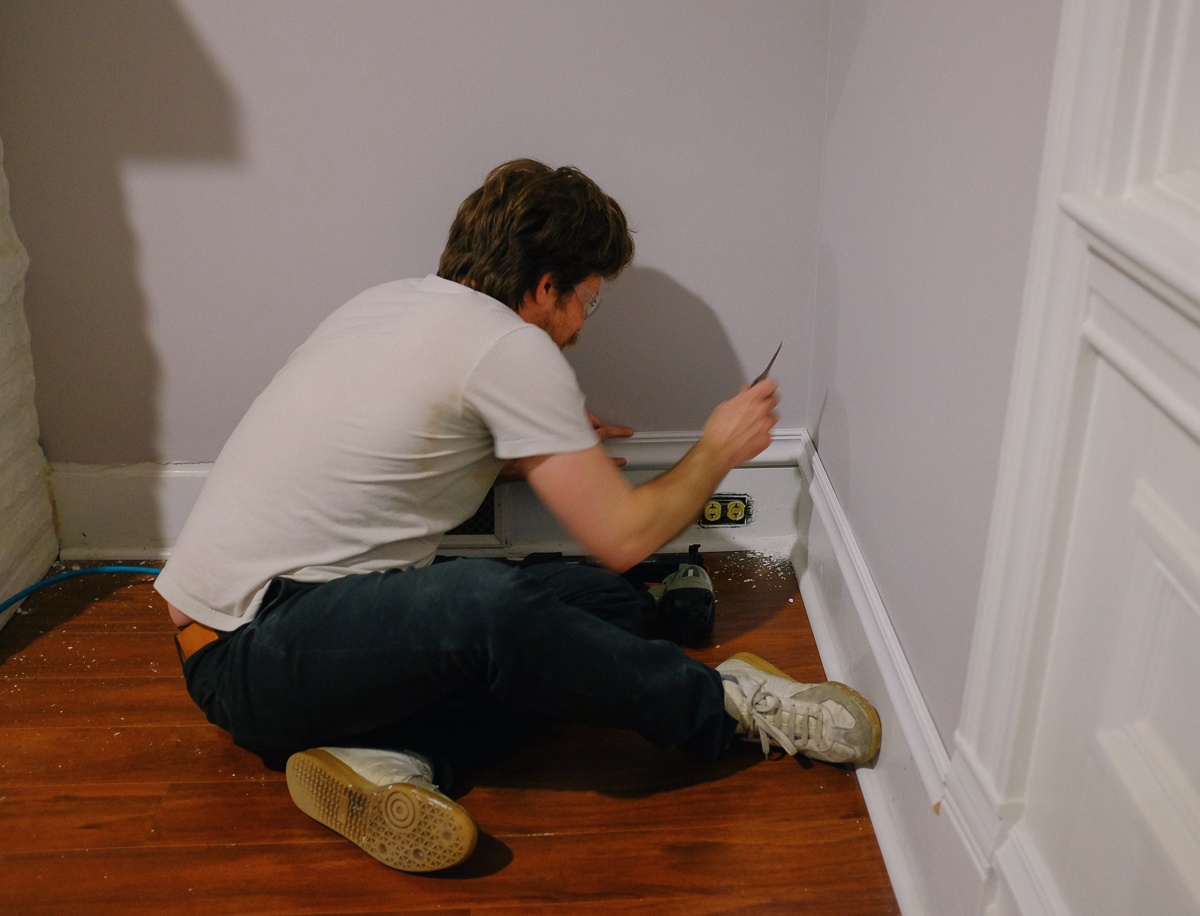
When the plasterers redid the walls, they put up 5/8″ blueboard on top of the plaster I had and then skimmed over it in plaster. That’s great, but left me with a bit of a puzzle with what to do with baseboard caps. Baseboards are two pieces, the bottom piece, which you can see to my left in the picture, which they didn’t want to remove (they said we’d damage them) and the cap, which sits on top of the baseboard. I no longer had a top of the baseboard to put a cap onto, since it was covered in the new walls. So all actual baseboard caps are out. I got samples of some chair rails and eventually settled on one. It’s not too difficult to put in. Just measure your wall angles and cut half that on a miter saw. If your molding sticks out a little bit, like mine does when it meets the around the door molding or around the window molding, pick some angle and remember where you put the board and just be consistent. It’ll look much more finished with some taper. Remember you’re gonna caulk around all of this, so tiny gaps aren’t a big deal. Get it as close to perfect as you can though, but if your house is anything like mine, you’ll have some weird areas.
My crown molding and the decorative strip are different by 1/4″ at the bottom and top, so I needed to put a backing strip to pull the crown molding from the wall and get them to line up. I found lathe board at home depot super cheap, I think a dollar a board. Pinning this up was the first step. Do yourself a favor and make a template piece to put on the ceiling to get the right height. You want to be very careful to get this backing board at exactly the right height, which can get a little tricky with how wobbly some of these cheap boards are. I put in a couple nails and then just bent it to shape. Picking boards that don’t look horrible helps too. This will act as a guide for you to get the crown molding at the correct angle. If you don’t need a backing board I’d recommend placing some sort of marking where the bottom of the moulding should go. It’s easy to get confused when you’re so close and put it up a bit tilted, which will change the angles for your corners.
I should probably talk a bit about nailguns. That surebonder 3 in 1 nailgun a few pictures ago was a piece of shit. Avoid avoid. The problem with a 3 in 1 nailgun: think of the size of a staple vs a brad nail. The hammer on those nailguns must be the size of the staple, so even doing very fine nailing, you’re gonna leave pretty wide dents. Also, you’re not going to be able to fire very long finishing nails out of it and the nails are not going to hold as well since they’re t shaped heads because they’re not on an angle. A problem with that one specifically, the feet were too sharp and too hard and pressing it to the wood left more dents. dent city with that nailgun. Not at all recommended.
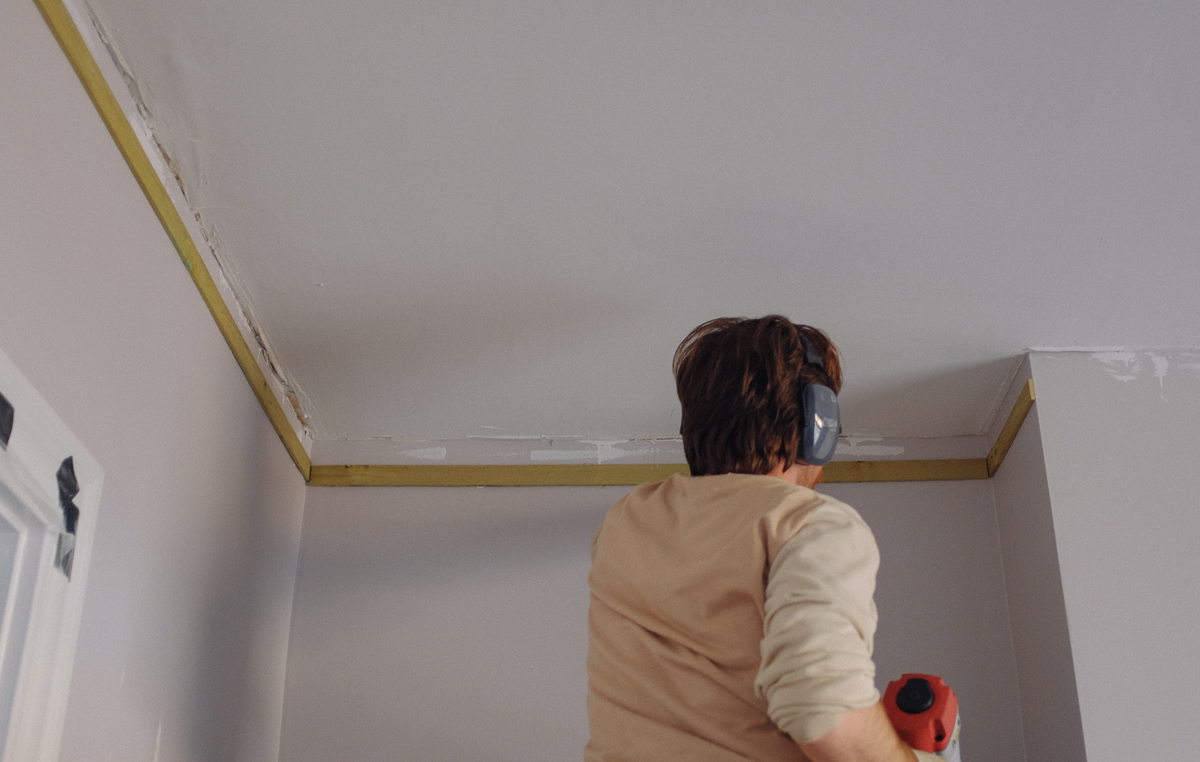
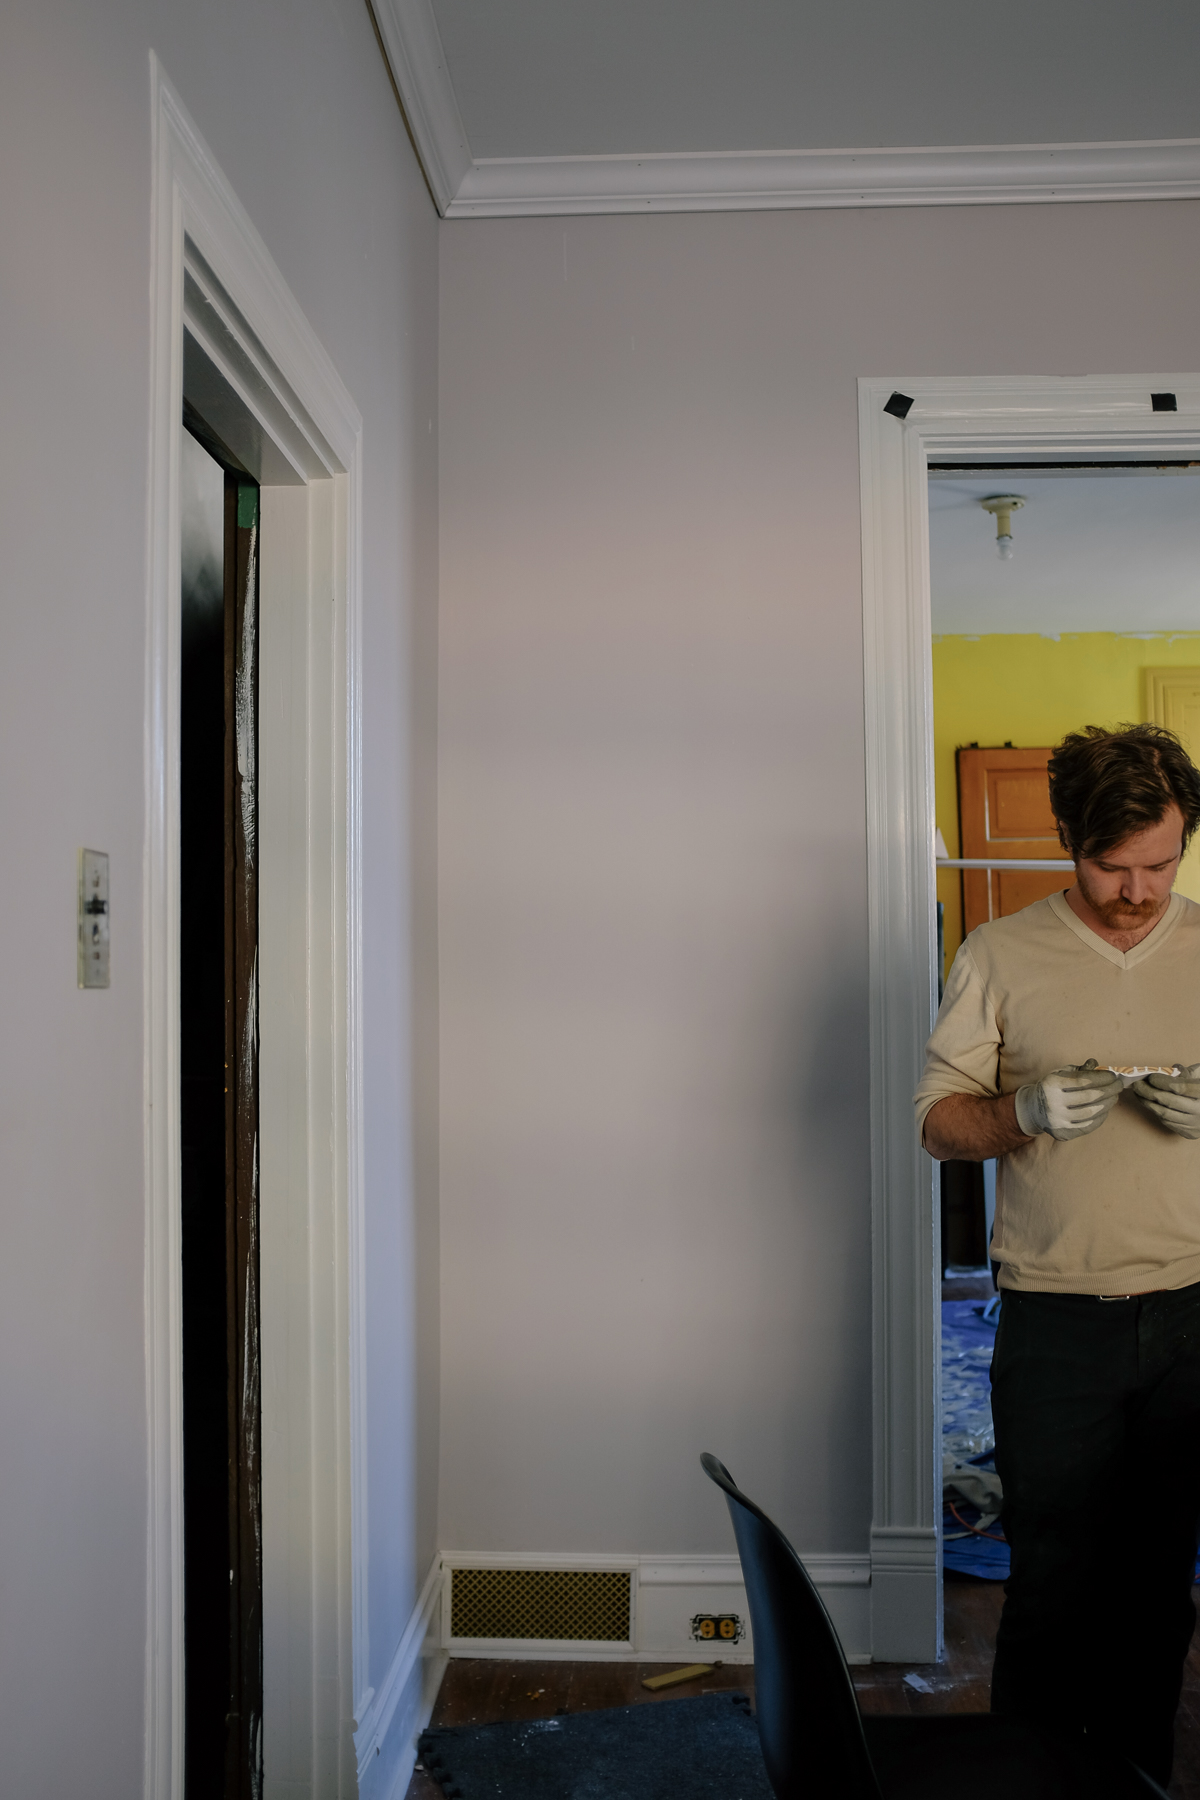
You’ll need a dedicated nailer for finishing nails and for brad nails. The harbor freight one I’m using above worked pretty well. I only used it for one night though, so I can’t talk about it’s longterm lifespan, etc. I found a set of a senco finishing nailer, brad nailer and stapler on craigslist for $160 and bought that and they work great. I haven’t had any problems with them. I’ve also got a little senco compressor that I’m very happy with. I’m a big senco fan. It’s fun to say too and sounds serious.
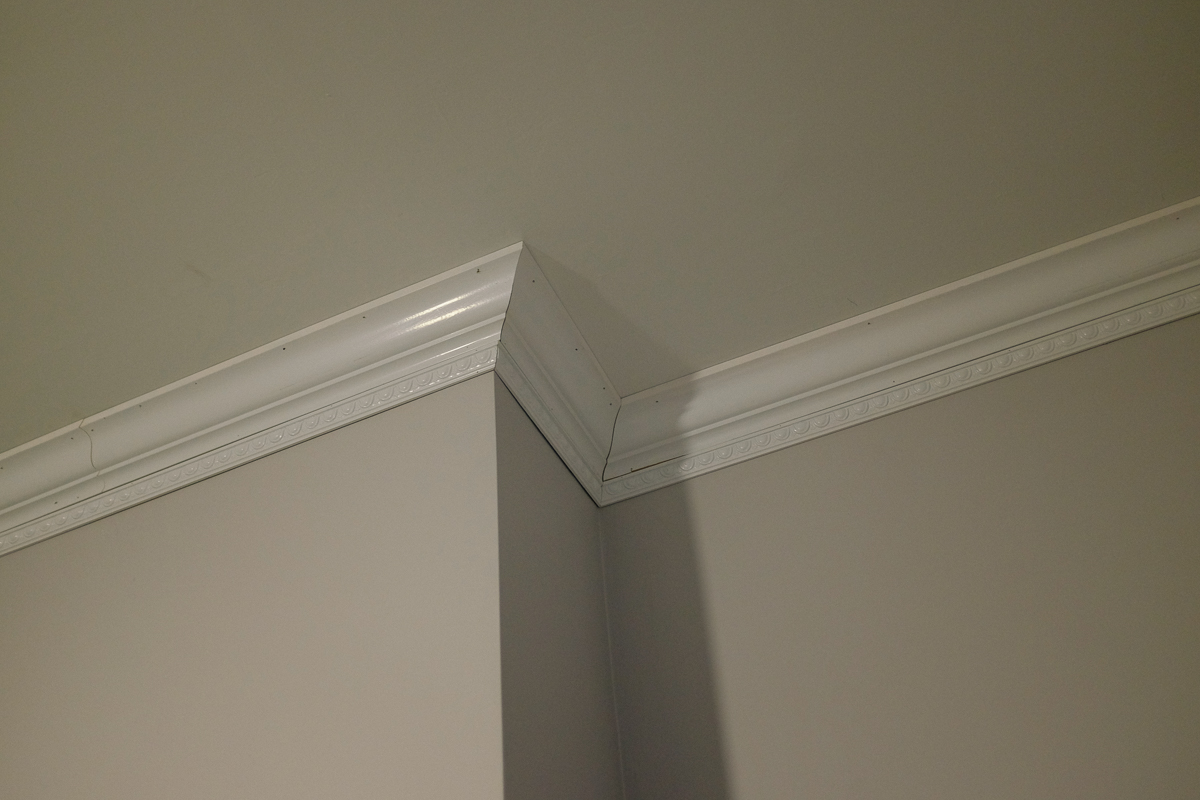
Next question; do you need a jig? If you’ve got a regular miter saw, yes. If you’ve got a fancy one its sort of a preference thing. I went with the jig for two reasons: it’s easier to think about the angles you’re cutting and I couldn’t find a wall protractor for sale except in the box for the jig that I bought. I’ve got some weird angles in some corners. I’m still a bit conflicted about this decision and I can see why each side thinks they’re doing it right. The jig is kinda a pain, it’s hard to hold, especially when you’ve got an 8 foot piece of wood on it. But keeping a spreadsheet of bevel/ miter angles handy and resetting the saw over and over is a pain too. I had the thing so I used it. Did my corners all turn out perfect? no. But they were pretty good, and I only cut one backwards doing two rooms. Unless you have a really long truck, you’re probably going to have to join some pieces in the middle of a span. To do this is to cut a 45 degree miter on both boards and fit them together.
Use finish nails on the crown molding, not brad nails. You should try to find where your ceiling joists are running to shoot the nails into there. You’ll be especially happy you did that if your ceilings are a bit off flat and you’re trying to wedge things into fitting. If you have plaster and lathe walls you should buy a small metal detector to figure out where your joists are. I’ve tried all kinds of stud sensors, only a metal detector works reliably.
The decorative smaller piece was brad nailed up under the crown molding. This should be a breeze since it sits flat on the wall and you mostly only have to miter cut 45s. Pay attention to your pattern though and try to match it, and buy extra extra for when you have to waste a piece because the pattern won’t line up. Watch this when joining pieces for a span too.
The last step is caulking. It’s tedious, but also pretty fun to see how great it looks after you’re done. You can take all your crappy joints and make them disappear. I always buy alex quick dry caulk. I wear nitrile gloves, keep a quart container of water, a sponge and a roll of paper towels on my ladder. Get into a routine and follow it the same way all around the room. Put a thin line of caulk in the joint, then between the crown and the ceiling, then between the decorative piece and the wall, then between the two pieces. Put the caulk gun on the ladder, wet finger run along a line, dab caulk into nail holes, wet finger run along joint, repeat, repeat. You’ll probably put on too much caulk at first, and it takes a little practice to get used to squeezing a bit, then hitting the release once you finish your line, but stick with it, it’s not that tough.
Oh, don’t ever buy one of those caulk spreading tools they sell. they’re junk. They seem like a good idea, but they just end up getting gunked up constantly and are difficult to clean off, and then they start to leave lines where you don’t want them. Buy gloves, use your fingers.

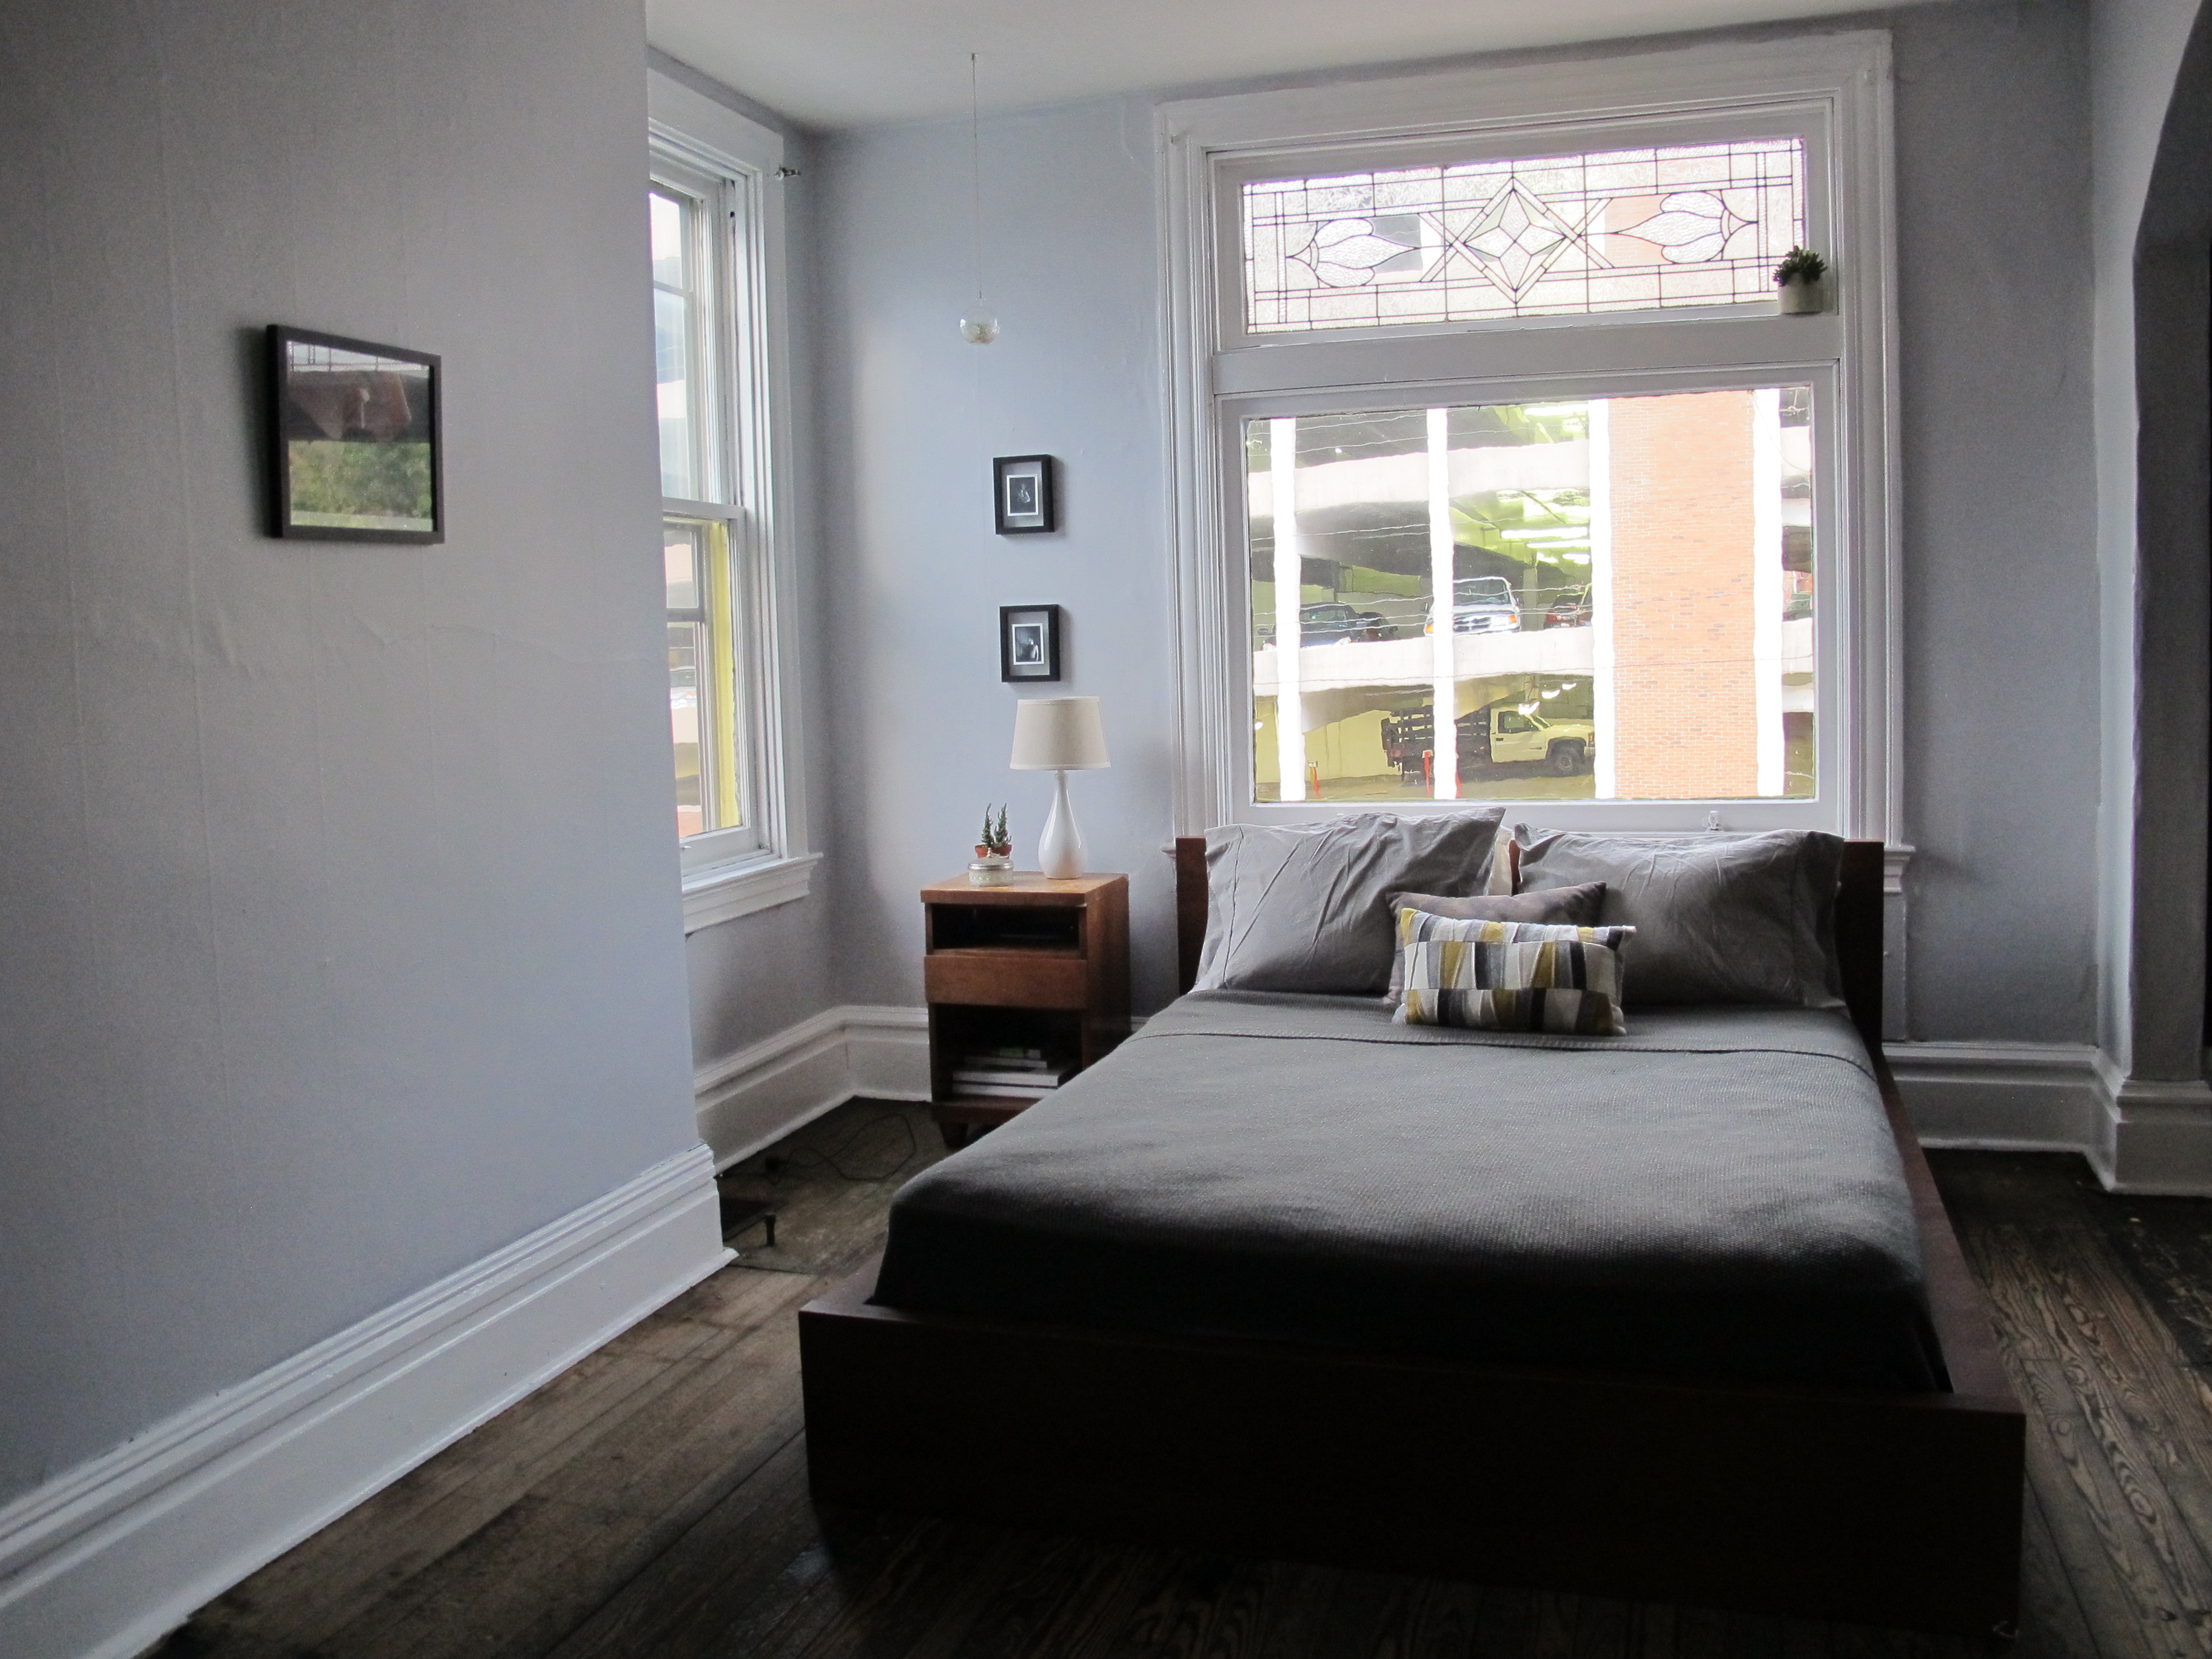
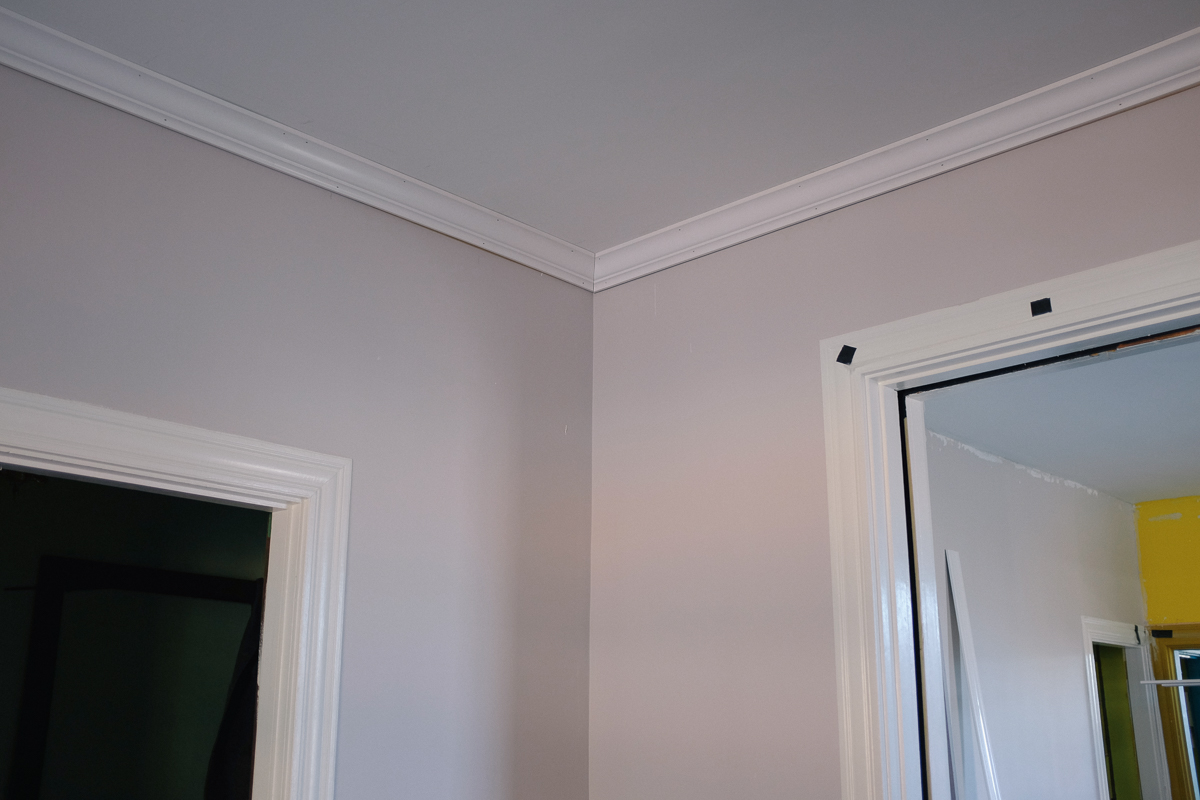
Then a coat of paint and you’re done! The crown molding makes a huge difference in how the rooms look. It’s a fun project too.
by Maggie and Ed | Dec 1, 2014 | Home Renovation
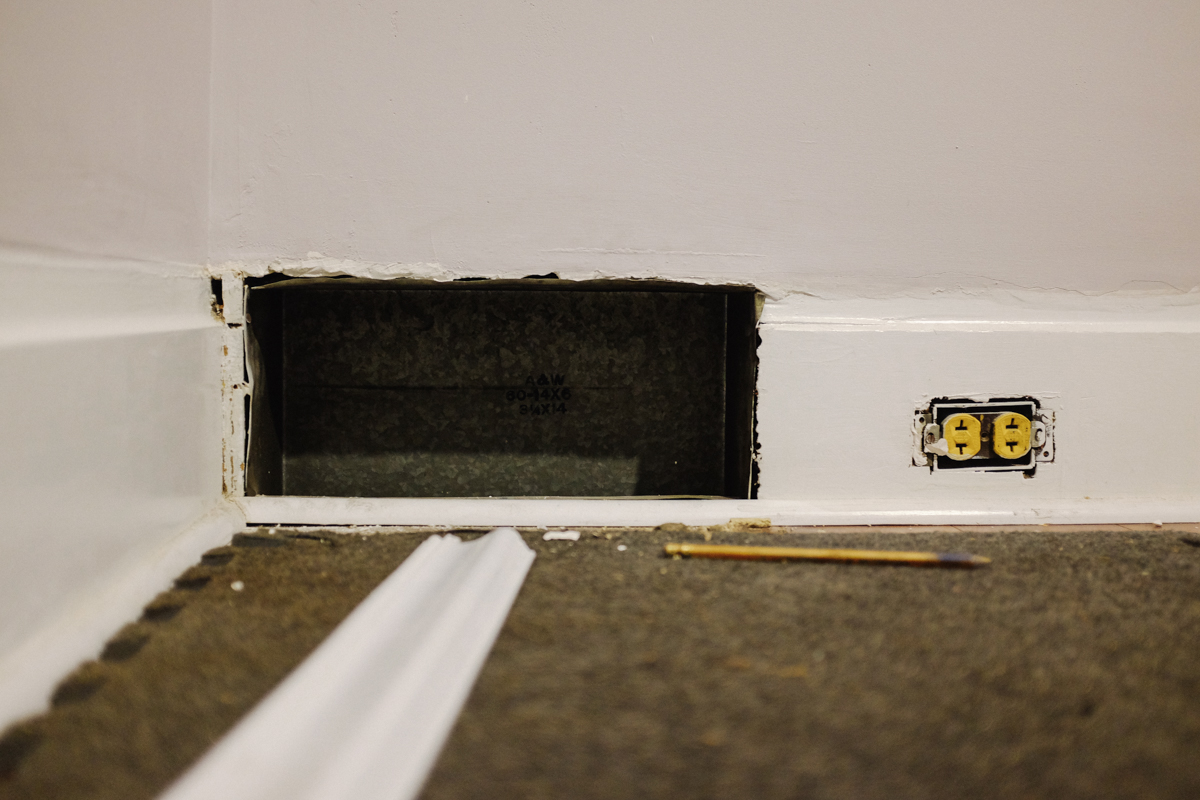
I was never crazy about the vent covers for our baseboard vents, but we ended up having to get creative when it came time to replace them once we got to work on molding. When we had our walls plastered on the first floor, we ran into some problems afterward finding baseboard caps because of the way the walls covered the ledge of the bottom panels. We also lost about an inch between the original sub floor and the bottom of the vent once we installed our flooring. With quarter rounds in place and the new caps for the baseboards ready to go on, we decided to make custom vent covers that would blend seamlessly with the rest of our trim.
Luckily, we have shut off knobs in our basement for all of the vents in the house, so we could make simple screens to cover the vents without losing any of the functionality of removing the adjustable covers. We picked up a few 6′ pieces of 1/2″ decorative molding, a panel of metal sheeting, and some super glue from Home Depot and got to work.
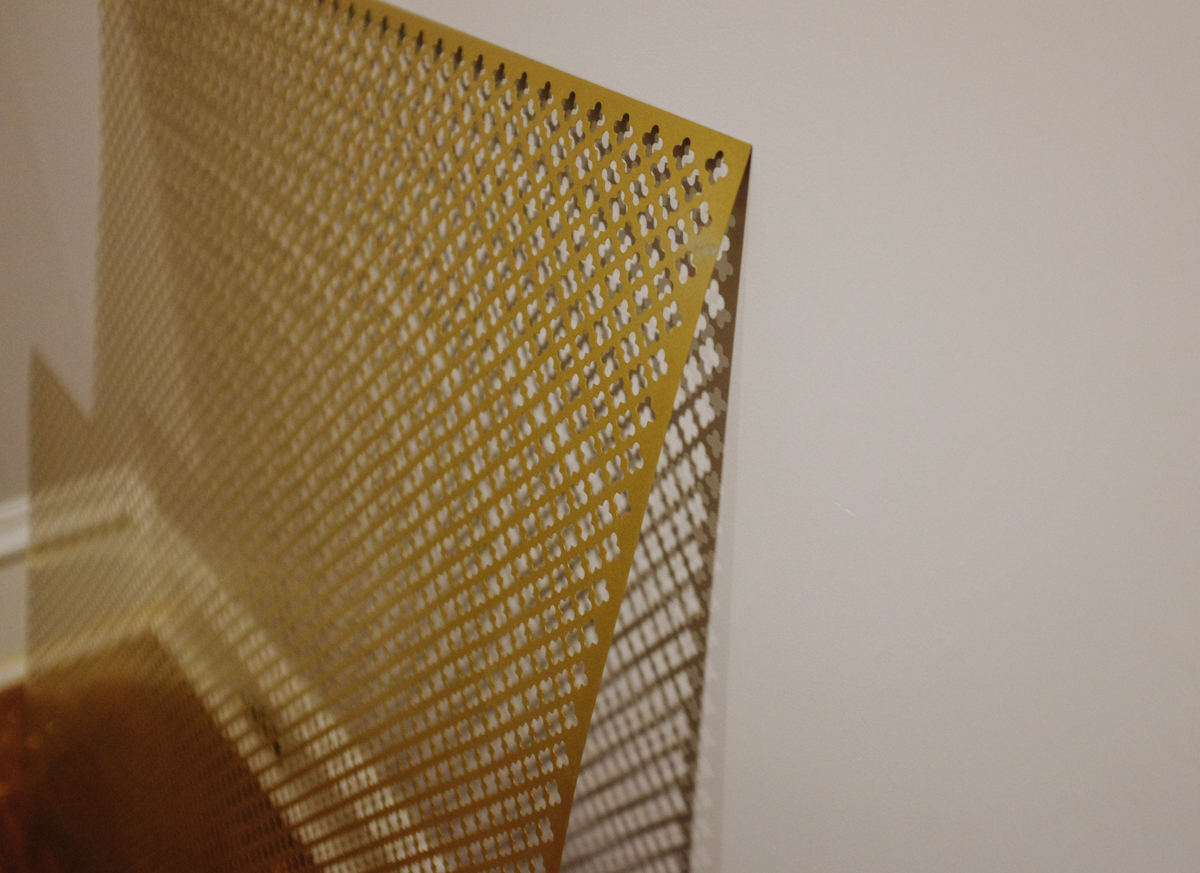

Measure twice, cut once. The edges around the vent were in pretty rough shape in our case, so we had to be pretty careful before making our cuts to ensure that we weren’t exposing any wonky plaster once the covers were in place. I cut the pieces on a 45 degree angle and simply glued them to create a frame. Like the corners in the crown molding, try and get the corners as exact as possible, but you can always fill in any gaps with caulk before painting. I then cut the decorative sheeting to fit within the frame with a pair of heavy tin snips. You may get some curling along the edges, just snip these off after you get the general shape so the sheeting will lie flat against the frame. I also found that using some flat thumbtacks to hold the screen in place while gluing was a huge help.
The superglue took quite a bit longer to dry than I expected. I would let them set up for at least 20 minutes before attaching them to the wall. After they feel sturdy and we were sure the sheeting was tightly in place we nailed them directly to the baseboard with a brad nailer.
by Ed Hyp | Nov 17, 2014 | Home Renovation, Uncategorized
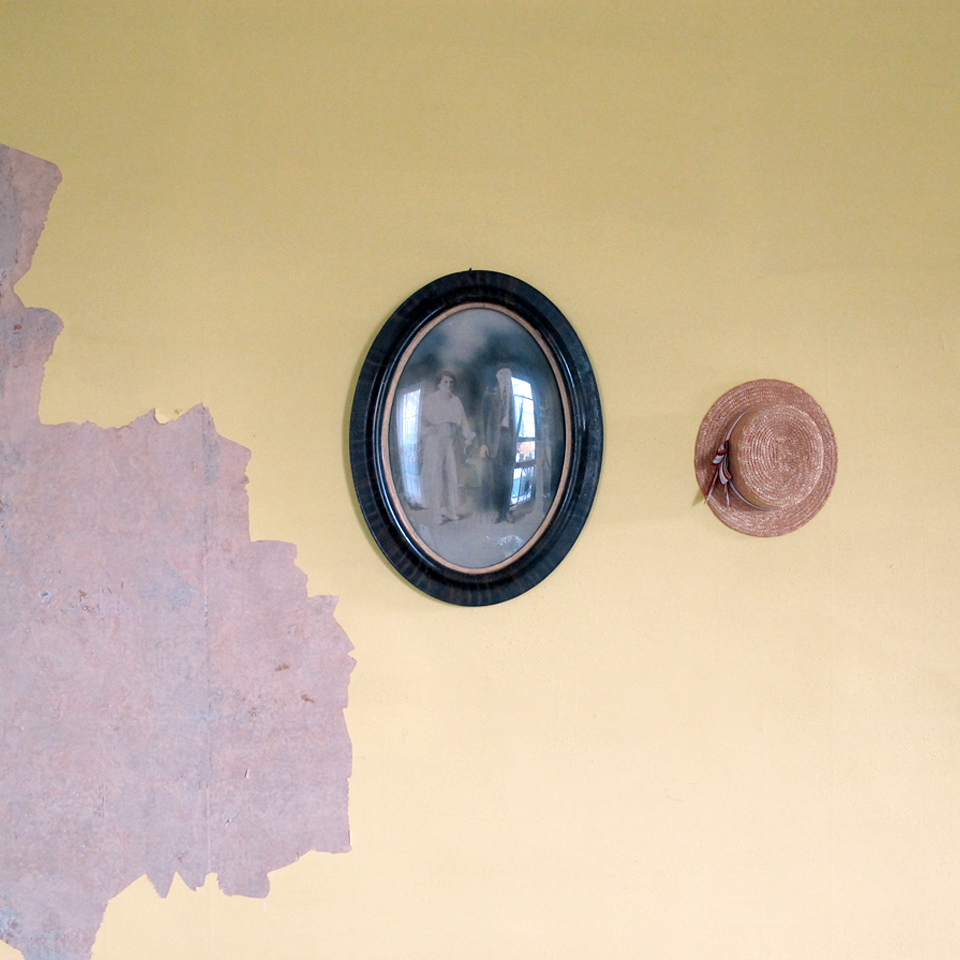
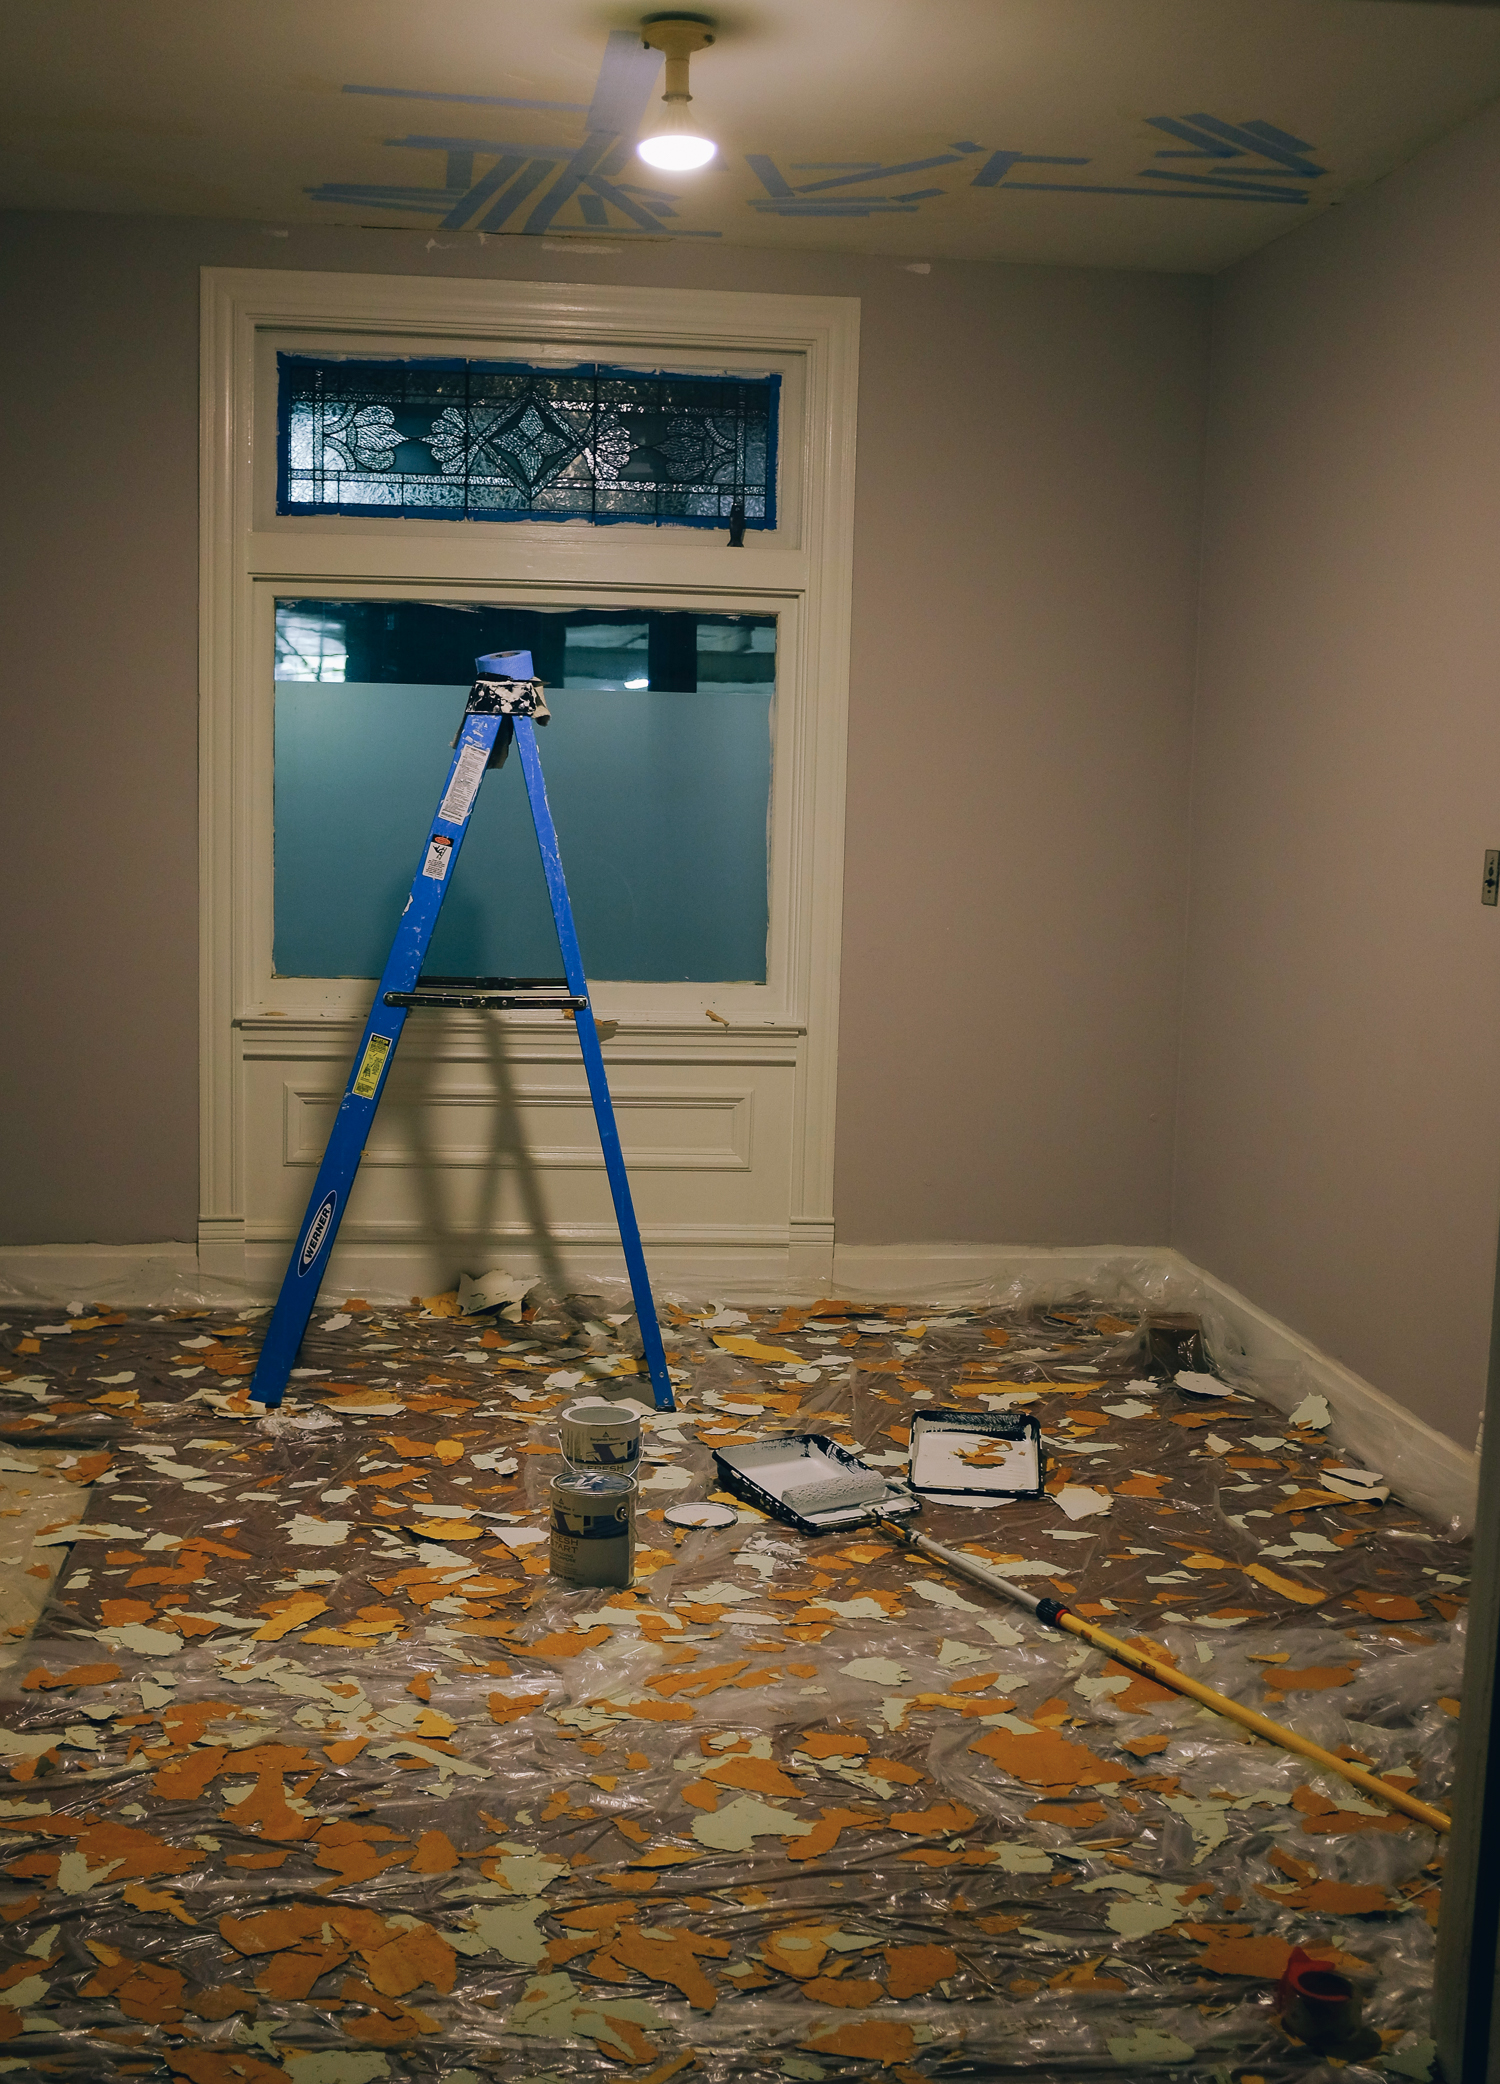
Our ceilings were in pretty rough shape. They’re Plaster and lathe, which was partially cracking, but still solid. They’d been wallpapered (ceilingpapered?) several times and were just generally bumpy and gross looking. The greenish tinted white paint didn’t help either.
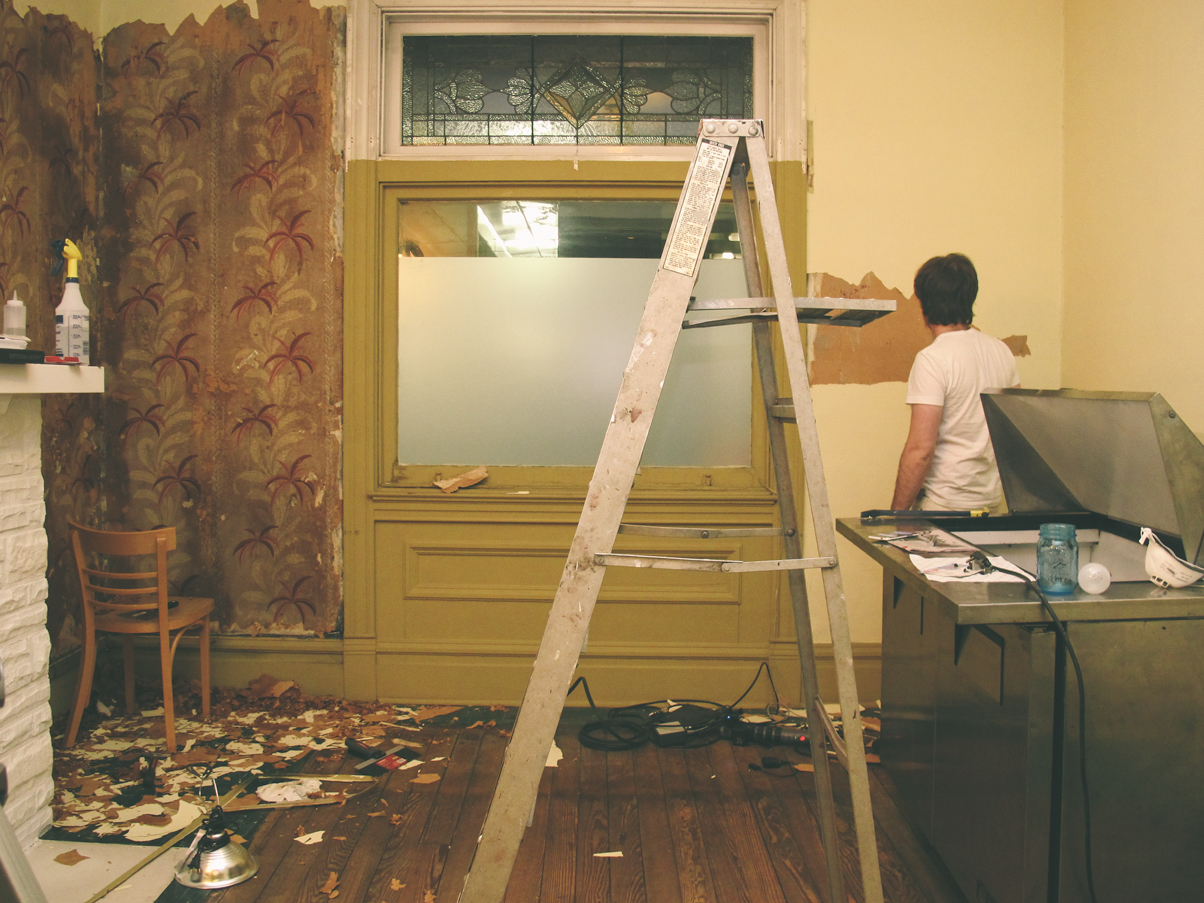
I inquired about having the plasterers do the work, but they wanted an additional ~$3000 so I thought we’d have to go a different route. We were planning on putting in crown molding and after getting the walls fixed and the floors put in, I couldn’t put it off any longer. I wasn’t all that confident about skim coating so we started to look at tin ceiling tiles. After learning that you need backing boards for tin ceilings, adding even more cost and work, we looked at styrofoam tiles that glue up. We ordered some samples, and they looked pretty lousy unpainted. So they’d have to be brushed by hand. Then we tried to find filler material and kept coming up short. I started looking at ceilings more and realized that there were a lot of tin ceilings in Pittsburgh and wondered if it was worth it to put in a faux version of what half of the shops here have anyways, at a cost of about $600, and a bunch of time finishing. We went through a couple of other ideas, and decided to put up hexagon molding in the middle room and to tape and joint compound the ceilings. I bought a product called magictrowel and was feeling pretty confident. Just first have to scrape off any loose wallpaper.
There was a lot of loose wallpaper. Most of the ceiling was loose. I painted a few coats of primer to seal the paper that remained and covered everything that looked suspect with joining tape. I got a thick nap roller and thought no problem I’ll mix up some JC and magictrowel it out and it’ll look perfect.
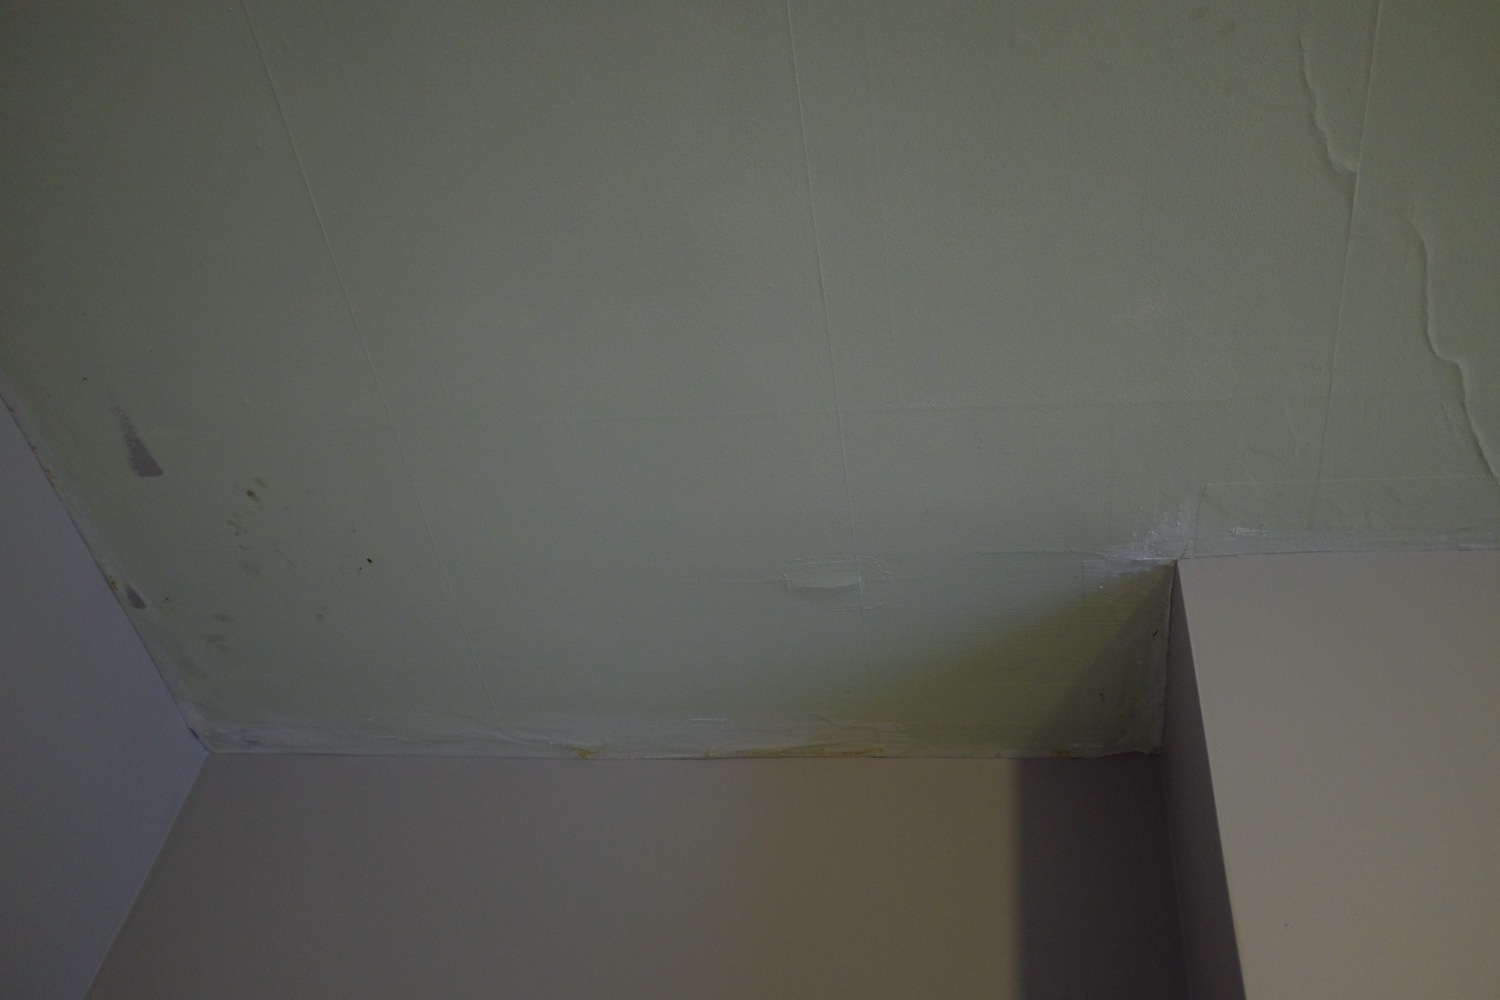
I had no luck at all with the magictrowel. My first unfortunate test with 30 minute joint compound dried so fast the trowel did nothing and I had a textured ceiling. That was my fault, a dumb thing to try. I jumped on a ladder with a 24″ trowel and pressed as hard as I could to try to smooth it. Then sand sand sand to fix my mistakes in a respirator of course (which is exhausting), and with dropcloths covering all exits. I tried with 90 minute, better but not great. Jumped onto ladder with trowel and sponge desperately trying to avoid sanding again. Maggie and I tried one with each. Worked better but not smooth. Again, on the ladder. Which got me thinking maybe I should just give up the gimmicky thing and learn to smooth this stuff the real way. At least I’ll be to blame if it comes up lumpy.
 So, I bought a hawk, which was more fun than you’d think and got on a ladder for 6ish hours a day for a week and put up 1/4 bags of 90 minute joint compound until i got the ceilings smooth.