by Maggie and Ed | Sep 9, 2015 | Entrée, Food, Recipes, Sandwiches, steve's deli

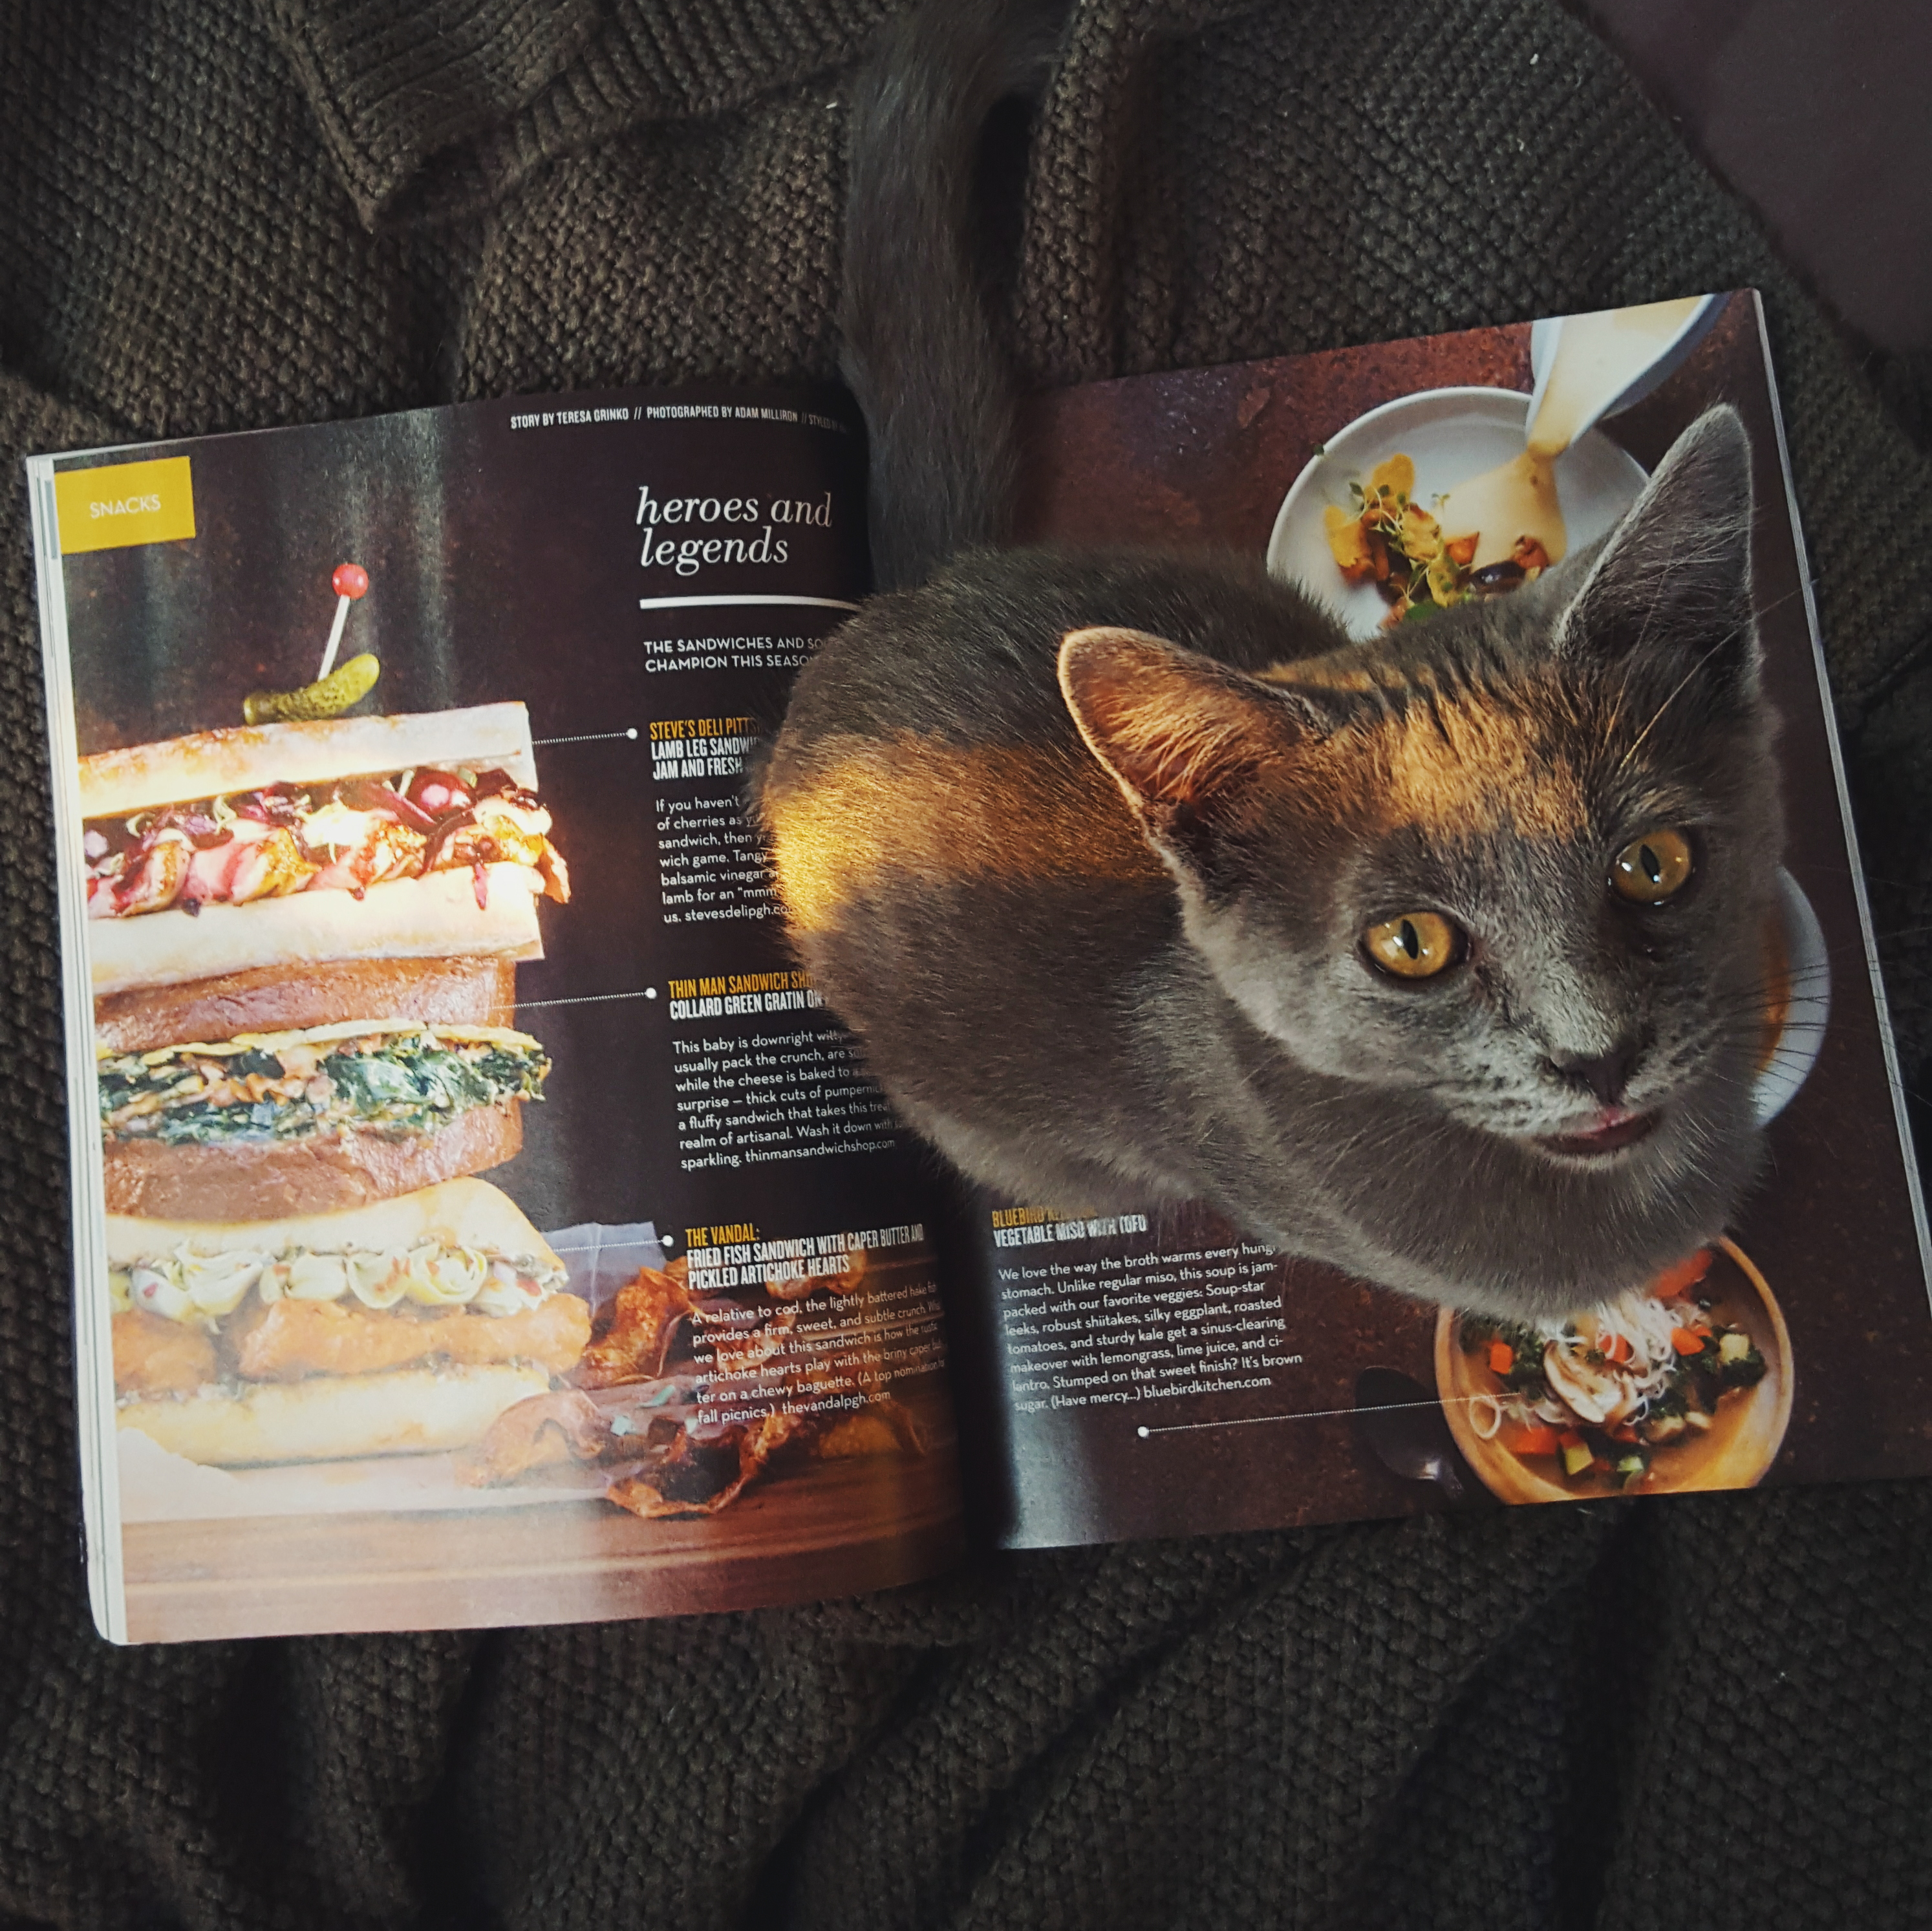
A few weeks before our official opening for Steve’s Deli, Table Magazine asked us about our favorite fall sandwich. The issue dropped last week and we’re really excited to be a part of it. See our full recipe below and make sure to grab a copy of the current issue with some killer additions from Thin Man Sandwich Shop and The Vandal.
Ingredients
- 1 baguette
- 1/2 cup pitted sour cherries
- 1/4 cup red onion chopped
- 2 sprigs thyme
- 1 tablespoon sugar
- 1 tablespoon balsamic vinegar
- 3 tablespoon butter
- 2 cloves garlic (minced)
- 1 lb boneless butterflied lamb leg
- 4oz creamy firm cheese (we used Cypress Grove’s Lamb Chopper)
- 1 bunch sage chopped into ribbons
- salt and pepper
- juice of 1/2 lemon
Preparation
For the jam:
- Melt 2 tablespoons butter in a small sauce pan
- Add onions and cook until translucent
- Add thyme, cherries, balsamic vinegar, sugar and a pinch of salt, cover and cook on medium low for 15 minutes (until jammy).
- Remove from heat and reserve
For the lamb:
- Chop lamb into 1 inch chunks and generously season with salt and pepper.
- In a medium skillet, melt 1 tablespoon of butter and saute garlic.
- After about a minute, add lamb and sear on high until rare (about 3-5 minutes).
- Reduce heat and add your choice of cheese, top with a lid to melt.
Assembly
- Divide baguette into 4 sections
- Layer lamb and cheese, cherry jam
- Top with fresh sage and a squeeze of lemon juice

by Maggie and Ed | Aug 18, 2015 | Entrée, Food, Sandwiches, steve's deli, Vegan, Vegetarian
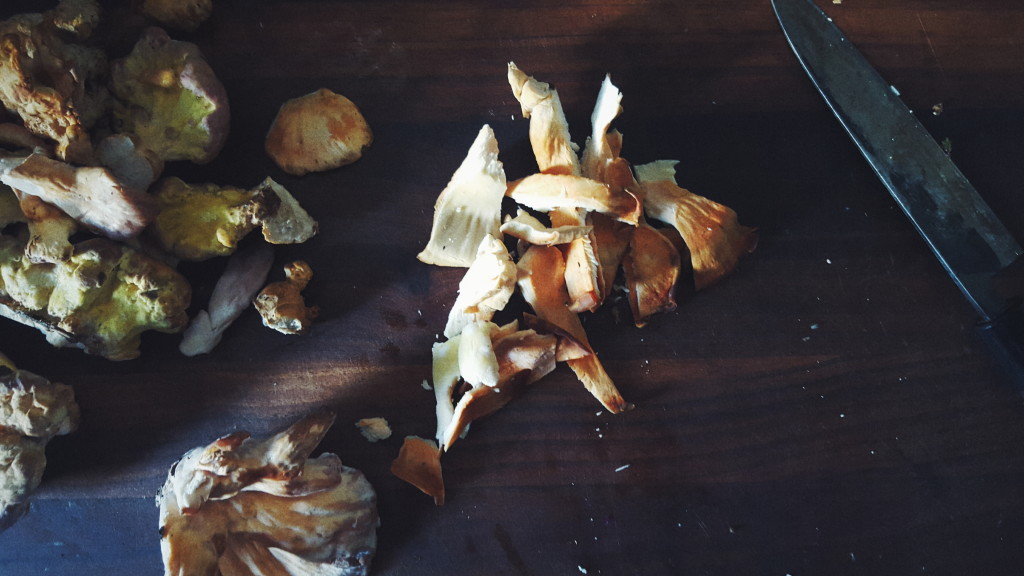
Over the weekend, Bill from Clarion River Organics sent us home with a pound of Chicken of the Woods. We’ve been really happy with how our Vegan BBQ turned out for Steve’s Deli and were eager to try some similar techniques in a grab and go sandwich.
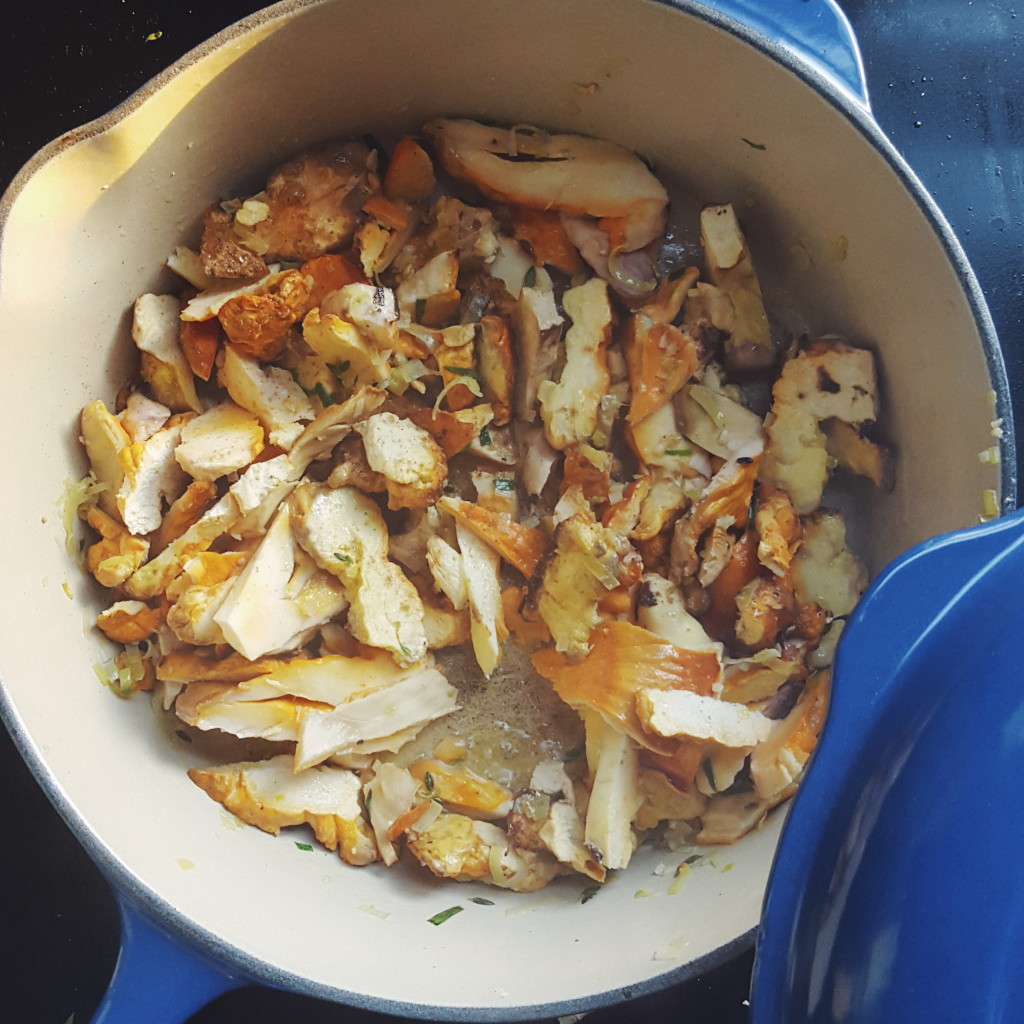
We browned some chopped leeks and garlic in a tablespoon of olive oil until translucent, and then added the mushrooms, lemon thyme, salt, pepper, and tarragon to the pot with a few hefty pours of white wine. We covered and simmered until the Chicken of the Woods was tender, roughly 10 minutes.

For the rest of the mixture we stayed fairly basic: Just Mayo, lemon juice, grapes, raw leeks, and a few added tarragon leaves. The texture was perfect for the most part. Both sandwiches had a one or two dry bites, not sure if it was the result of not enough liquid or just past the prime for some of the mushrooms. All in all, a solid start. Can’t wait to try more!

by Maggie and Ed | Jun 28, 2015 | steve's deli
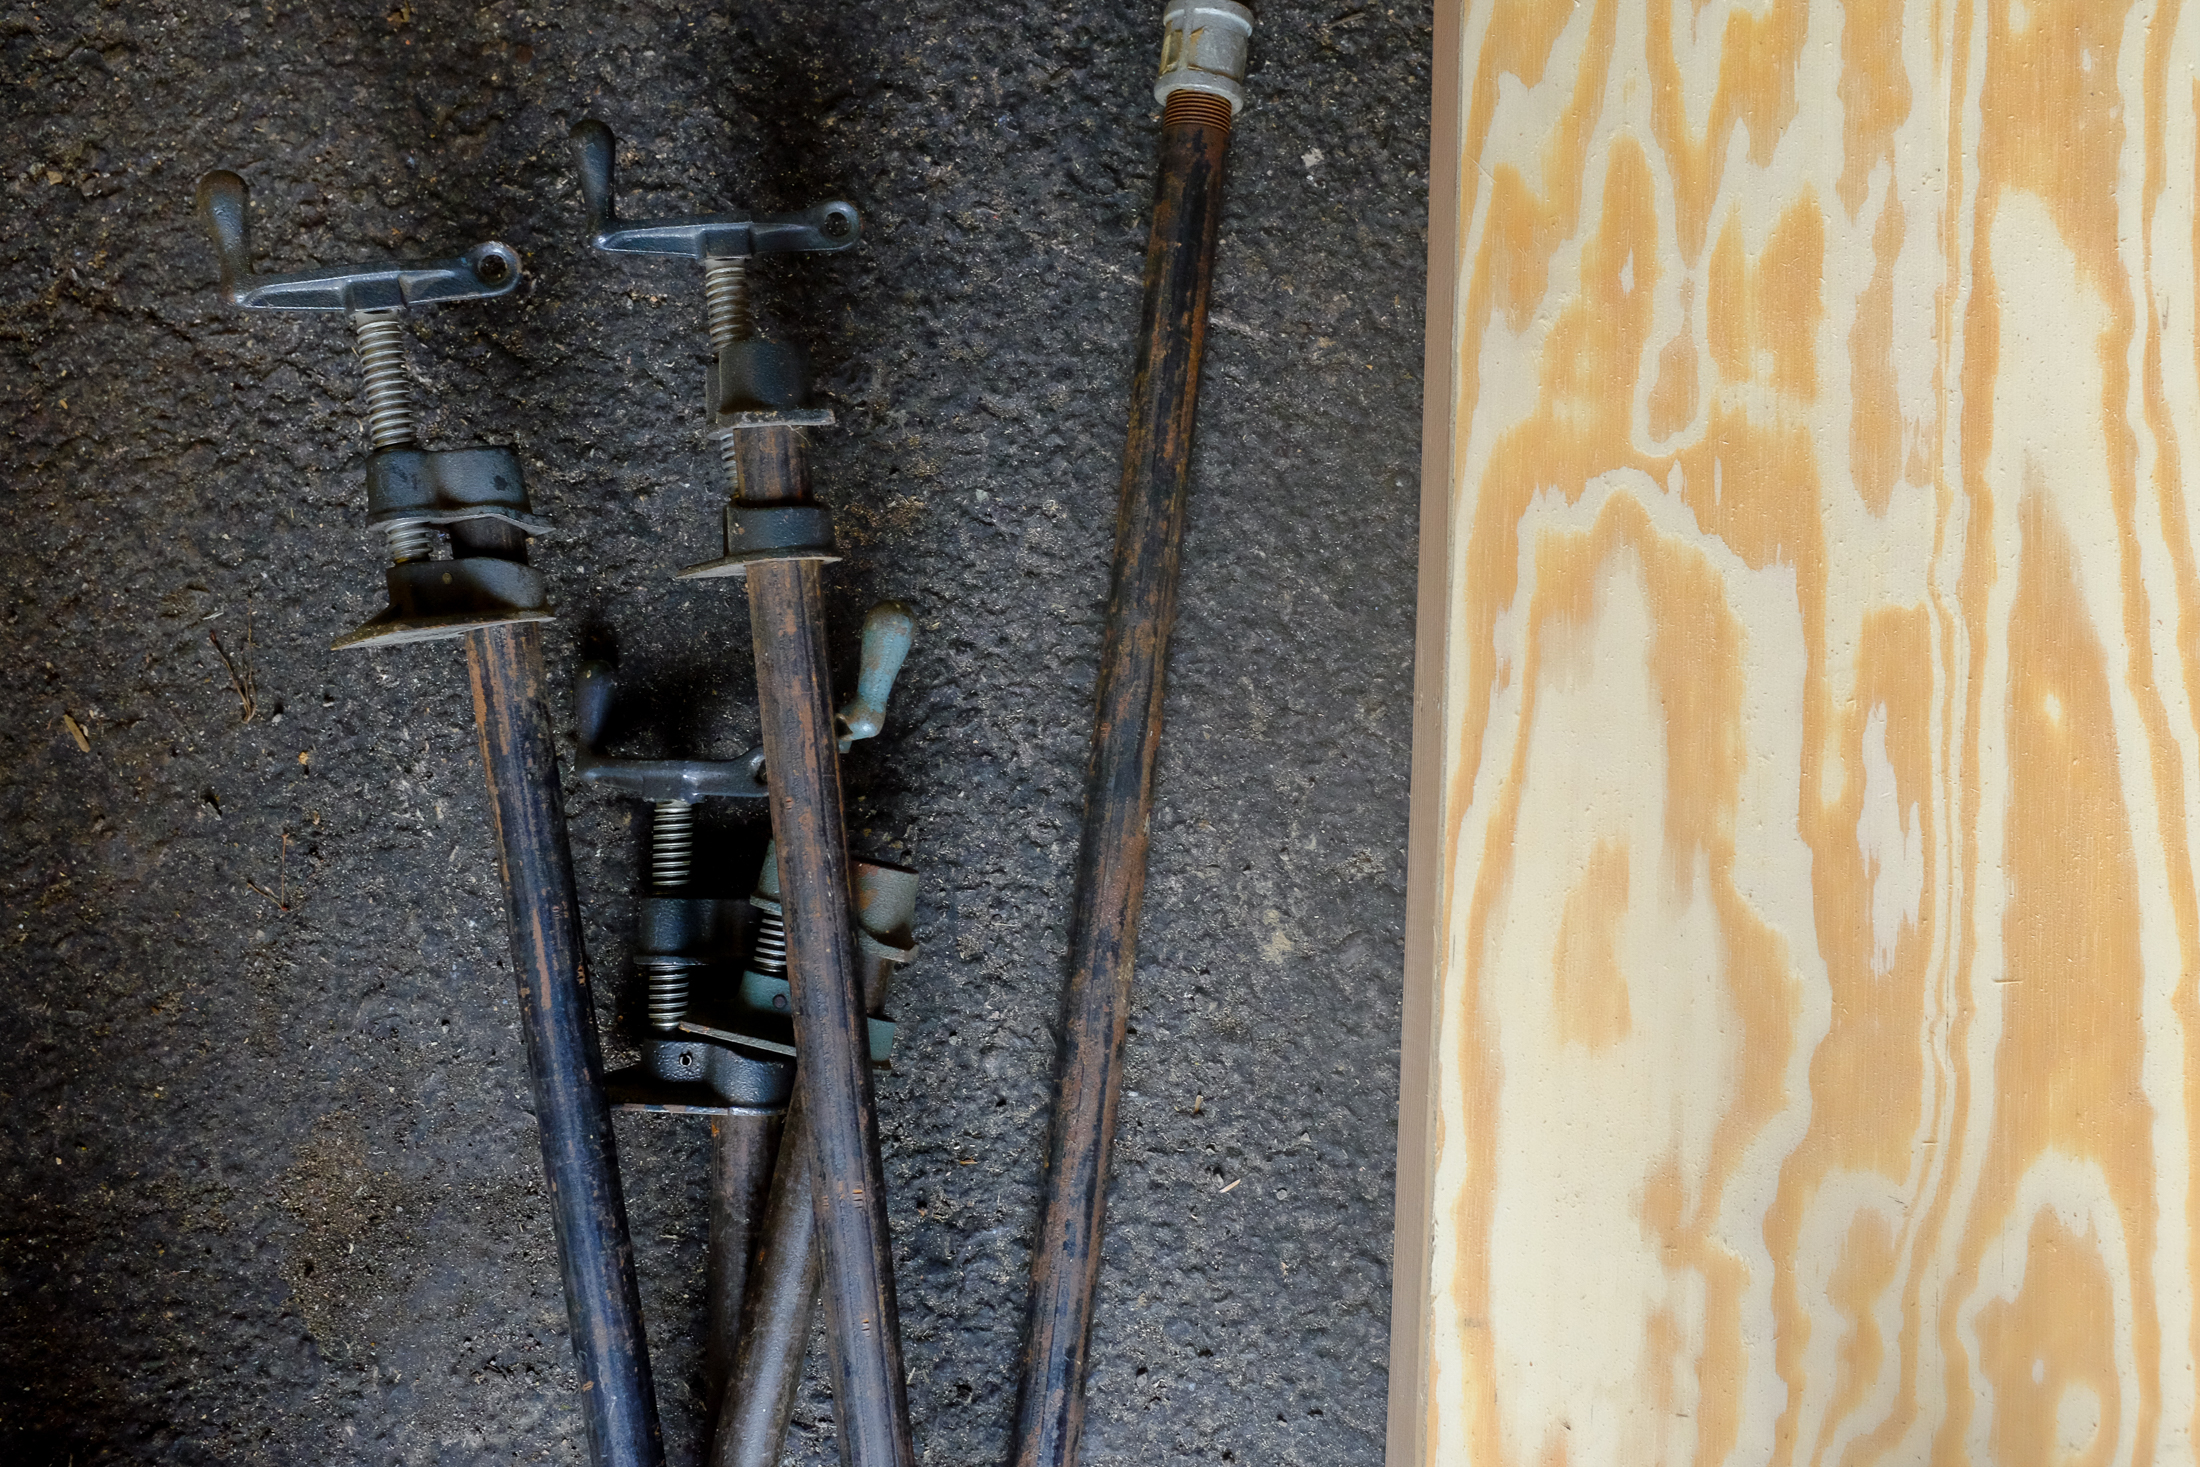
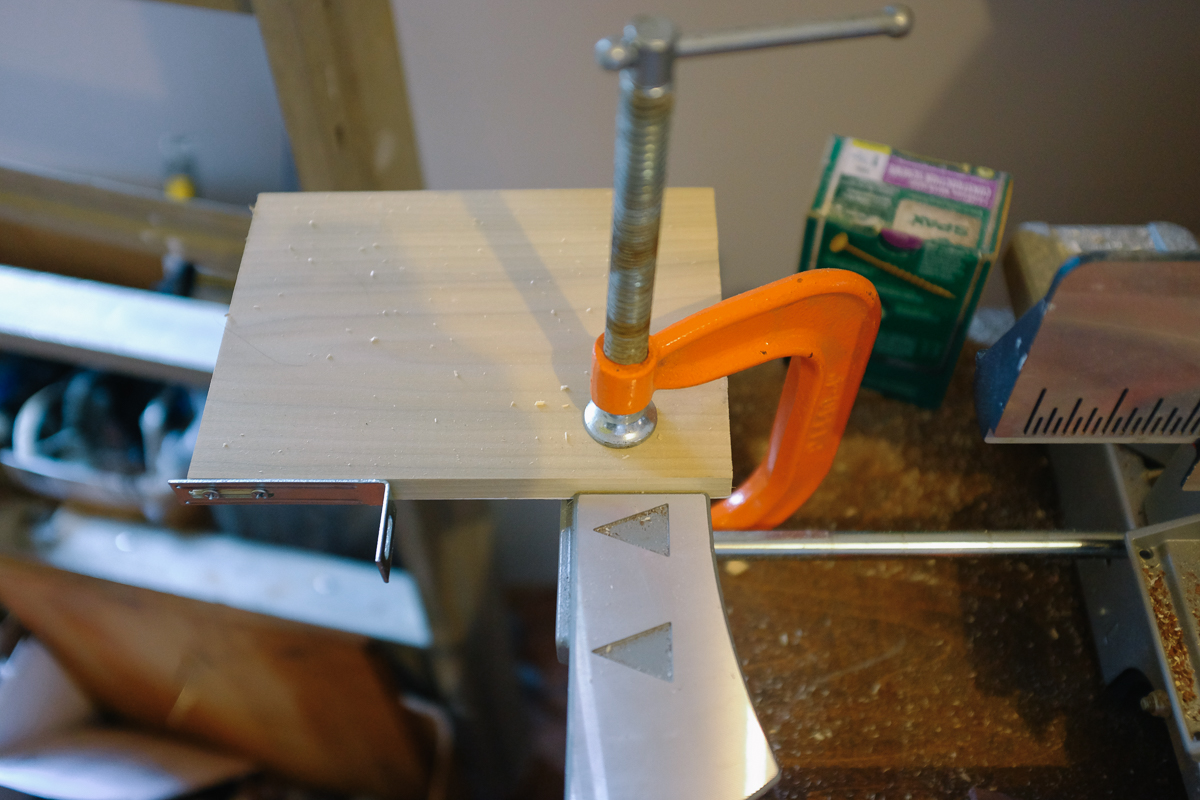
Pole clamps were pretty nice to have around.
I’ve been pretty busy these past few weeks building out our counter top and booth for the Steve’s Deli opening in July. We lucked out and got some cabinets at Construction Junction that match the display shelves that Wheel and Wedge installed at the booth. 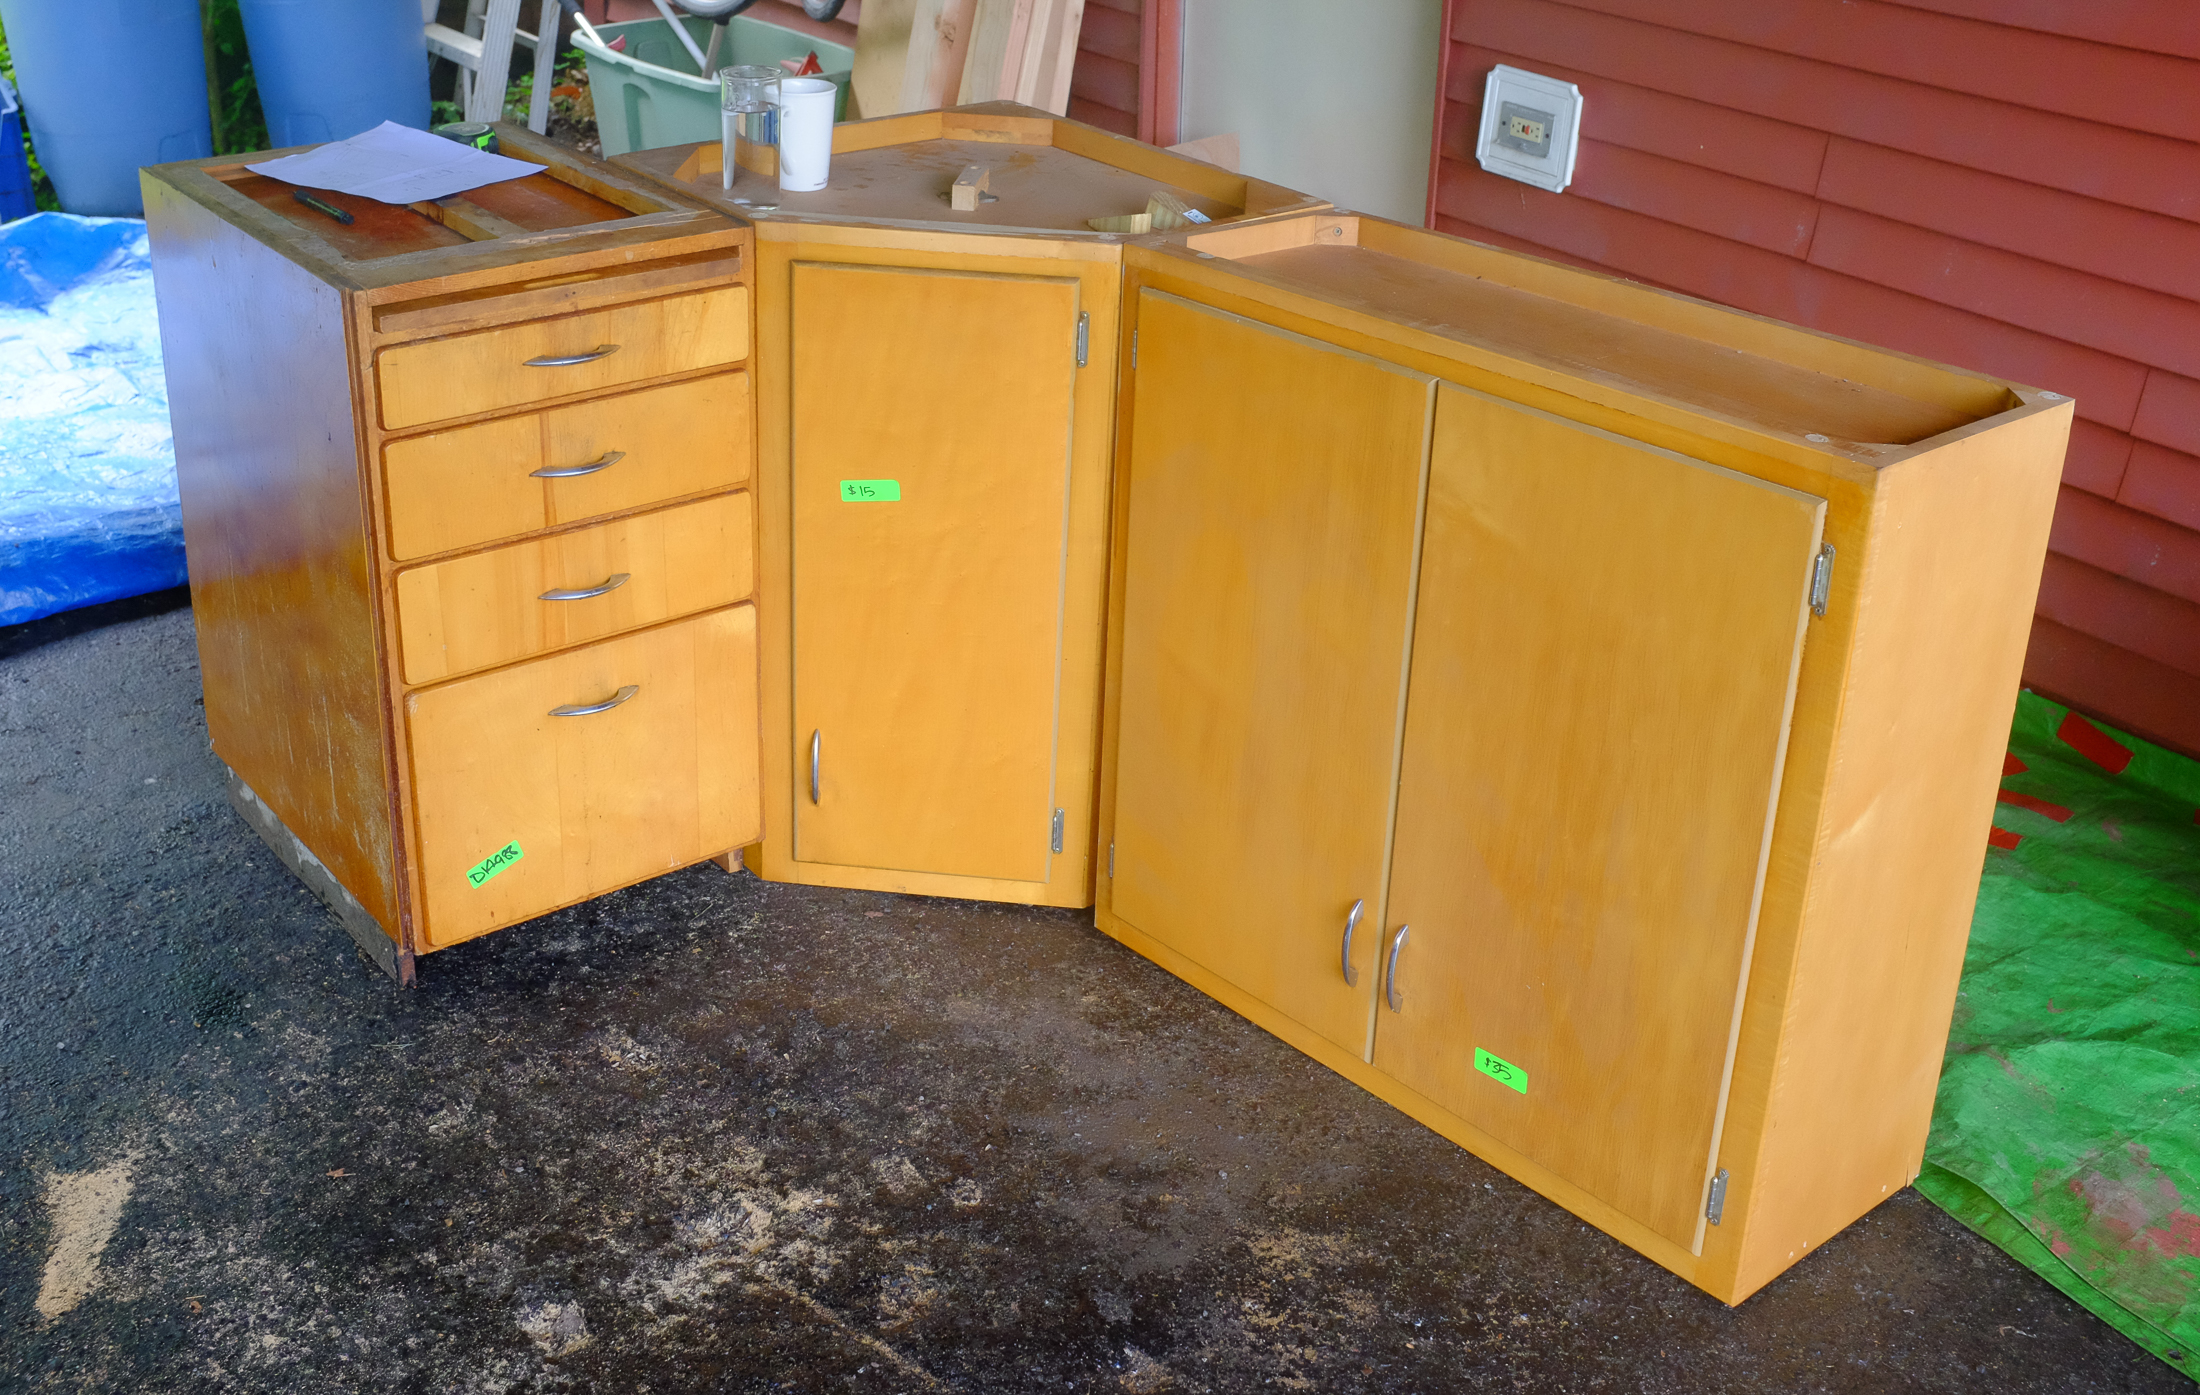 We bought a bunch of walnut from John at Timber Trails in Grove City. We glued and clamped it to a plywood backing board and made a butcher block ish counter top. Those flat metal stuff joiner thingys make good glue scrapers.
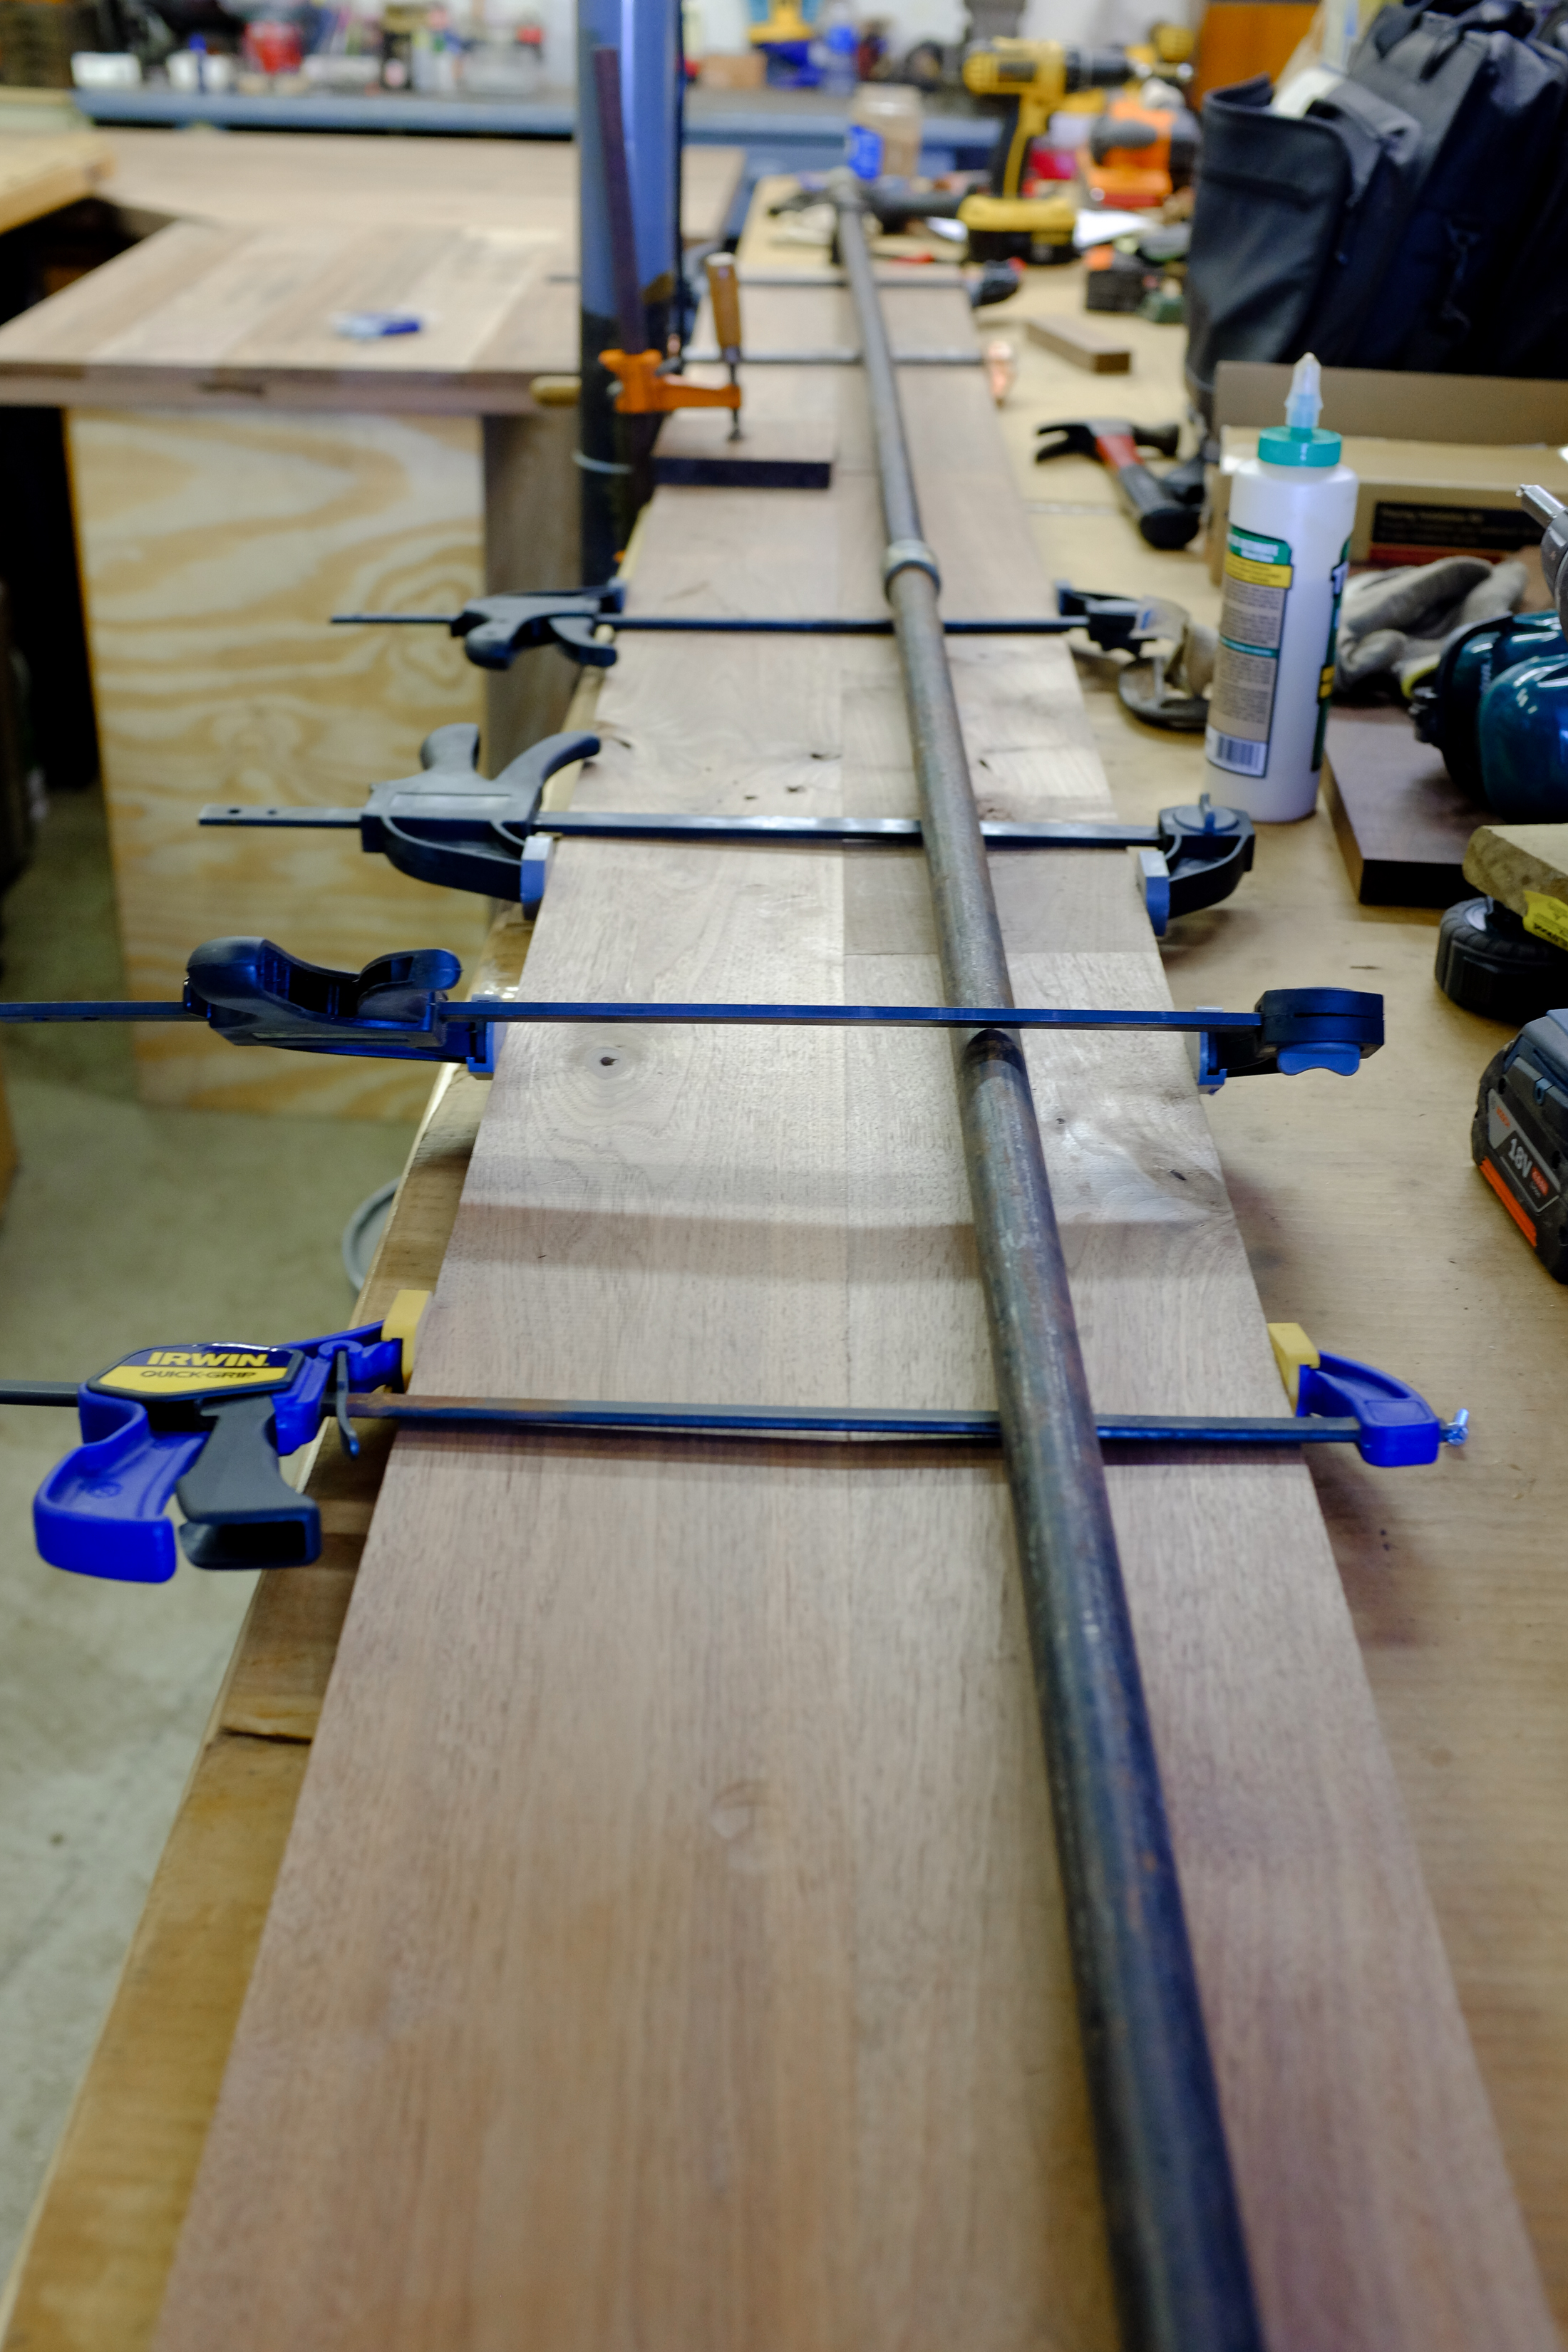
Clamping the 9′ long section to put onto the wall pieces we framed out of 2x4s.
 Gluing and fastening the outer frame around the countertop. I wanted it to be thicker than 4/4 wood, so I attached a frame half a board wide around the outer perimeter to conceal the plywood underneath.
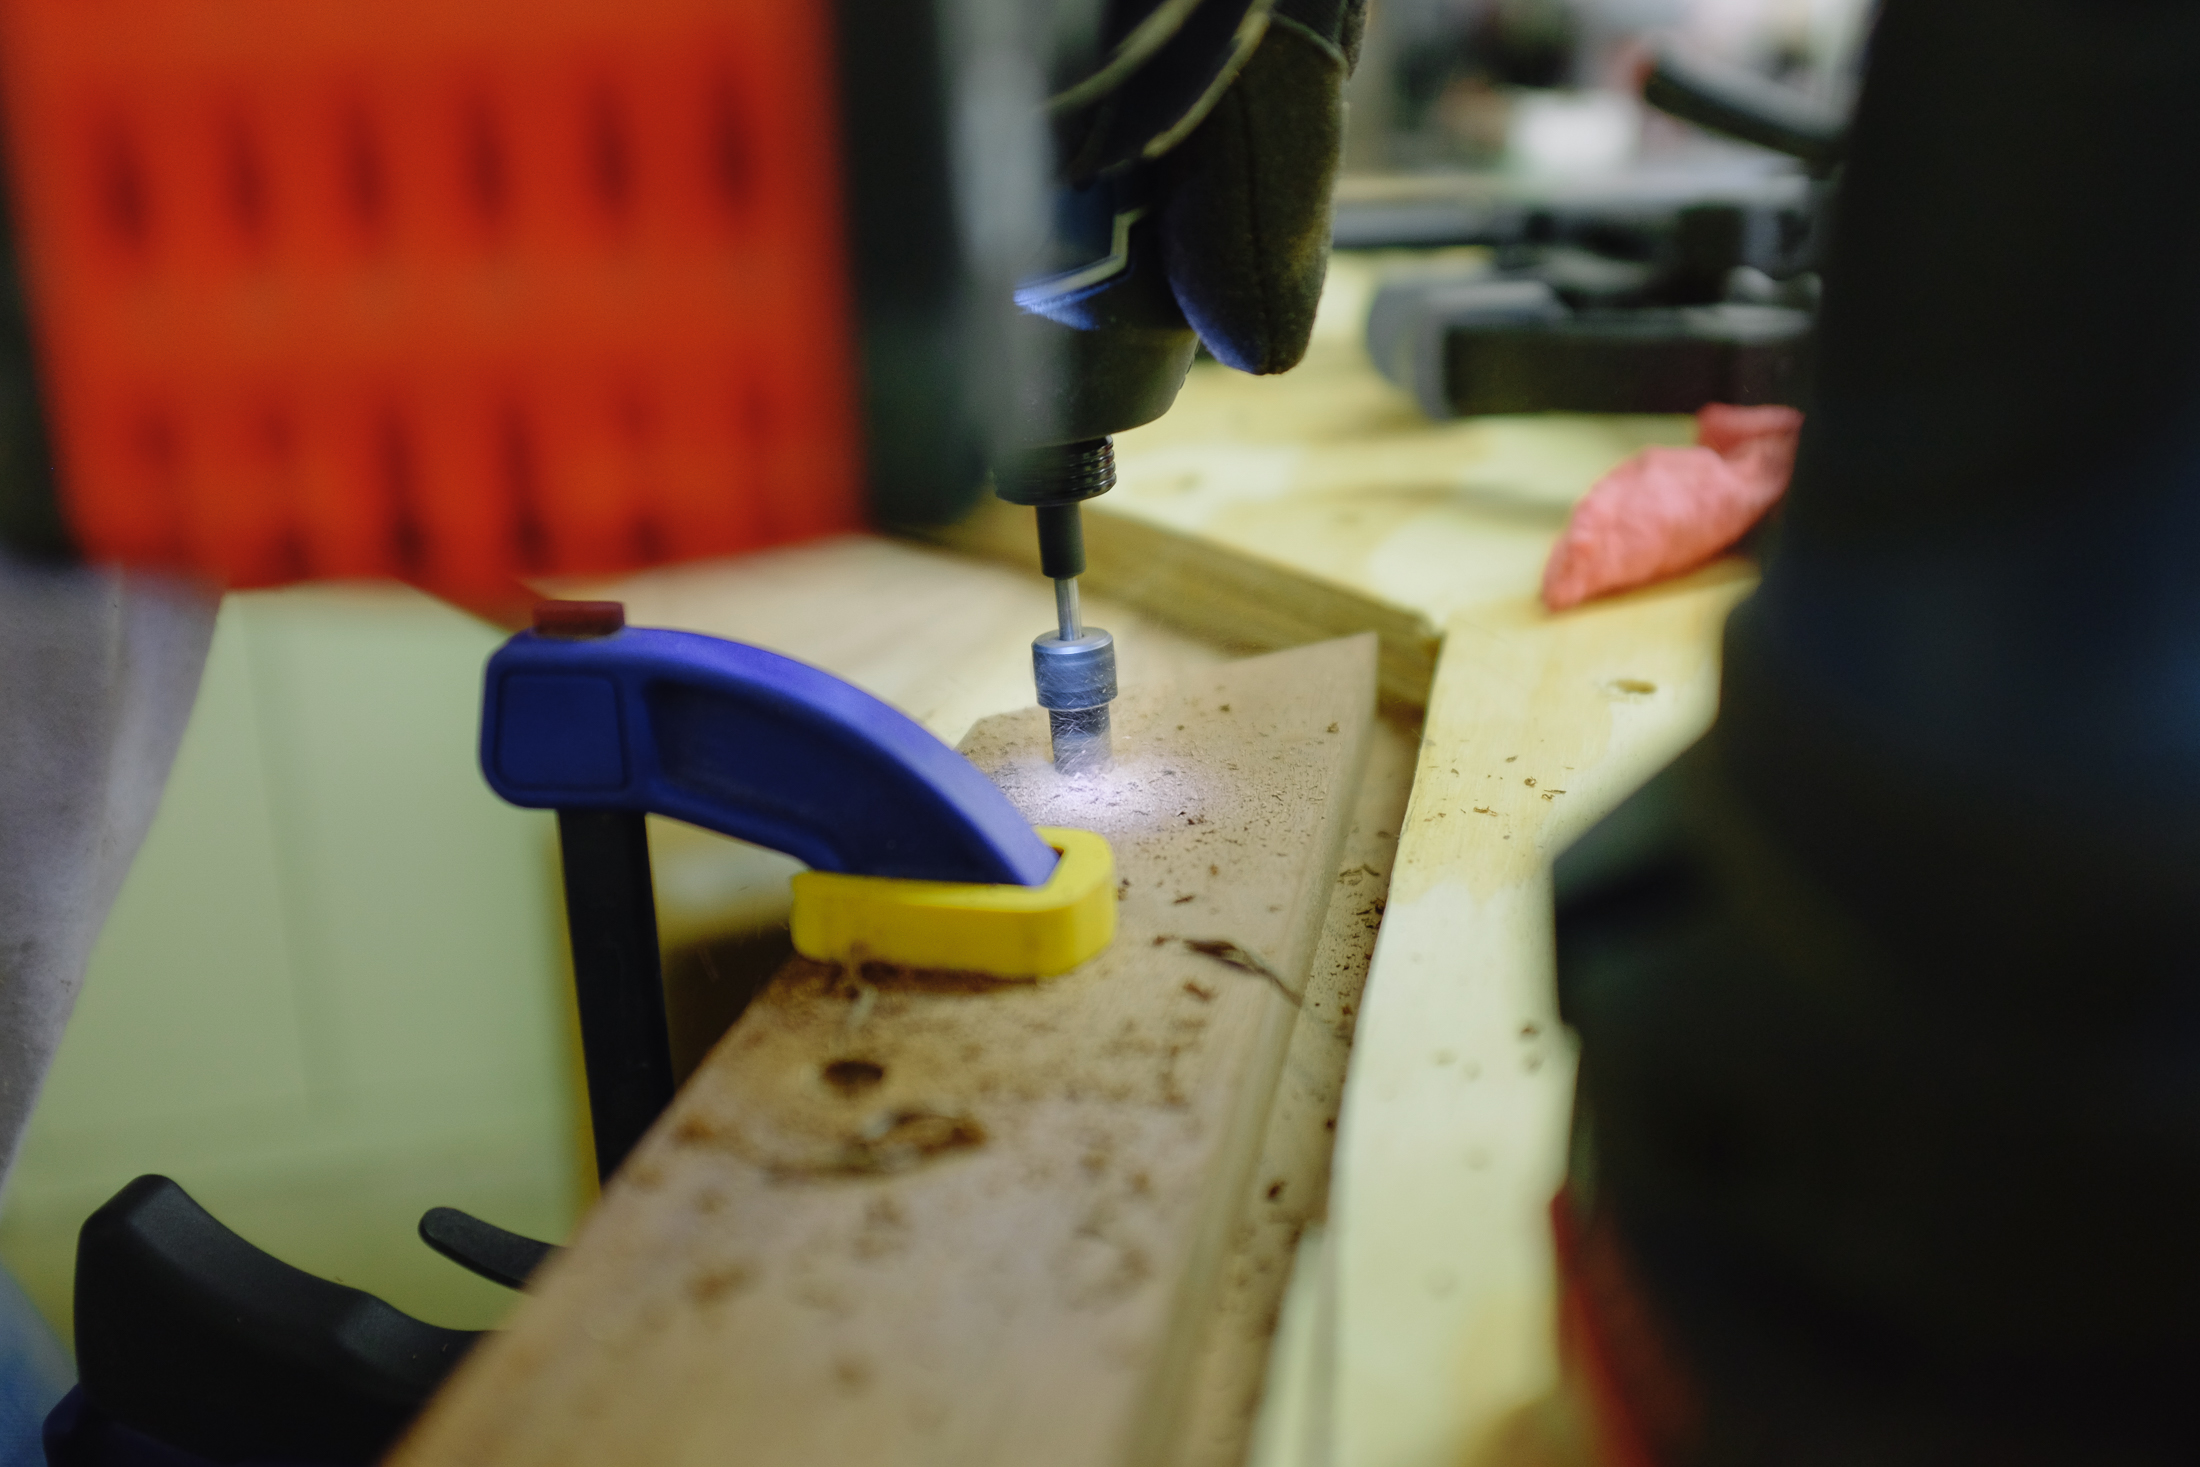
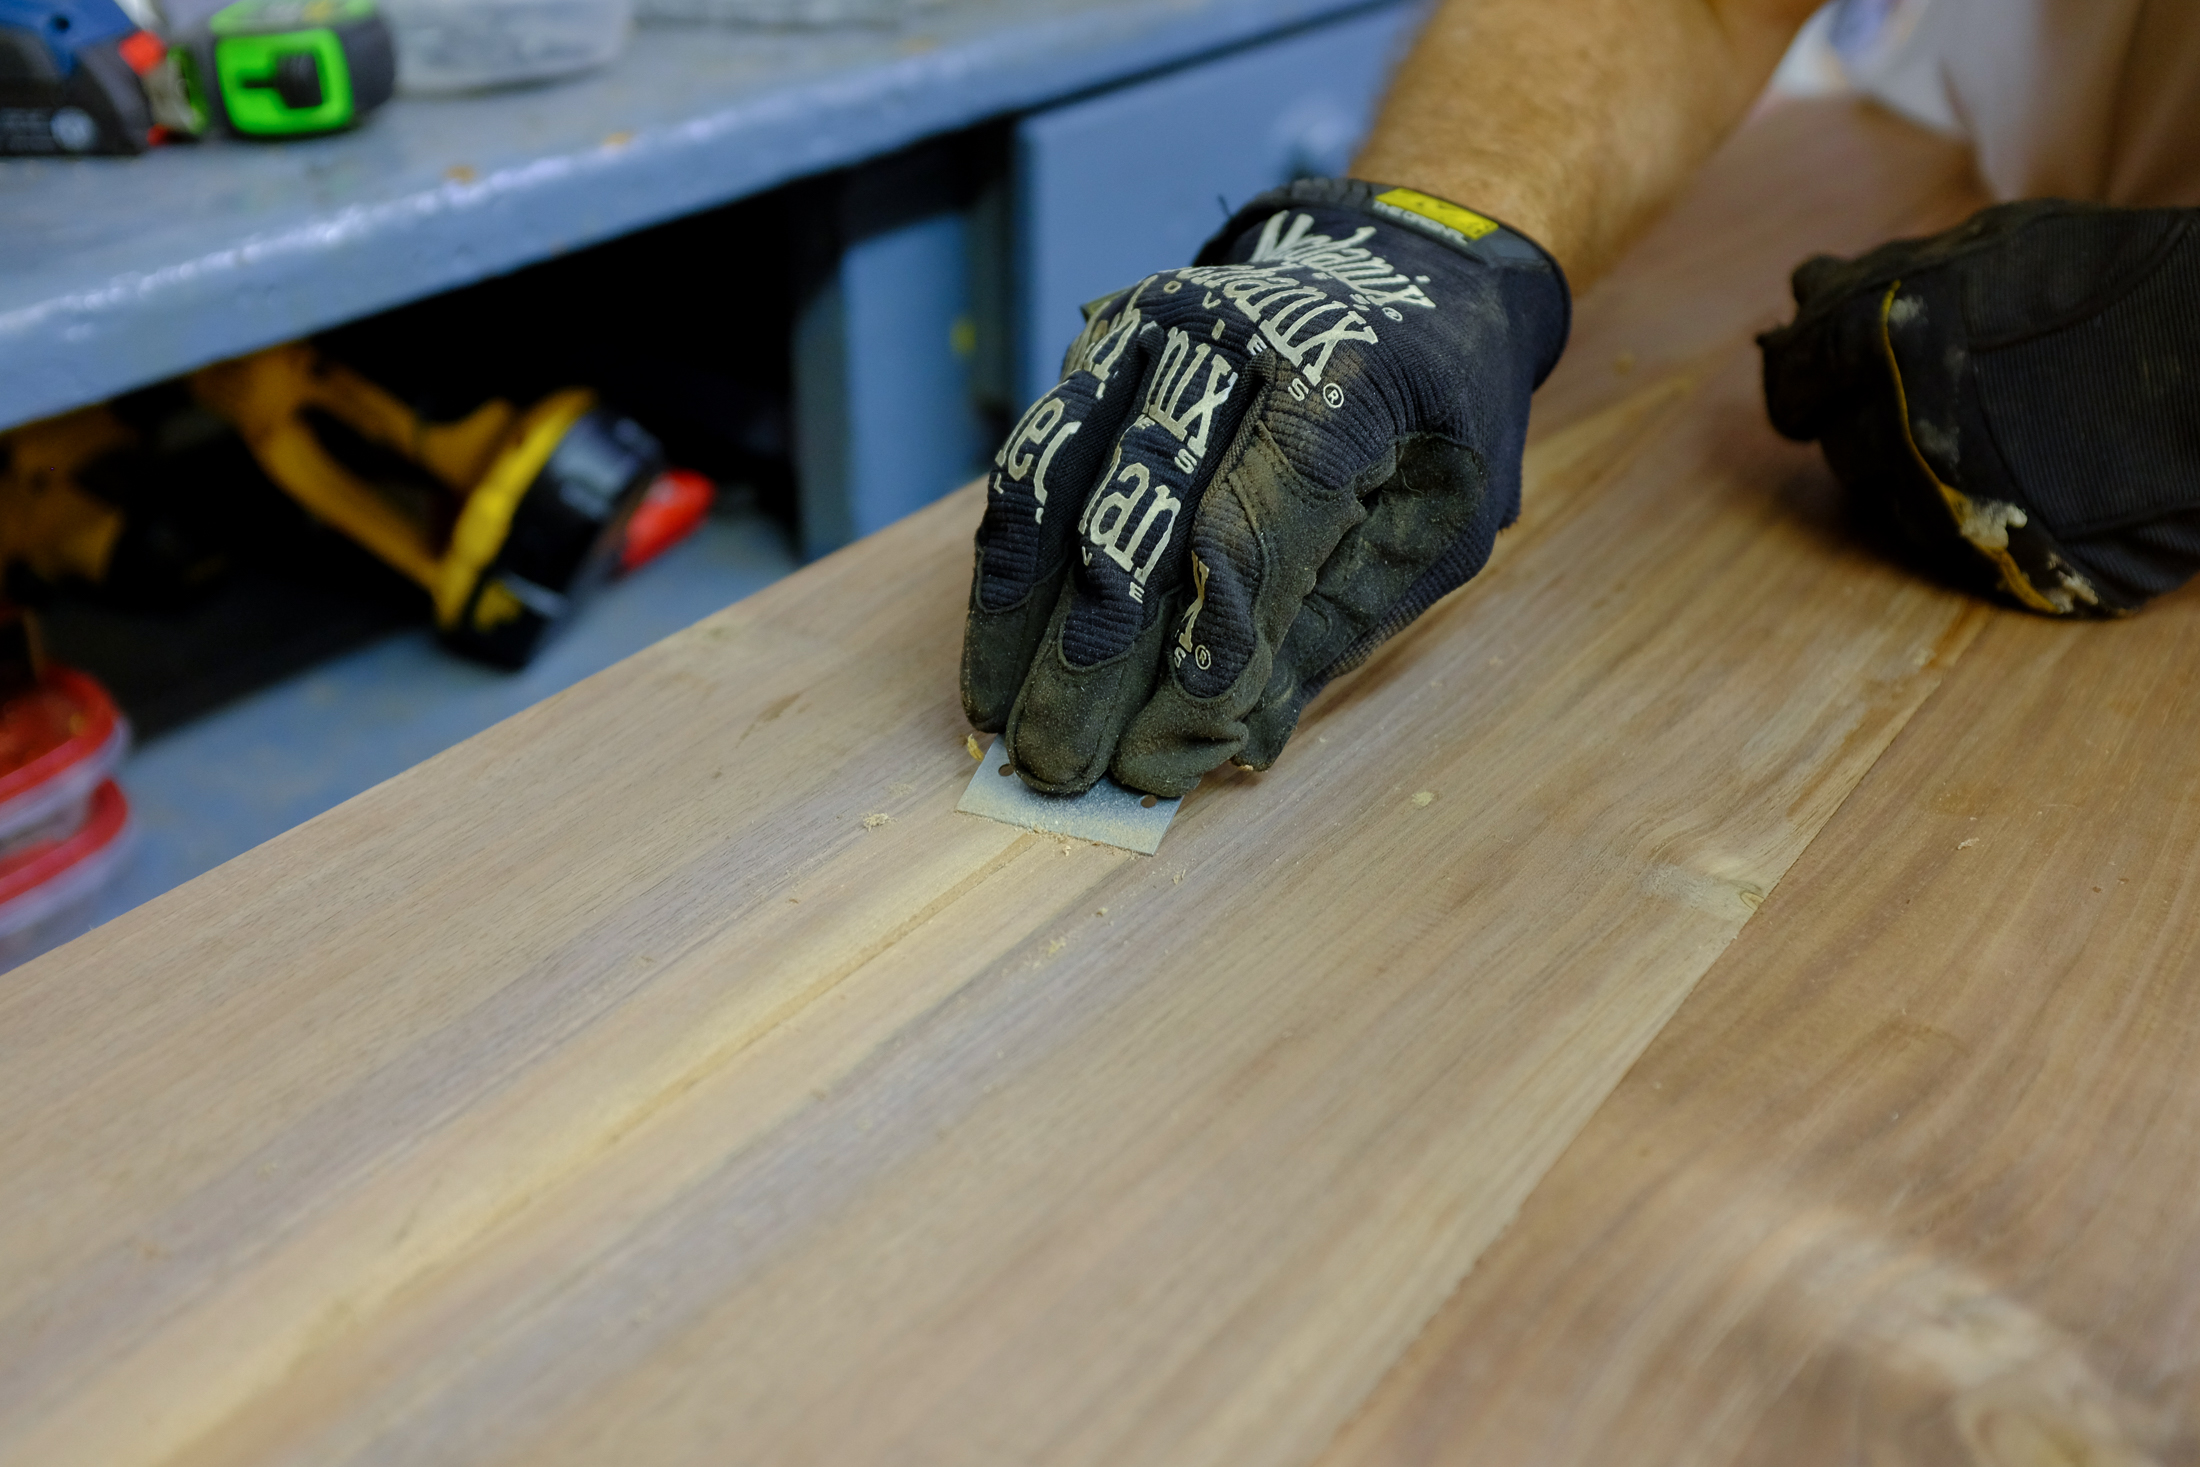
 The counter top so far, sanded and ready for finishing. We’re waiting for some Rubio Monocoat to arrive at Artemis for us next week. We’re pretty excited to see this completed. Ready to move in Wednesday!
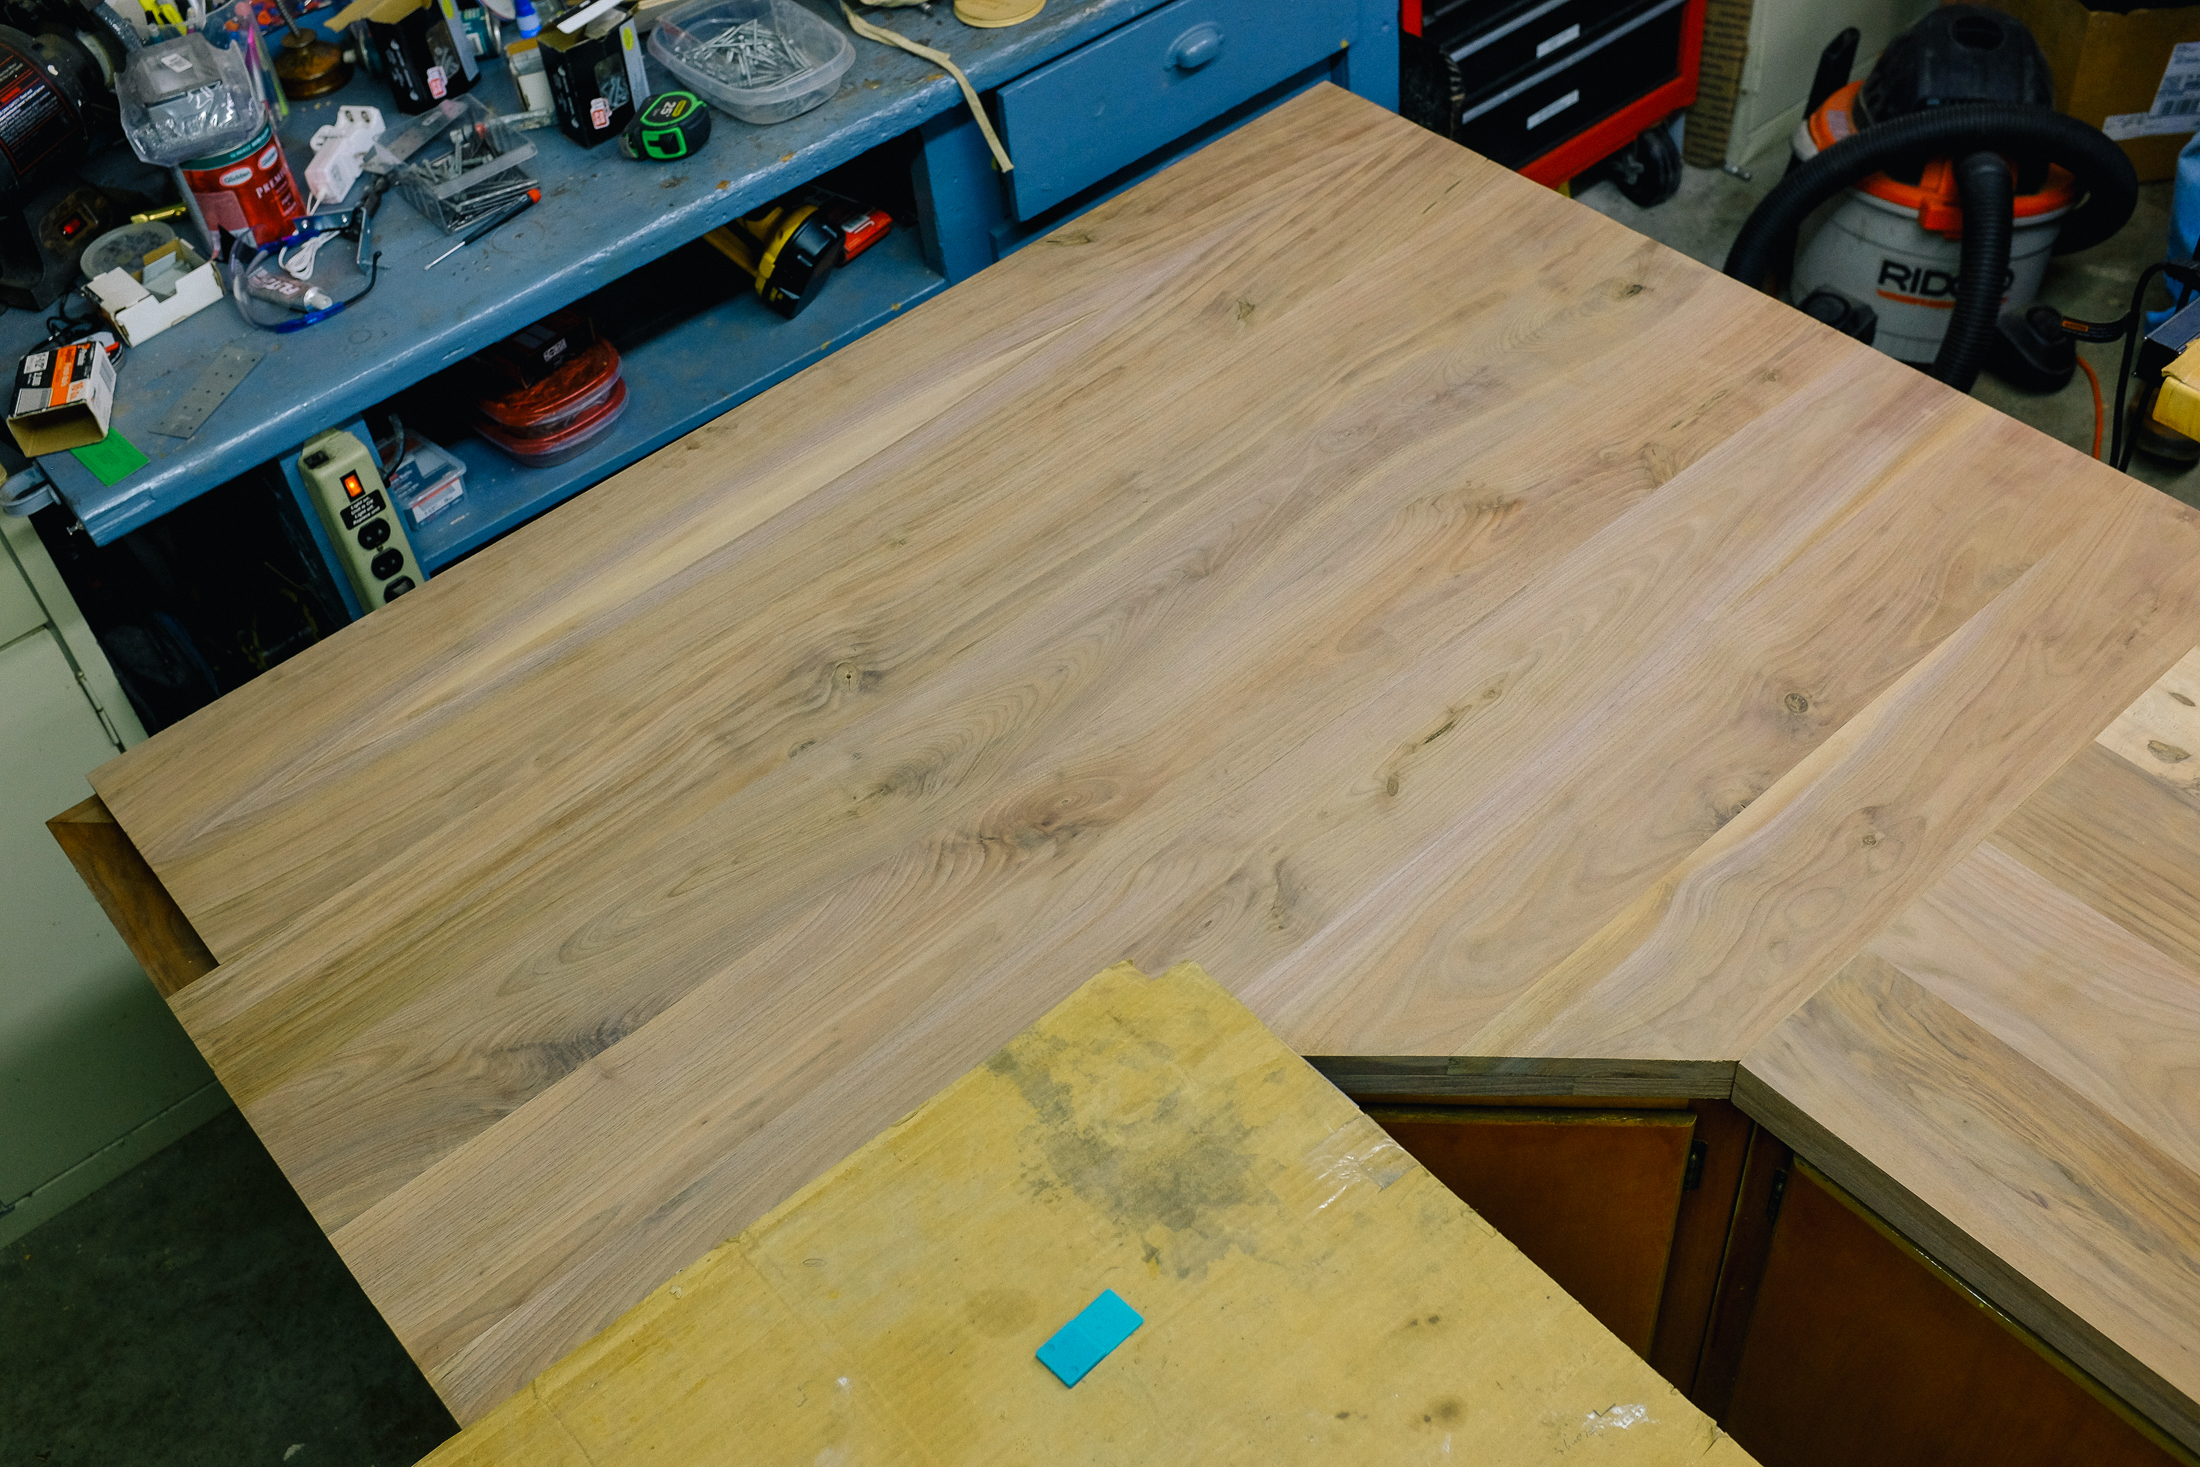
by Maggie and Ed | Mar 7, 2015 | Home Renovation
We went through a lot of different ideas about what to put on the ceilings. We started with tin tiles, which were too expensive, and backing boards seemed like a pain. Styrofoam faux tin ceilings seemed like a good idea, but were ugly in real life, and needed to be painted and there was no filller available. One night when we were drinking we decided to put up decorative plaster ceilings and were going to cast them ourselves.
That one should be sort of obvious to why it wasn’t a good idea. Then we were going to vacuum form styrene into a decorative pattern. I still think this is a cool idea, but we priced out styrene and it was going to be over $1000, plus techshop fees, glue and paint for something that we weren’t sure would work all that well. Maybe for the alcove in our bedroom.
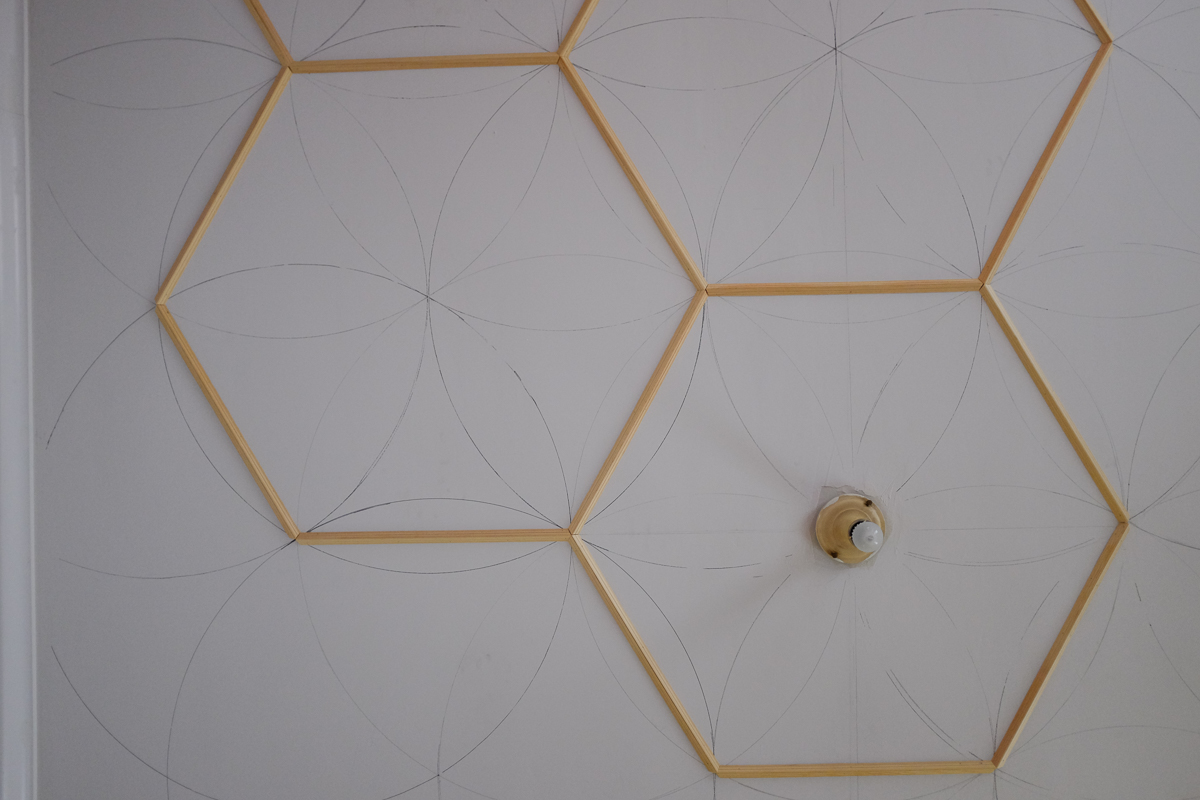
But this thinking all turned out to be useful, since we eventually came up with a solution. Use small strips of molding to make a pattern semi inspired by plaster ceilings. We thought hexagons would be a good compromise between something easily cut out, visually interesting and fitting with the style of our future chandelier.
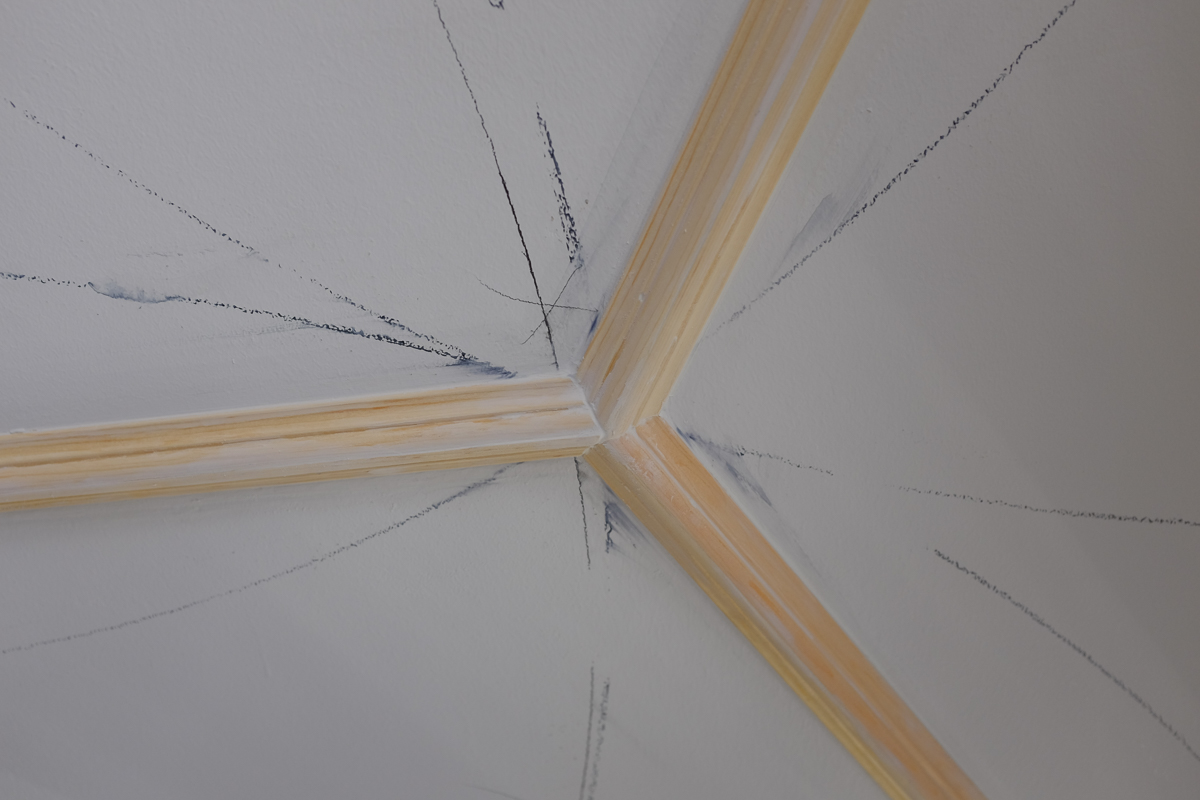
Then there was the problem with how to lay them out. I was stumped for a little while considering laser guides, overhead projectors, string? Nothing seemed to be such a great solution. Finally I remembered the Euclidian Constructions or Compass and Straightedge Construction I did for a day or so in math class years ago. There’s a gif of the relevant one right on the wikipedia page. So, all I had to do was draw a line across the center of the room and start drawing circles.
You first have to find the center of the room the long way. I used a laser distance measurer, but you could use another person instead. Draw a line across the room. Draw your first circle around your light fixture, or the center of the room. Then you move to the intersection of that circle and your center line. Draw another circle. Move to the next intersection, draw a circle. Basically draw circles centered on every circle intersection until you fill the entire ceiling. I drew mine with a nail and a makeshift compass that I made out of a scrap piece of wood. I drew up the hexagons in cad so I could determine the sizing I wanted, then calibrated my compass to that on a piece of cardboard. I could pound a nail in that spot and then swivel my compass around. It was surprisingly accurate, though I did have problems with the marker getting worn down.
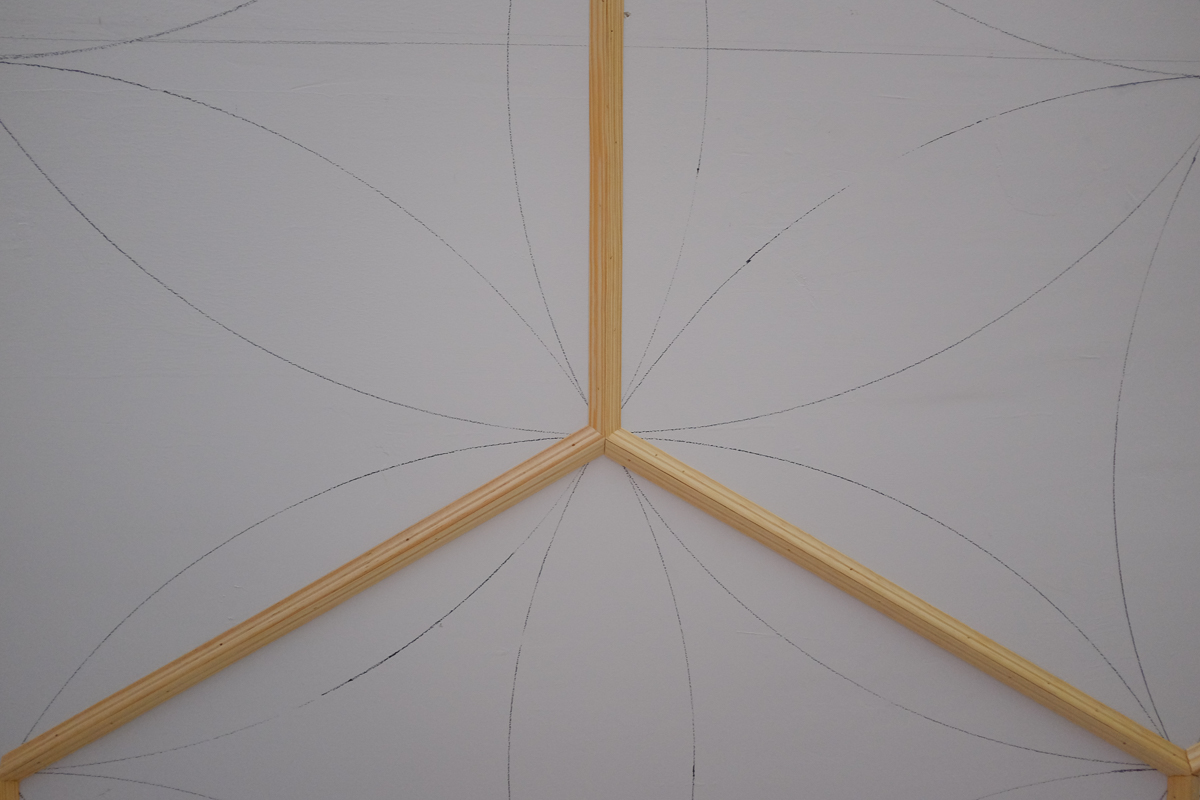
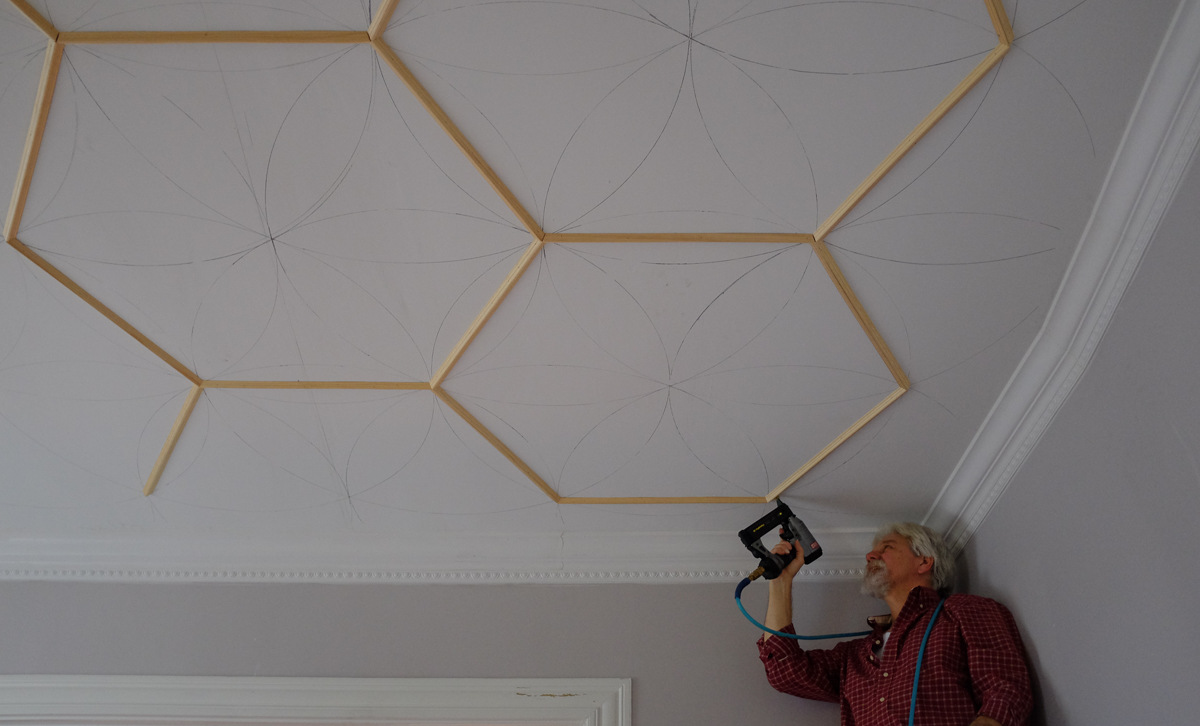
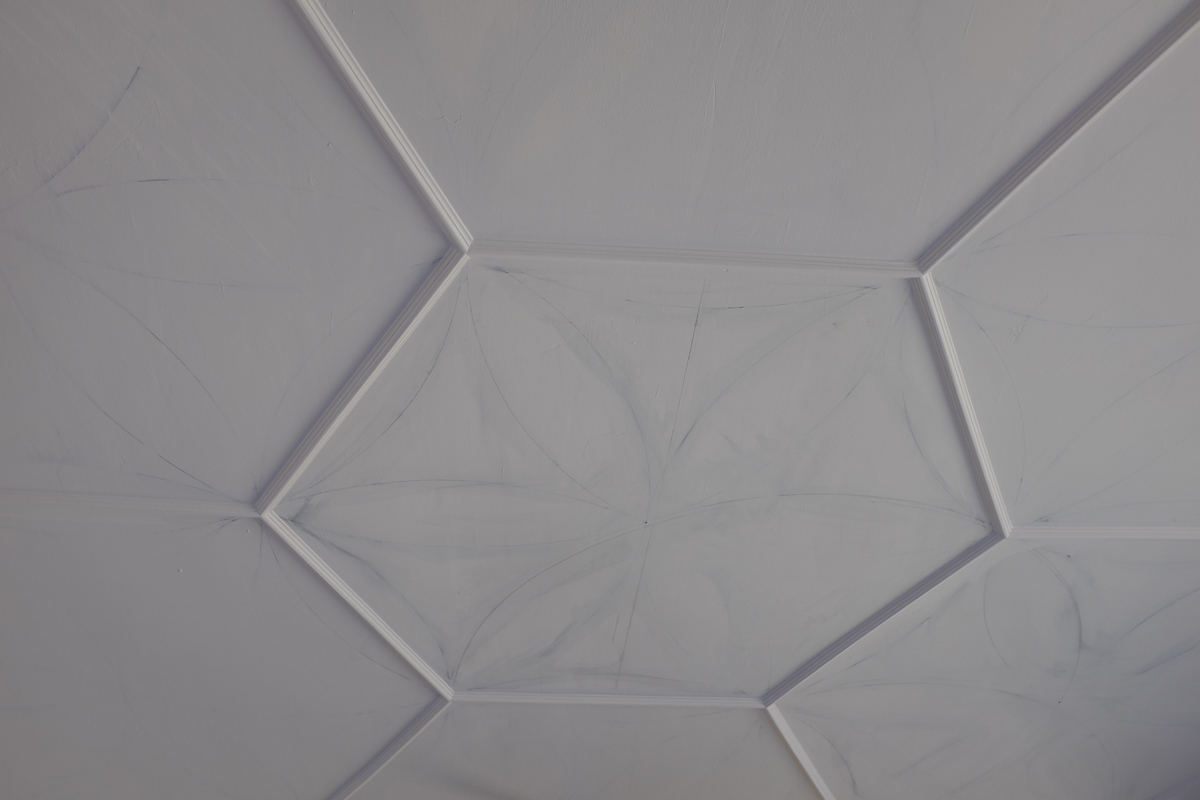
After drawing all the circles, I cut all the strips of molding. There are two pieces to each side of the hexagons. Since the internal angles of hexagons are 60 degrees, you need a 30 degree cut on each side of the pieces. I considered painting before I put the pieces up, but since I was nailing them up individually, I decided not to. It might save some time if you do though. Check on your pattern to make sure you’re certain of the length of your pieces, work in batches of about 1/4 of the ceiling. To set up a template, I clamped a board with a stop onto the rail of my miter saw. I then took eight-ish boards and cut the first 30 degree angle onto the ends. Then I could make five cuts between the saw adjustment. It goes a lot faster that way. You’re going to need a lot of boards, I got four segments per strip of molding, which is 1/3 of a full hexagon. I think i bought 30 to do the ceiling, and had a couple left over.
Now the tedious part. you’ll have to caulk around all the joints. Pick out some good radio shows to listen to. It took me about a day and a half to do my room.
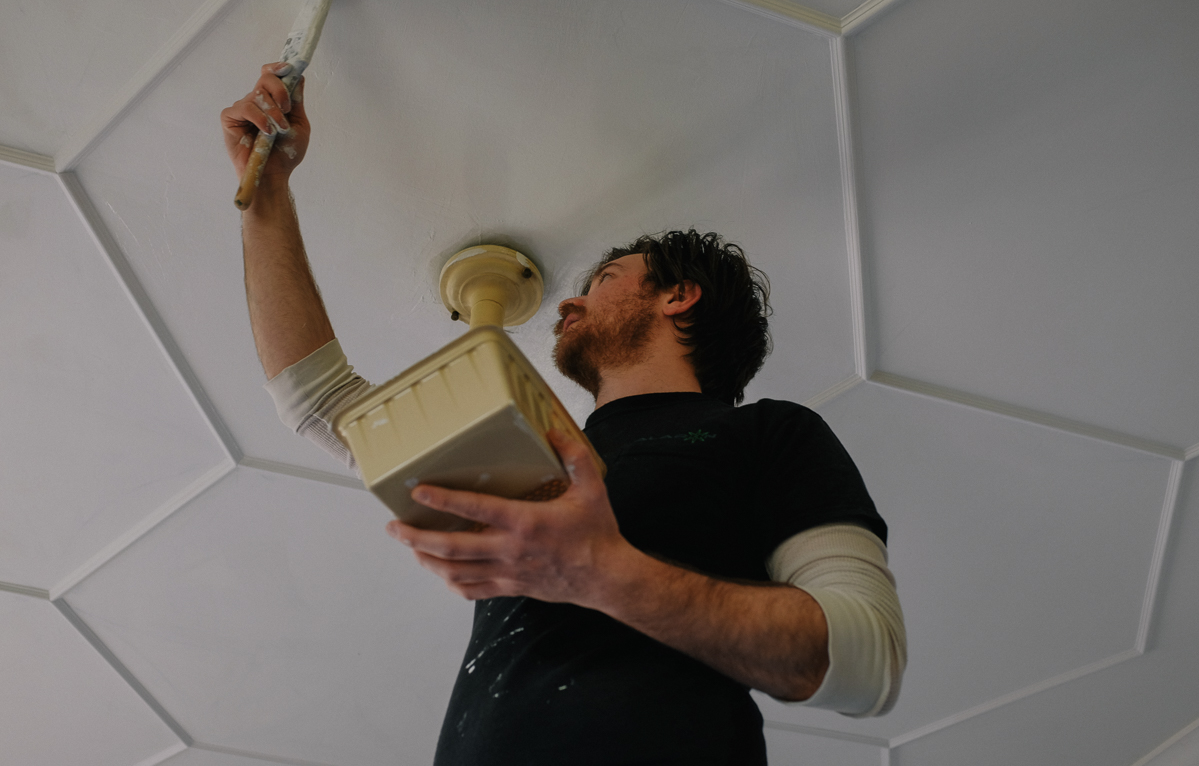
What’s the worst part about painting? Whatever you’re doing right now. I put on a coat of primer, and still had quite a bit of marker showing through. You should try to wash as much of it off as you can before you start painting, otherwise you’re going to have to do an extra coat. Depending on the marker or pencil you use you should be good after a coat of primer and a coat of paint.
by Maggie and Ed | Feb 18, 2015 | Home Renovation
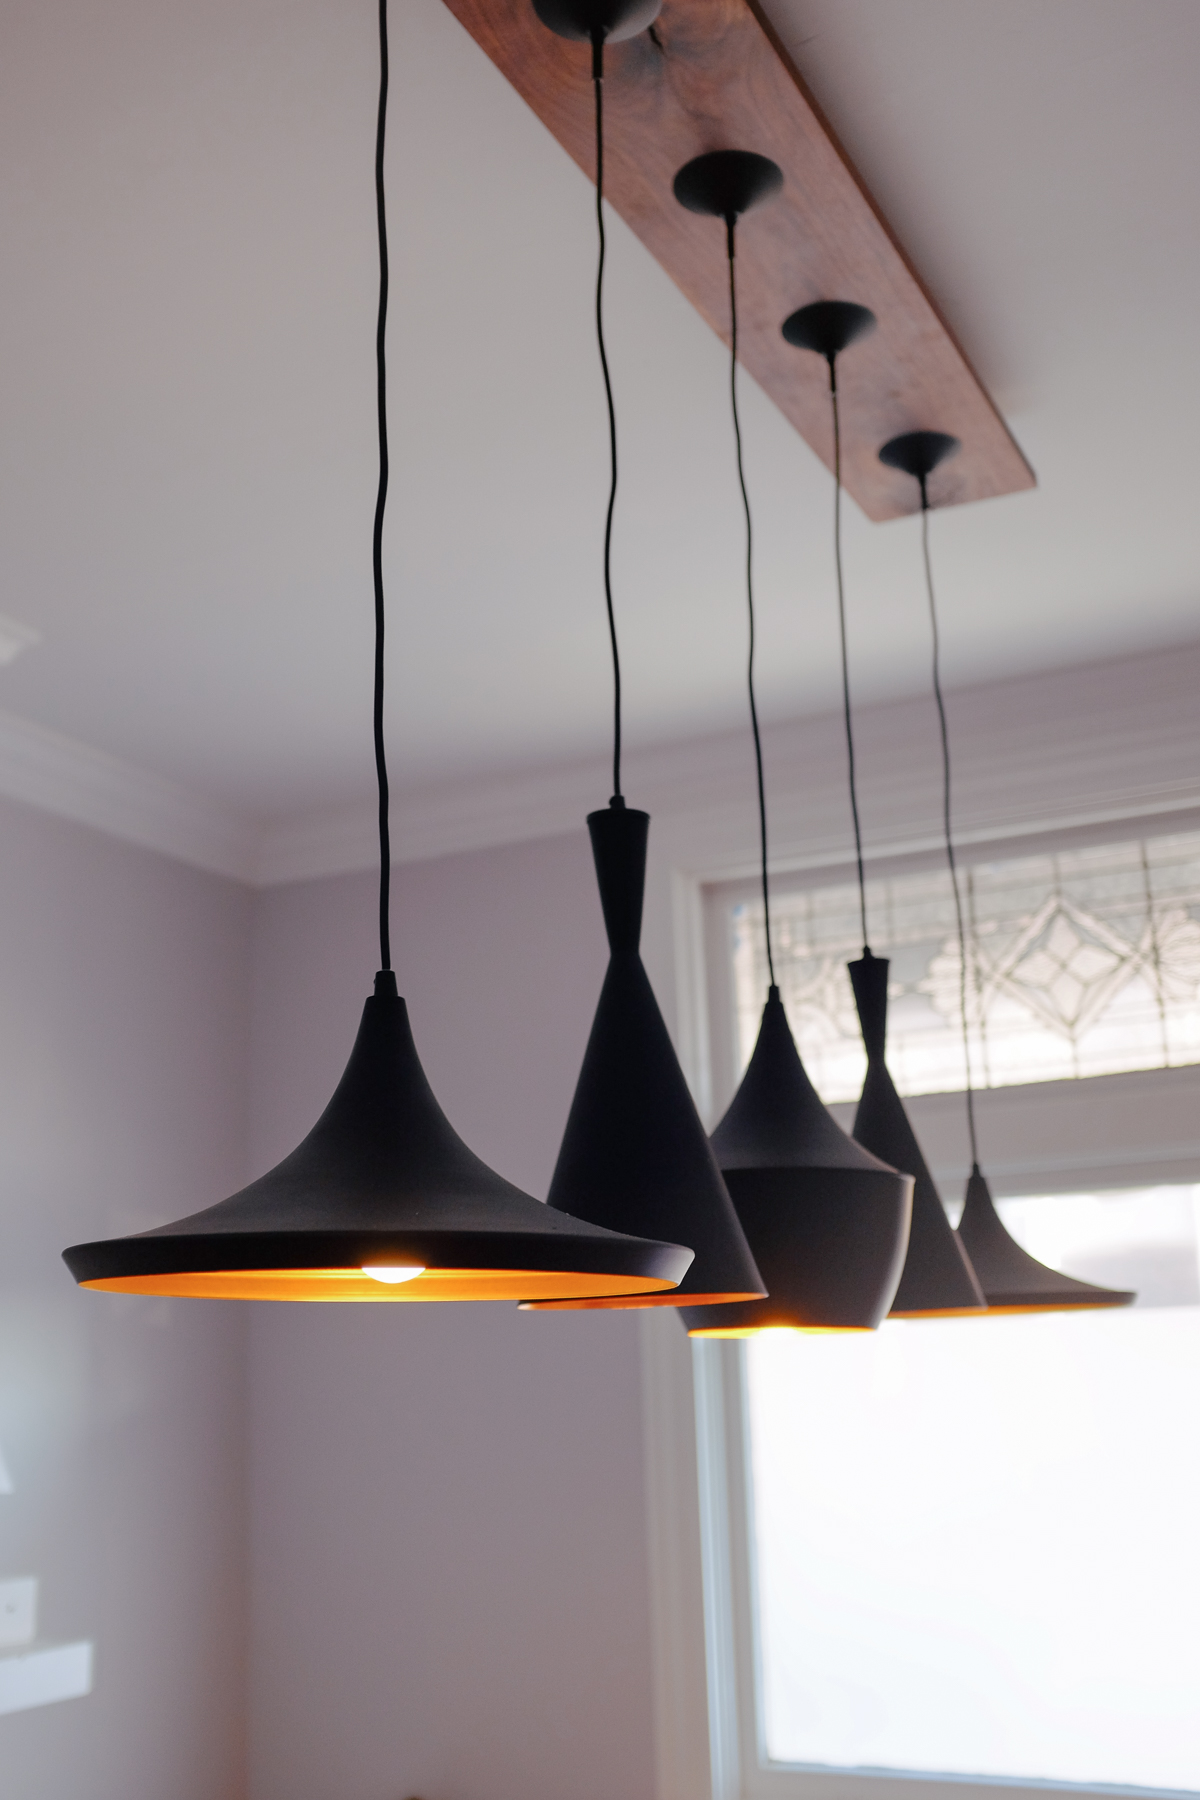
I like to save dessert diy projects to have after annoying projects. The crown molding was semi-dessert after skim coating the ceiling. Putting in these pendant lights was double dessert. Maggie having jobs at furniture stores has helped us out quite a bit now and again. We got a really good deal on these Tom Dixon inspired pendants months ago and have been waiting to put them up. 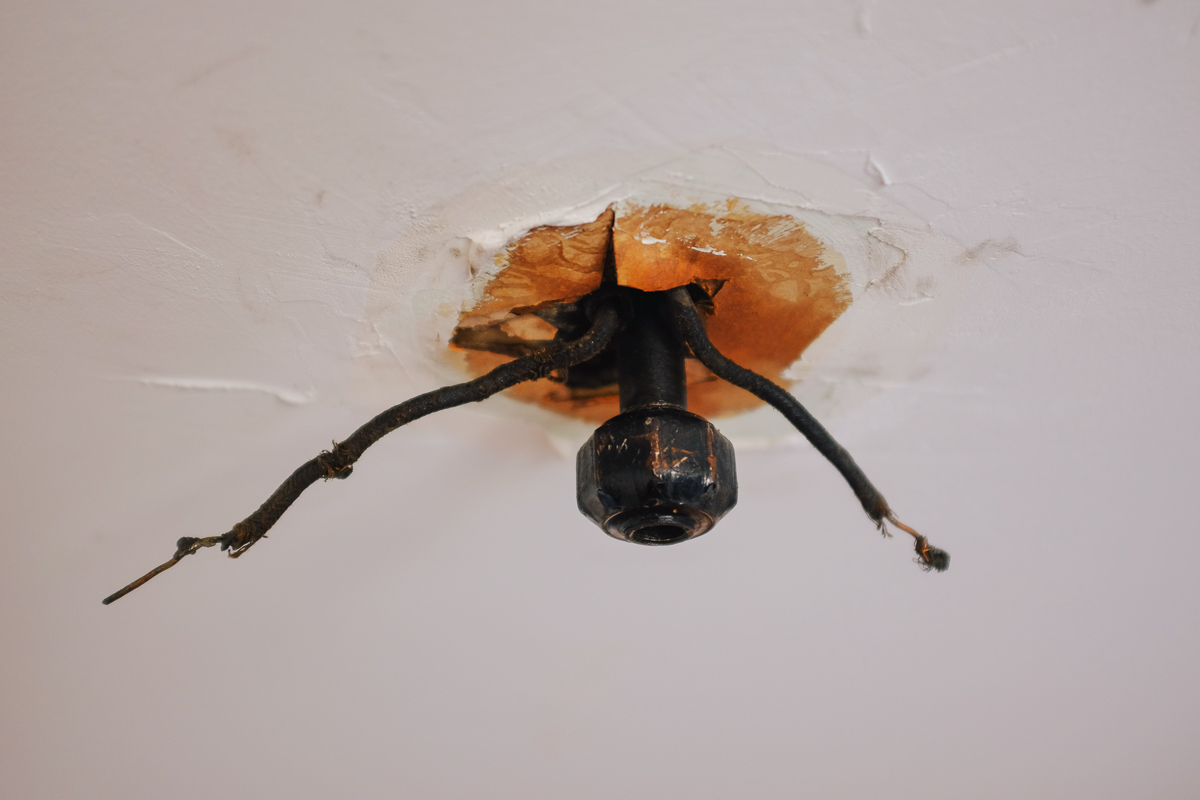
We looked for a while for a canopy for pendant lights and found a couple options, all of which were a few hundred dollars, and not particularly nice. Eventually we decided that it would be better to use the piece of walnut we had left over from the third floor and make our own. It was going pretty well, then I took off the old light fixture and found this gas pipe.
Our house was built in the 1880’s and was originally outfitted with gas lamps, which is pretty cool. All the gas lines are still in the walls and poke out of where I want to put lights, which is pretty uncool. Finding out that they’re all filled with gas was totally uncool.
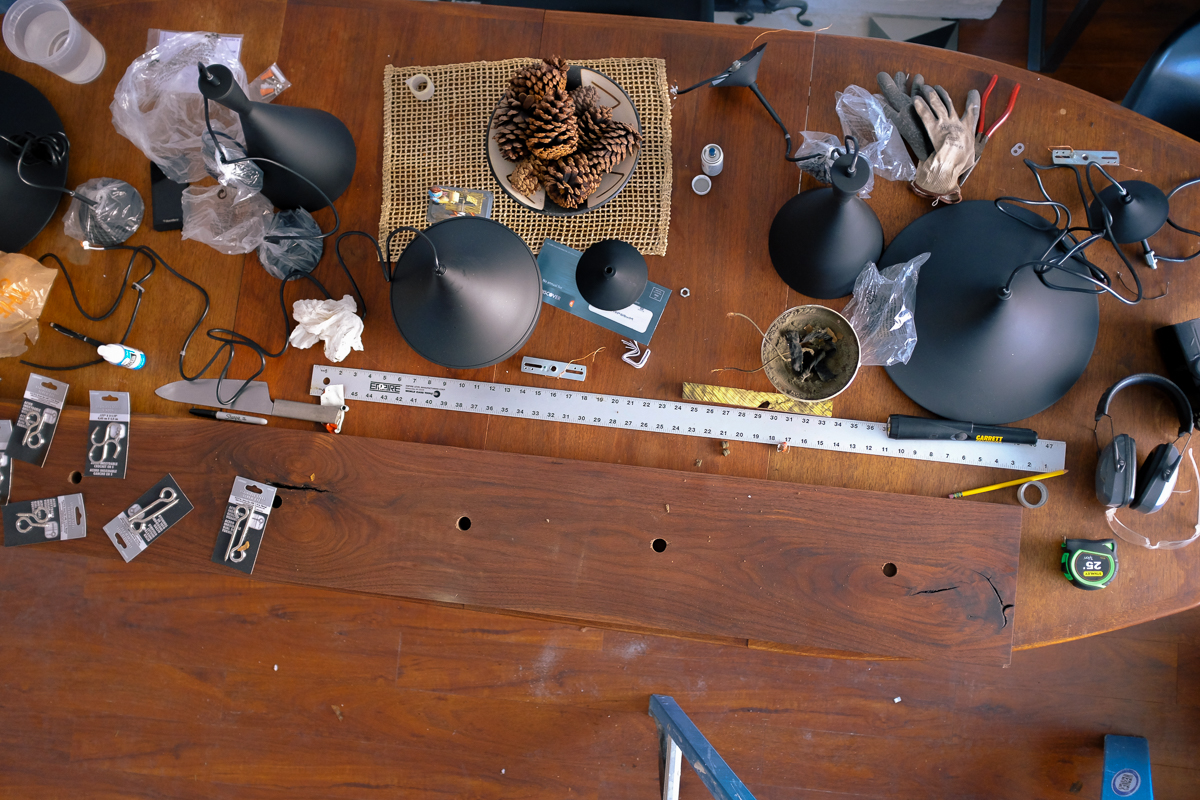
Once that was safely capped again, we were off. I marked off where the lights should go in the board and drilled them out with forsner bits. The plan was to find a few studs in the ceiling, install heavy duty eyelet bolts, then install more bolts into the board and connect them with s connectors. This would allow you to attach half the board to the ceiling and hang it there, making wiring and installation easier.
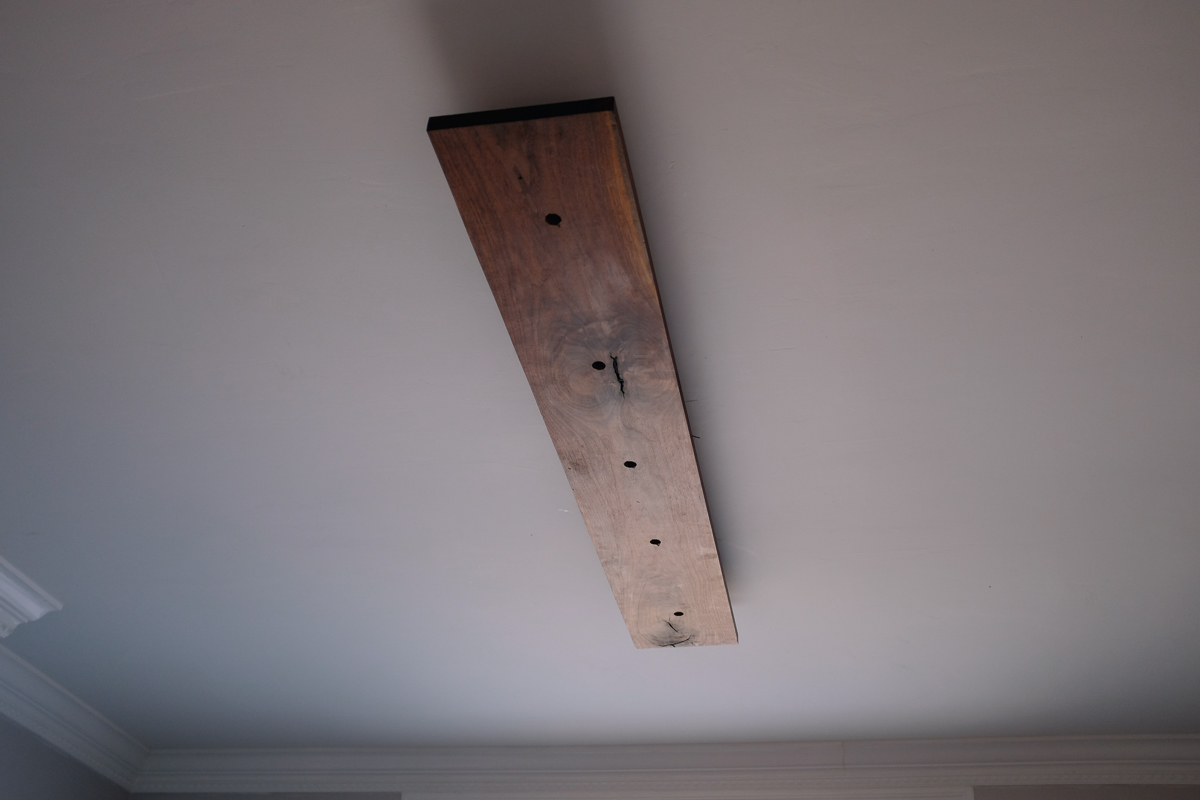
We ended up not using the eyelet bolts on the board and not using the S connectors, the whole thing hung too low with that setup. instead we attached aircraft cables to the board, clinched them with some aluminum ferrules and put them through the eyelets on the ceiling. It’s very sturdy.
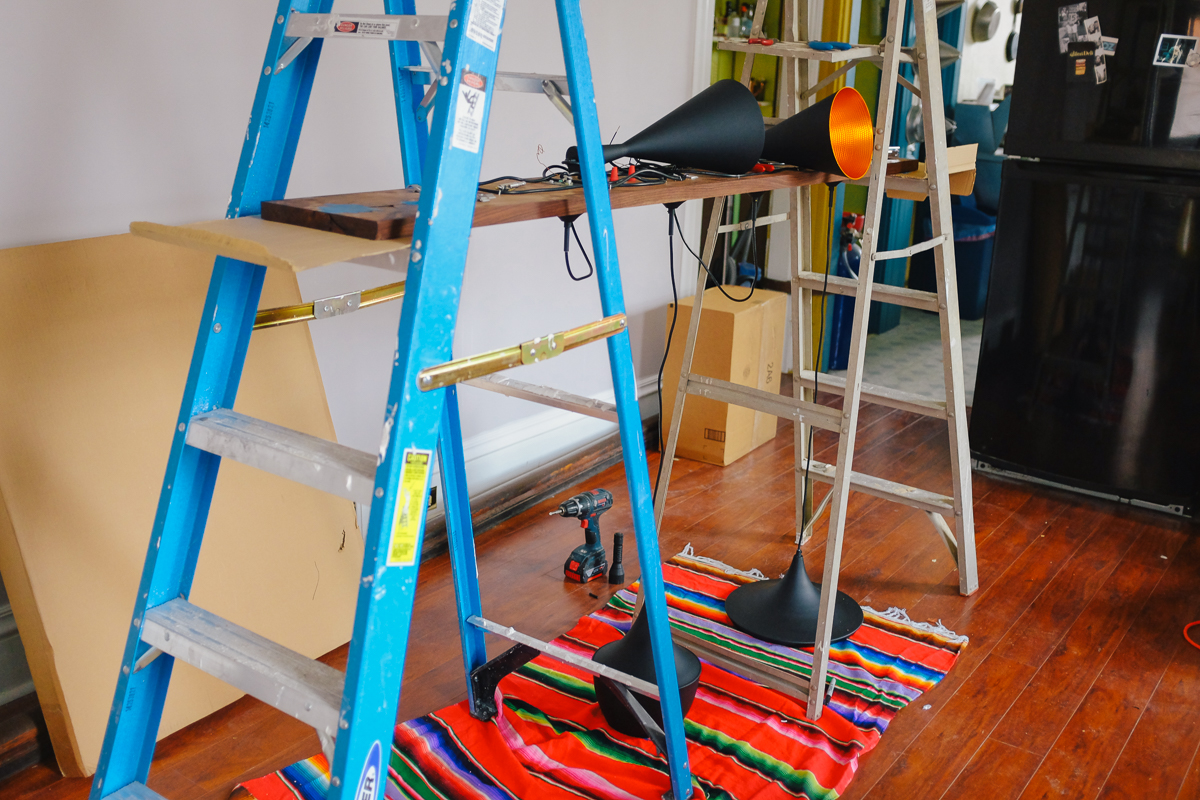
Some tips: Put up one light and set the distance that they should hang. Put the board on ladders at that distance, now you can place all your lights easily and get the heights adjusted correctly. Wire the lights in parallel and staple excess cord to the underside of the board. Follow normal safety guidelines when working with electrical systems. Use an off-on-off test to make sure you’re turning off the correct fuse. Flip. Is it off? yes. Flip. Is it on now? yes. Flip. Is it off again? yes. It’s also a good idea to get an electrical sensing screwdriver thing. Use the correct size wire nuts, it tells you on the package what their capacity is.
We’re very pleased with how it turned out. It’s an easy weekend project for anyone that wants to hang pendants. Don’t buy something, canopies are a ripoff.