by Maggie and Ed | May 29, 2016 | Before and After, Home, Home Renovation, Uncategorized
Aside from a down and dirty paint job on a super spooky small bedroom, the third floor was the first room we tackled when renovating the house. Originally, we decided to save our efforts (and dollars) to put towards moving forward on the deli. As we realized that timeline was becoming more and more abstract, our imaginations took over and we slowly began undoing the previous home owner’s years of bad paint choices.
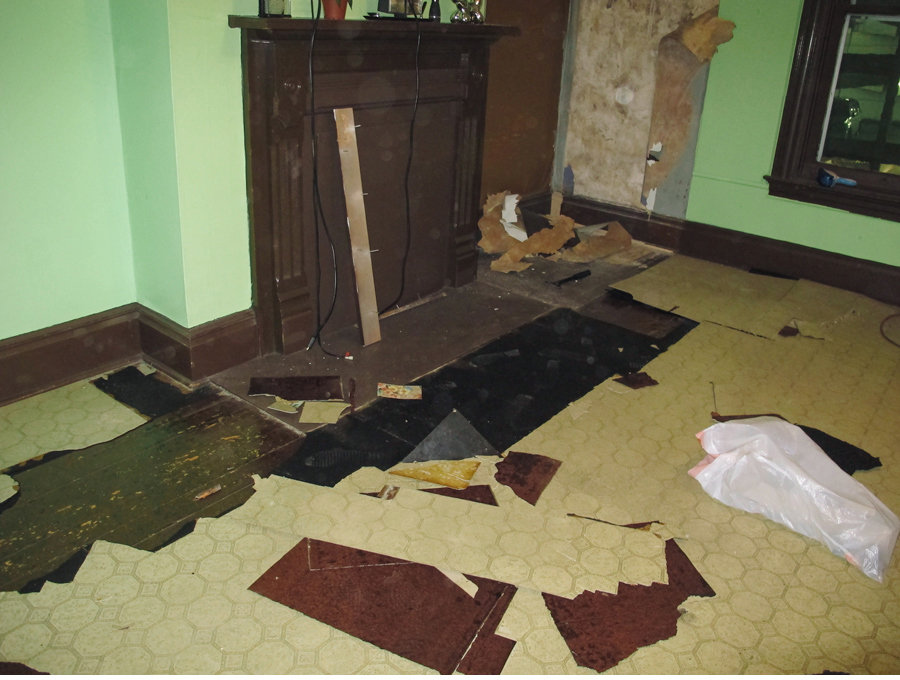
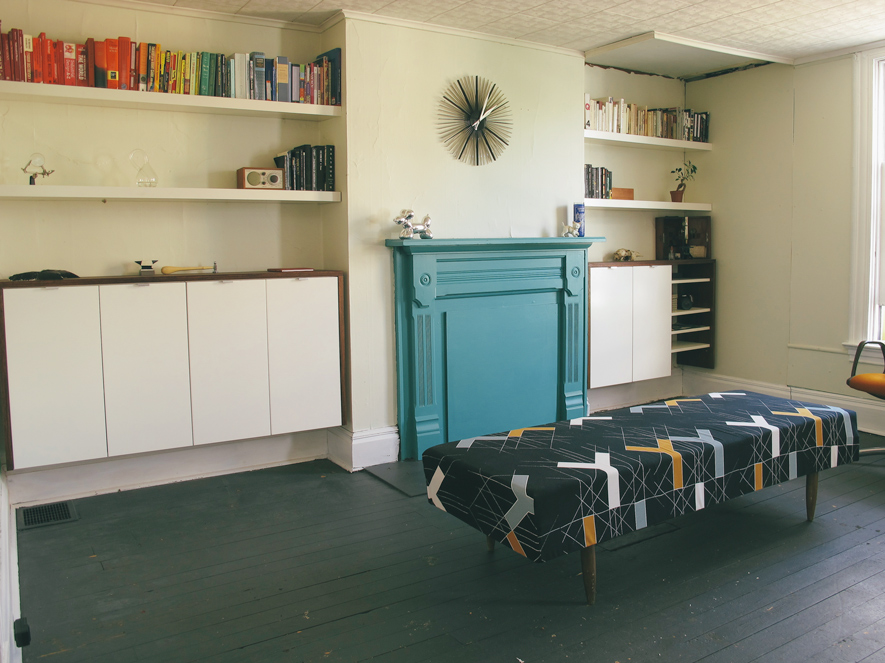
Nearly the entire house was covered in linoleum, but this sickening green was reserved for the third floor. After successfully wearing Ed down, he agreed to convert the front room into an office. Focusing most of our efforts installing shelving and a floating walnut desk, we didn’t put a whole lot of thought into color and grabbed a neutral beige on the fly at Home Depot. We kept some of the “charm” of the original wall color by opting for one of the brightest hues we could find for the fireplace: Intense Teal.
We realized the dire shape of the walls on that first go round, but the inital paint job was such a drastic change that we were estatic with our results at the time. And for the next few years the room served as an office / studio, where we predominantly stared at our computer screens toward a single a wall.
Read about our first round of renovations on this room HERE
A combination of neurosis and practicality, our living room has shifted forms and geography over the last few years, eventually taking up residence in this space. As my gaze continued to settle on the troubling exterior wall, eventually we decided it was time for another refresh.
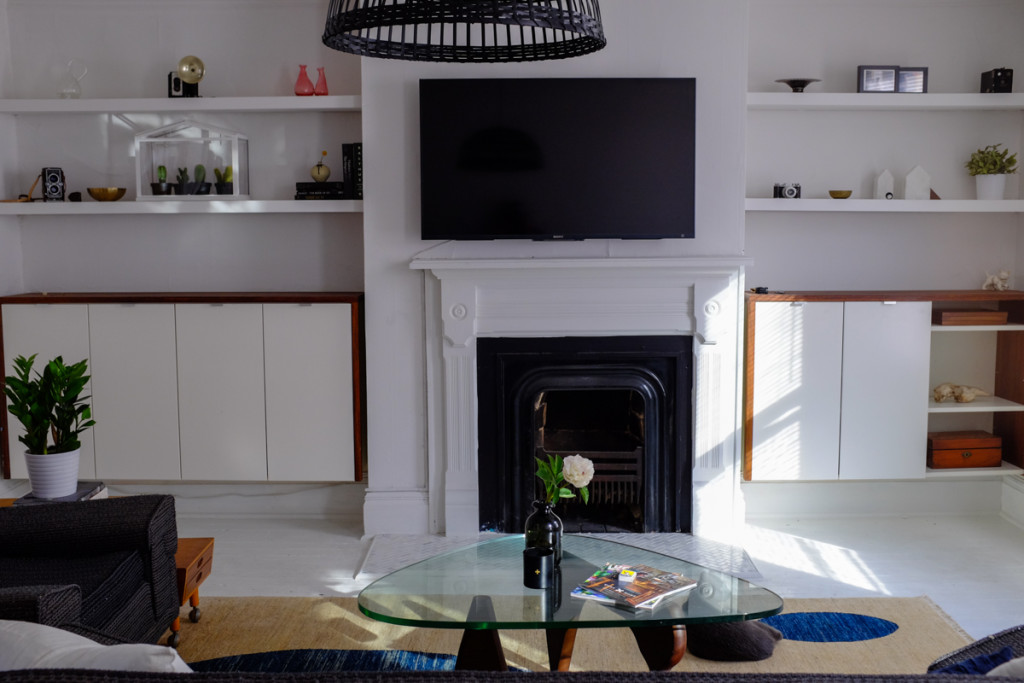
While I still dream of painting every room pink, age and Ed have me gravitating more towards shades of grey. The “neutral beige” had not grown on us, and in low light still echoes the original green we were trying to hide. The ceilings on this level of the house are about 2 feet lower than our first floor, so wanting to make the room feel more open, we opted to whitewash the room. We removed the bizarre hodgepodge of masonite they had used to “smooth” the exterior wall, and Ed secured the loose plaster and skimcoated the room.
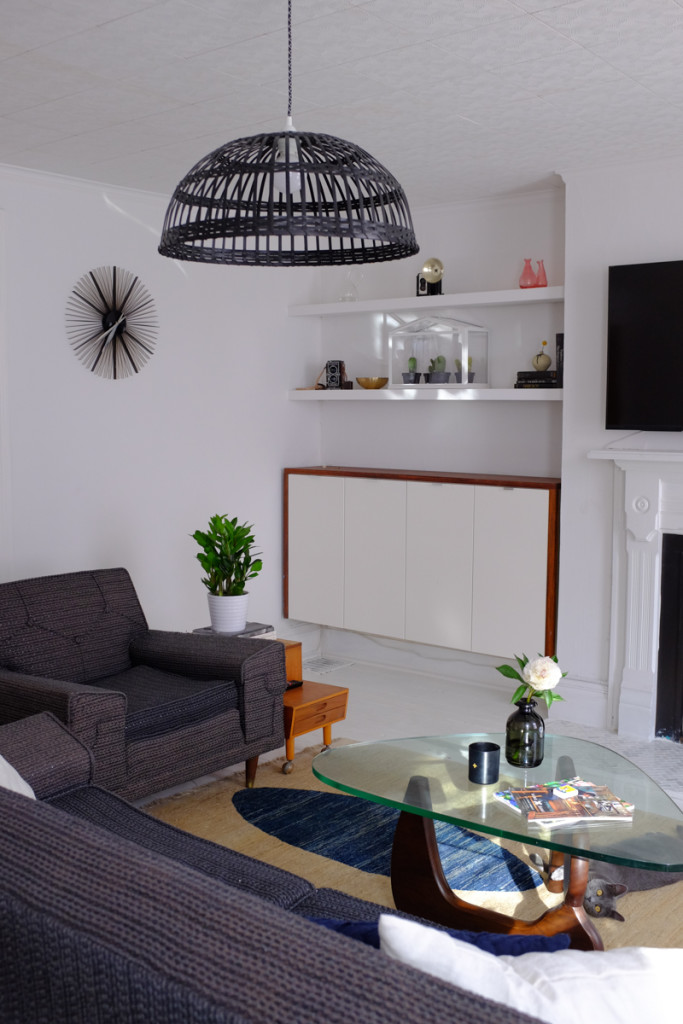
The cast iron coal fireplace had been hiding behind a plywood board all along! We matched the black and carried it out along the surround with Sherwin Williams Caviar. The rest of the room got a few coats of Sherwin William Snowbound, the walls in flat, the mantle and trim in semi gloss, and the floors in a high gloss floor paint. Unfortunately their store hours didn’t line up with our schedule, otherwise still #benjaminmooreforlife.
Tiling the hearth, we stuck to a basic carrera herringbone from Home Depot. More detail shots to come, but definitely more of a struggle than we anticipated as Ed has freshly completed his sister’s back splash.
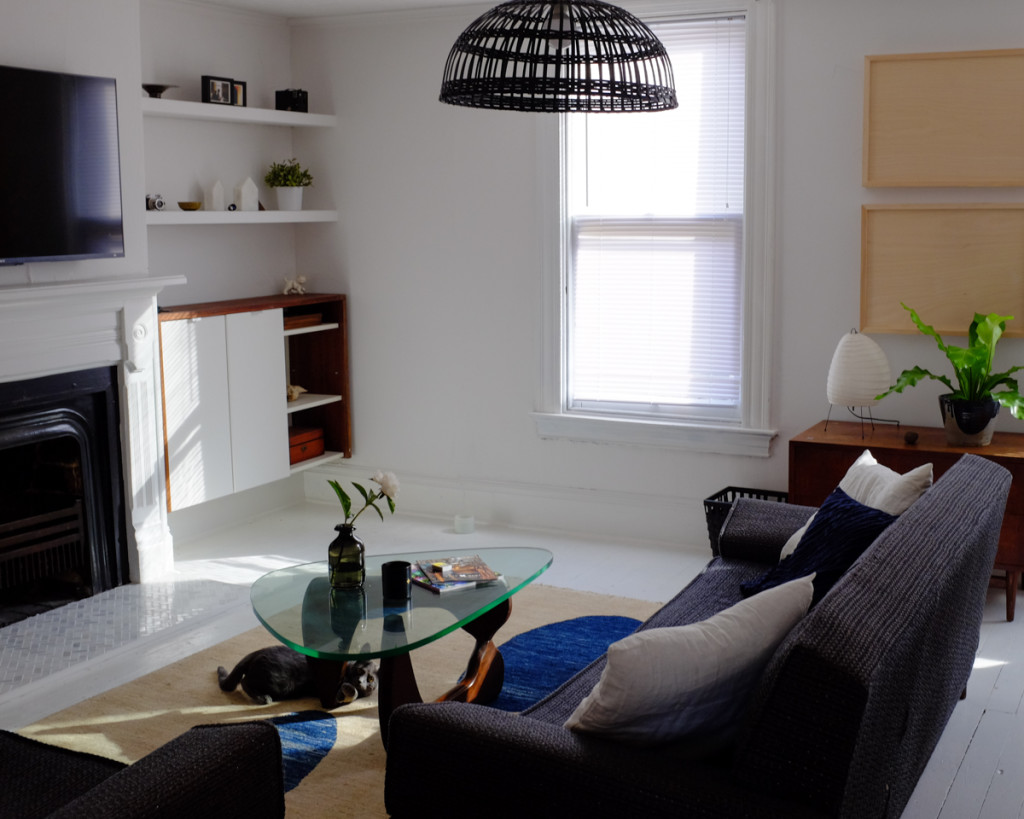
We’re still working on finalizing wall art and tweaking some of the accessories, but overall super pleased with space!
by Maggie and Ed | May 6, 2016 | Dessert, Food, Recipes, Vegetarian
Last week, we did a major kitchen reorganize and finally re-opened a pantry cabinet that we had painted shut a few months ago (oops!). Rediscovering a slew of baking pans, and not to be outdone by Ed’s tiny cinnamon loaves, I decided to welcome the springform pan back into the family with cheesecake.
I’ve never actually made cheesecake before. Edit: I have only actually made cheesecake once before, a lemon ricotta recipe years ago that was alarming terrible. I scanned a few recipes with good reviews, but they all seemed to make strange substitutions like “challenge butter” (what is this???) or questionable no-bake options (why?). Eventually, I landed on a Serious Eats recipe that I used with a few quick alterations.

The night before our baking marathon, we celebrated four years of hanging together and went a little too hard. Waking up to discarded champagne bottles and a half eaten box of Birthday Cake Oreos, I figured I’d salvage some of the destruction an replace the graham cracker crust with chocolate. A lot of the recipes are all for using the entire cookie, but not wanting to mar the beauty of fresh berries with Birthday Cake frosting, I scooped it out before pulsing the chocolate wafers in the blender. We only ate a few scoops of Oreo centers before burying them in the garbage with the rest of our self respect.
My springform pan is a little guy, so I halved the Serious Eats recipe from the get go. I replaced half of the cream cheese with neufchatel, which I want to say was for health reasons, but if we’re being honest we had already planned on baking enough sweets to feed 12 with only two of us around. Really, it just seems more exotic and is half the price of cream cheese at our grocery store. I ditched the cream for buttermilk, which we picked up for the swirly bread.
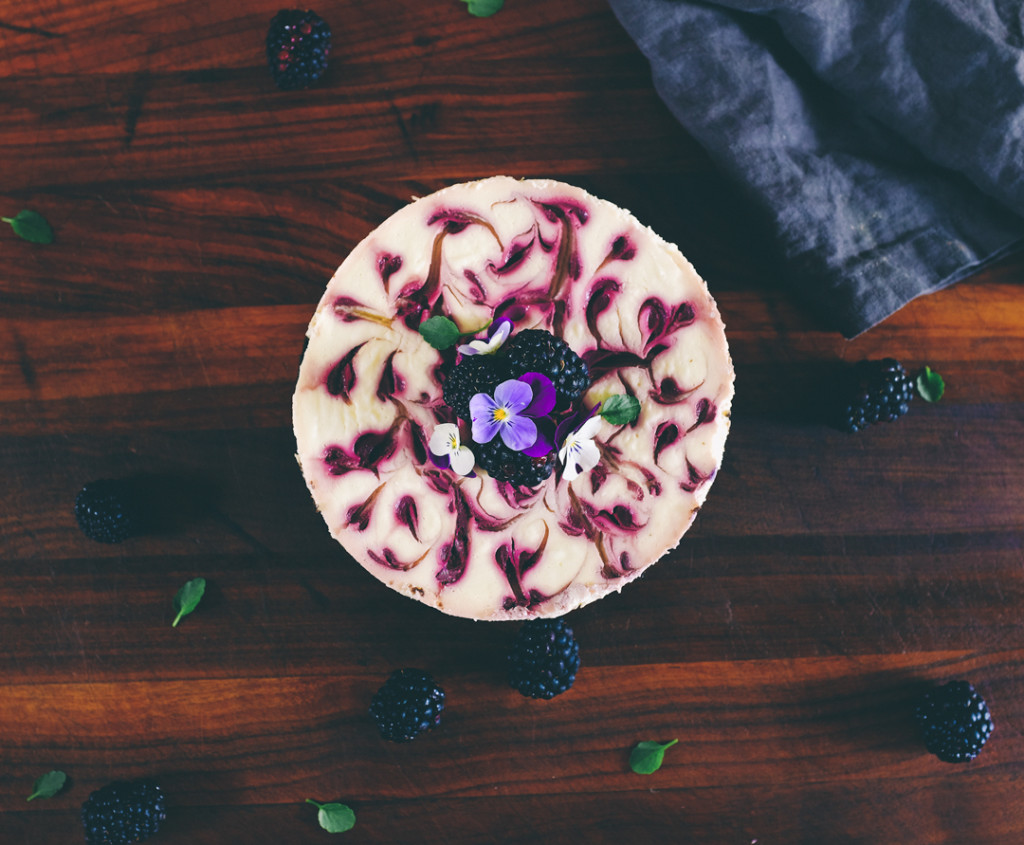
The preparation takes a little more massaging than “toss in all ingredients and mix on high” but is fairly straightforward. I was a little hesitant to try my hand at the marbled top, but after scrolling through a few youtube videos I mustered up the courage to go for it. I dosed dots along the top of the poured cheesecake mixture from a plastic squeeze bottle, and swirled through the center of each dot with a skewer, moving from the center toward the outer edge in a semi random pattern.
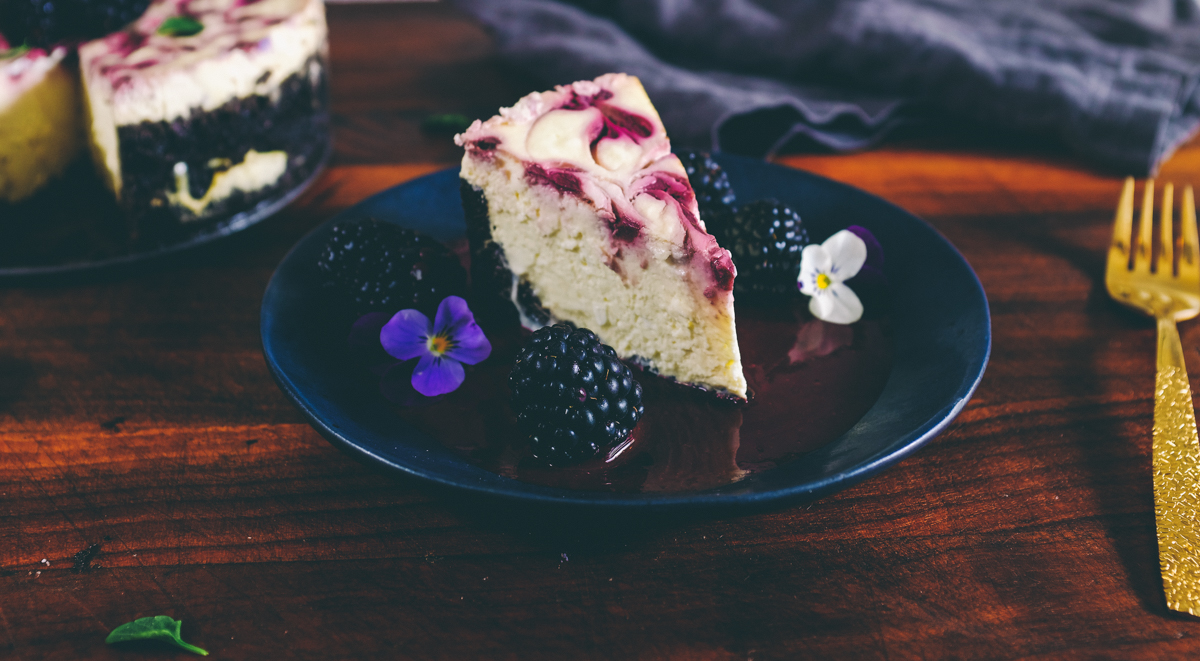
For my (almost) first stab at cheesecake, it went pretty smoothly aside from some cracking along the swirl pattern. The texture was dense and creamy and melded well with a dollop of berry puree and chocolate crust.

Blackberry Neufchatel Cheesecake with Chocolate Crust
- The shells of 25 Oreo cookies
- Pinch of salt
- 5 tablespoons unsalted butter, melted
- 1 8 oz. box of cream cheese
- 1 8 oz. box of neufchatel
- ½ cup sugar
- ½ teaspoon salt
- 2 teaspoons pure vanilla extract
- 2 large eggs, at room temperature
- ¾ cups buttermilk
- Blackberries
- Granulated sugar
- Pulse the chocolate wafers of roughly 25 Oreos in a food processor until you reach your desired texture. I chose to pulse until the Oreos resembled a heavy sand.
- Melt 5 tablespoons of butter and pour over cookie mixture. Pulse until well blended.
- Add salt and pulse until combined.
- Center a rack in the oven, preheat the oven to 350°F and place the springform on a baking sheet. Bake for 10 minutes. Set the crust aside to cool on a rack while you make the cheesecake.
- Reduce the oven temperature to 325°F.
- Blend blackberries and granulated sugar until smooth.
- Pour mixture into a plastic squeeze bottle or pasty bag. Reserve the leftover to serve with finished cheesecake.
- Put a kettle of water on to boil.
- Using a stand mixer with a paddle attachment, beat the cream cheese at medium speed until soft. Leave your mixer running and add sugar and salt. Continue to beat another 4 minutes or so, until the cream cheese is light. Beat in the vanilla. Add the eggs one by one, beating for a full minute after each addition—you want a well-aerated batter. Reduce the mixer speed to low and stir in the buttermilk.
- Put the foil-wrapped springform pan in the roaster pan.
- Give the batter a few stirs with a rubber spatula, just to make sure that nothing has been left unmixed at the bottom of the bowl, and scrape the batter into the springform pan. The batter will reach the brim of the pan. (If you have a pan with lower sides and have leftover batter, you can bake the batter in a buttered ramekin or small soufflé mold.) Put the roasting pan in the oven and pour enough boiling water into the roaster to come halfway up the sides of the springform pan.
- Dot the top of the cheesecake surface with your berry puree. Using a skewer or toothpick, trace lines through the center of each dot, connecting one dot to the next, to create your marbled surface.
- Bake the cheesecake for 1 hour and 30 minutes. To prevent browning, rest a sheet of foil over the surface of the cheesecake. Some cracking may occur during baking. Turn off the oven's heat and leave cheesecake to slightly cool with the oven door propped open for one hour.
- Carefully pull the setup out of the oven, lift the springform pan out of the roaster. Remove the foil, taking care not to burn yourself with any water that may have seeped into the foil. Let the cheesecake cool to room temperature on a cooling rack.
- Once the cake is cool, cover the top and chill the cake overnight.
3.2.2929
by Maggie and Ed | May 3, 2016 | Uncategorized
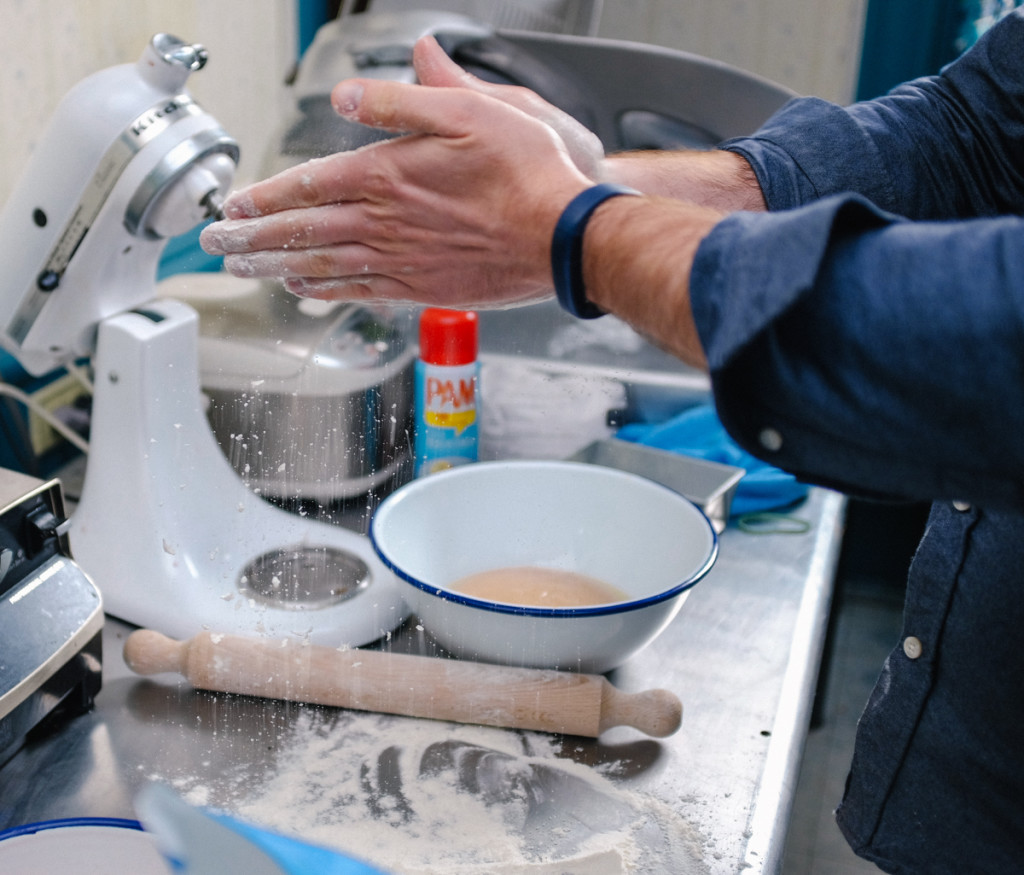
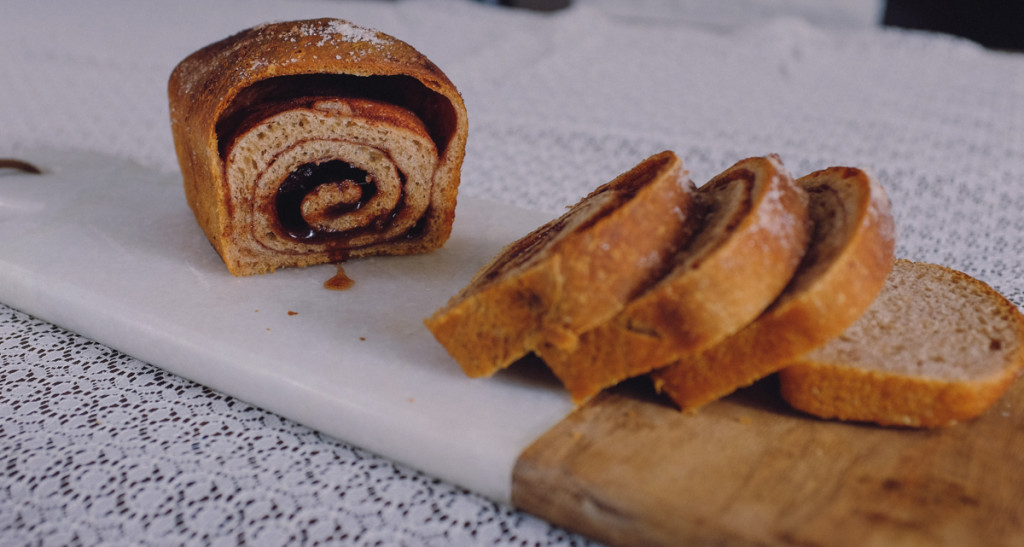
I went through a bit of a bread phase years ago. It’s been something that I’ve missed since we moved into the new house and I went from having a fairly nice oven to cooking everything in a toaster oven.
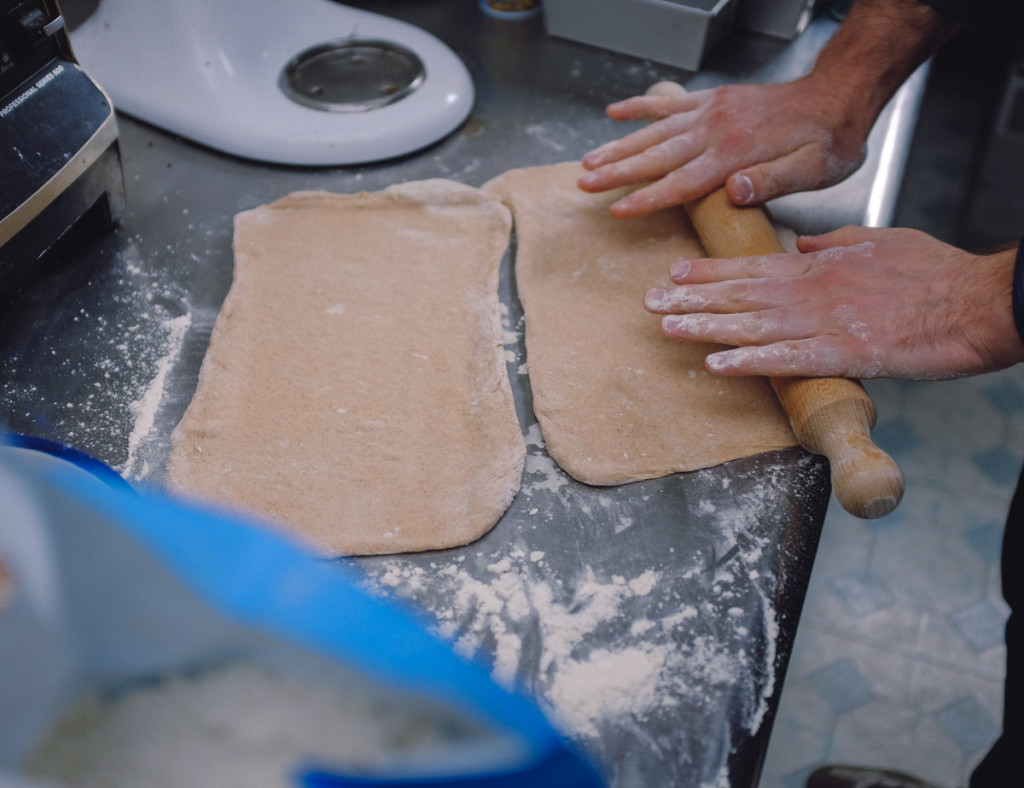
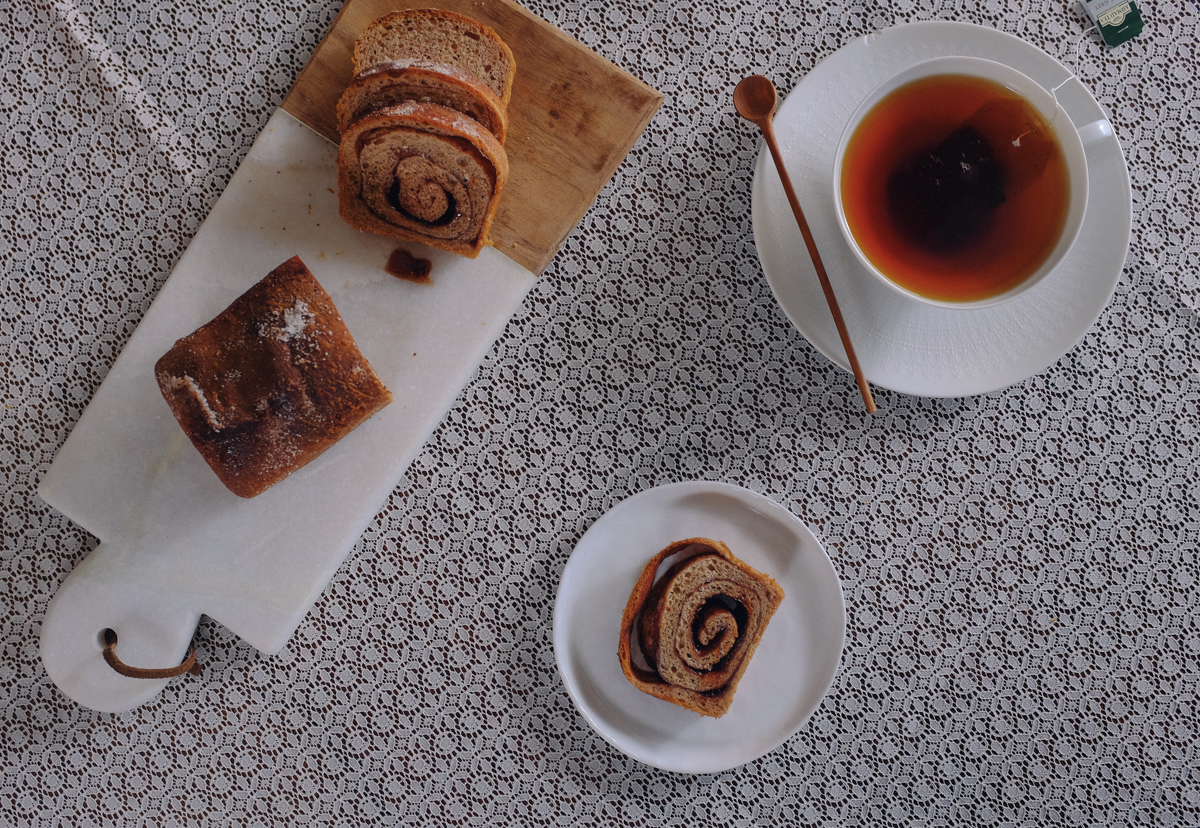
I was planning on doing a tiny Pate en Croute for a picnic, which ended up getting delayed due to the weather, but not before I bought some mini loaf pans. I was staring at them in the morning when I remembered a really good cinnamon sugar swirl bread recipe from Peter Reinhart’s The Bread Baker’s Apprentice. If you’re at all interested in bread baking, check his book out, It’s got a really good detailed section at the front explaining the importance of each step in the bread baking process.
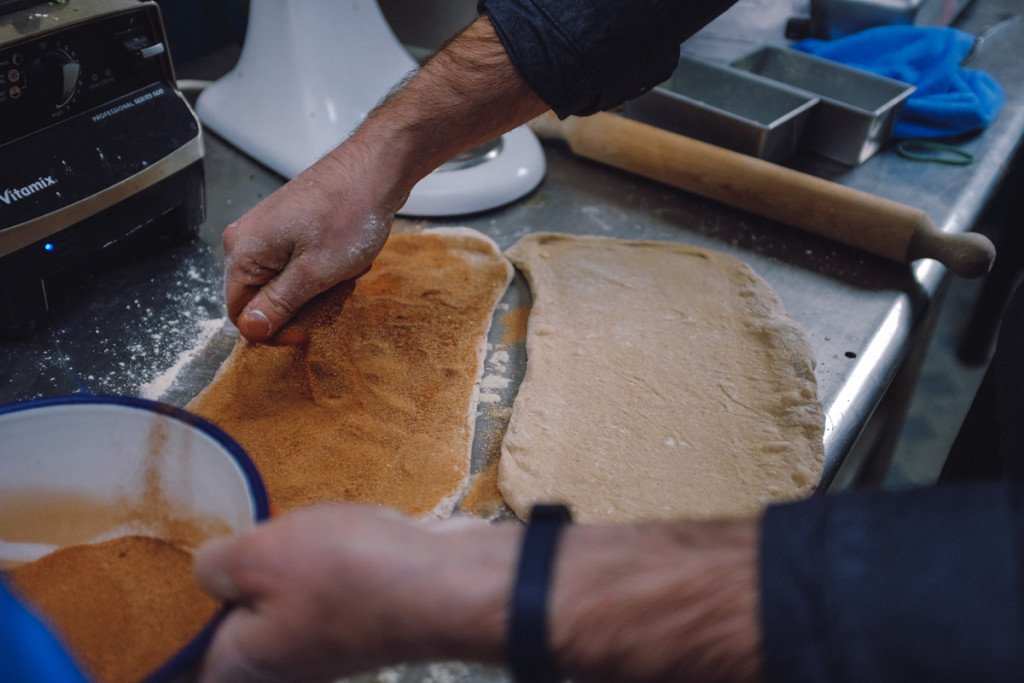
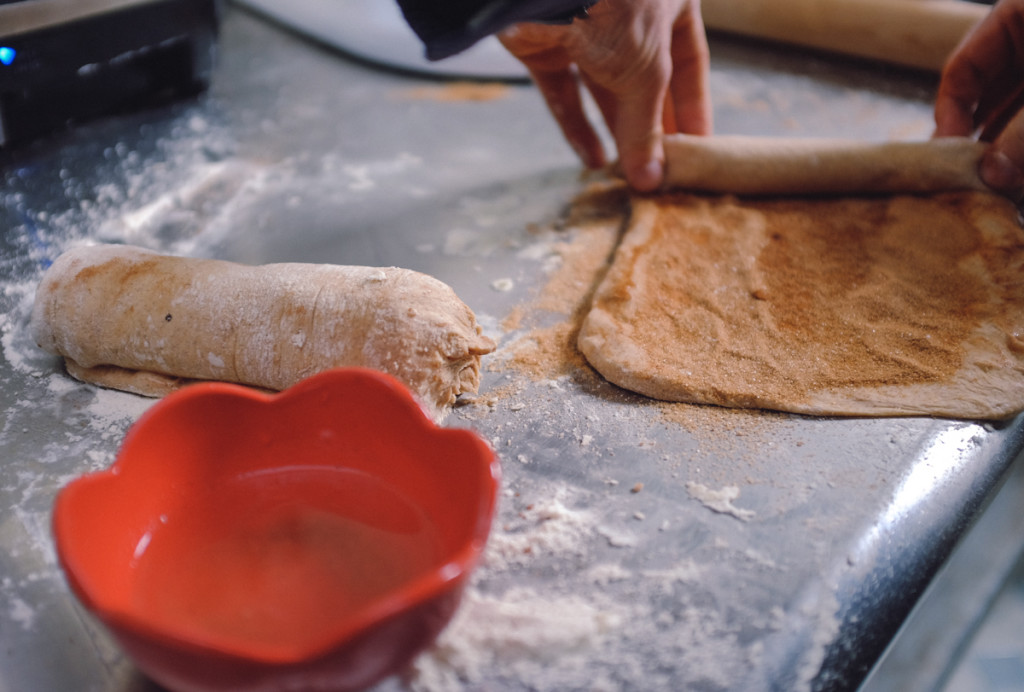
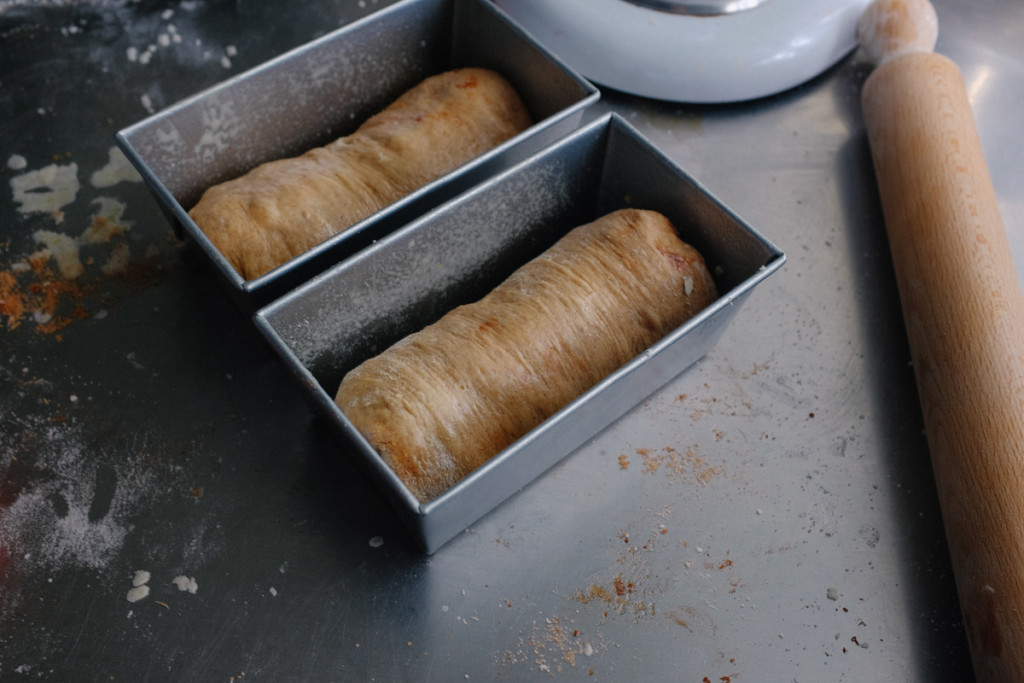
I forgot how fun bread was to make, and how impressed everyone always is when you make it. The recipe for that one is pretty easy, just a bit of waiting for proofing. It all went well, but if I did it again, I’d probably roll it out a little thicker and do less of a swirl. It turned out great, though, and the little loaves are really cute.

I got the bread bug back a little now. I made some plans to build a wood-fired bread oven in the driveway behind my house, but Maggie said that I can’t do that right now even though it will cost basically zero dollars, so I’ll focus on getting the most out of the toaster oven and see how hot I can get the smoker after I swapped out the heating element. I think I’ll do some mini cheddar chive loaves tomorrow.

by Maggie and Ed | Apr 28, 2016 | Entrée, Food, Vegan, Vegetarian
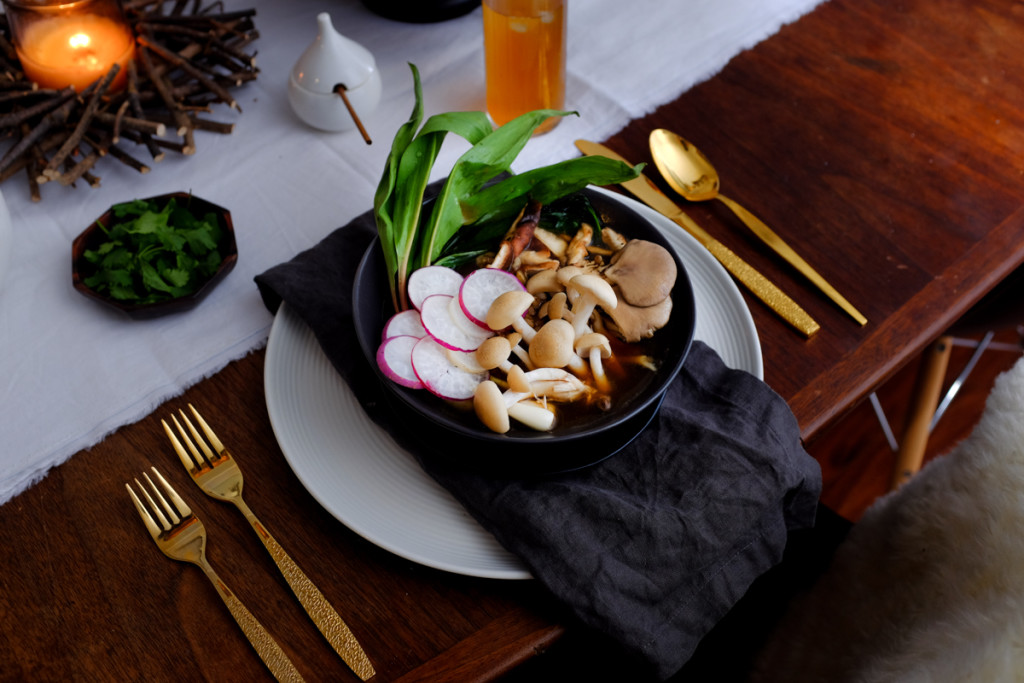
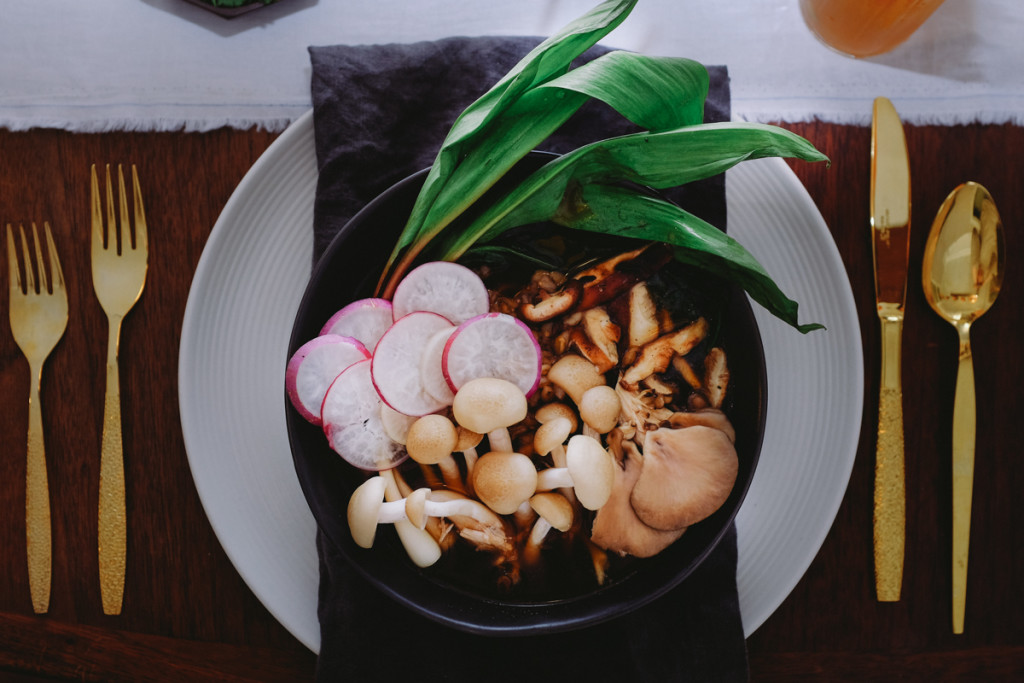
While we’re stuck in Steve’s Deli limbo, we’ve been trying to enjoy the freedom of living without a constant stream of nearly-expired sandwich fixings. Turns out that you can go wild at the grocery store without breaking the bank if you barricade yourself in the produce aisle and pretend that cheese doesn’t exist. After scooping up a handful of ramps for our local co-op, we decided to savor the last few chilly nights of the year and make a mushroom barley soup.
We’re not always the best at uncomplicated cooking, so lazy dinner nights normally end in take out. This time, we decided to do some strategizing and prep the soup beforehand, leaving the stock to marinate in the circulator. Packed with a medley of mushrooms and garlic, it turned out bright and earthy while still being surprisingly filling.
Mushroom Barley Soup
Author: Disturbing the Peas
Recipe type: Soup
Cuisine: American
- 1 cup black barley
- 2 cups assorted mushrooms (shitake, oyster, and enoki)
- 4 bay leaves
- 1 tablespoon kosher salt, plus more
- 4 large eggs (optional)
- 2 small radishes, trimmed, thinly sliced
- 1 bunch ramps
- Walnut oil, white wine vinegar, salt and pepper to season
- The night before you make the soup, go down and grab a beer and remember you've gotta soak the barley. Cover 1 cup barley with 3 cups of cold water and leave overnight.
- The next evening, set the circulator to 68*C
- While that's heating up you strain the barley and reserve the soaking liquid
- Place the barley in rice cooker with mushroom stems and bay leaves and the appropriate amount of water.
- Put in reserved barley water (2.5ish cups) into a vaccuum bag with mushrooms, black garlic, onion, bay leaves, and kombu and place in the circulator. If you have extra mushrooms lying around, toss them in! In this case, more is more. Optional: sweat the onions and half the mushrooms for a bit before bagging.
- Have a glass of wine and relax! If you prefer a more protein rich version of this soup, toss some eggs into the circulator, they should be perfectly cooked once the broth is ready.
- minutes before you serve, prep mushrooms, radishes, ice and peel the eggs, and quickly saute the ramps.
- To serve: nestle and barley in a bowl, then top with radishes and mushrooms. Pour broth over the bowl and season as desired. We used a sprinkle of vinegar and walnut oil.
3.2.2929
by Maggie and Ed | Apr 27, 2016 | Food
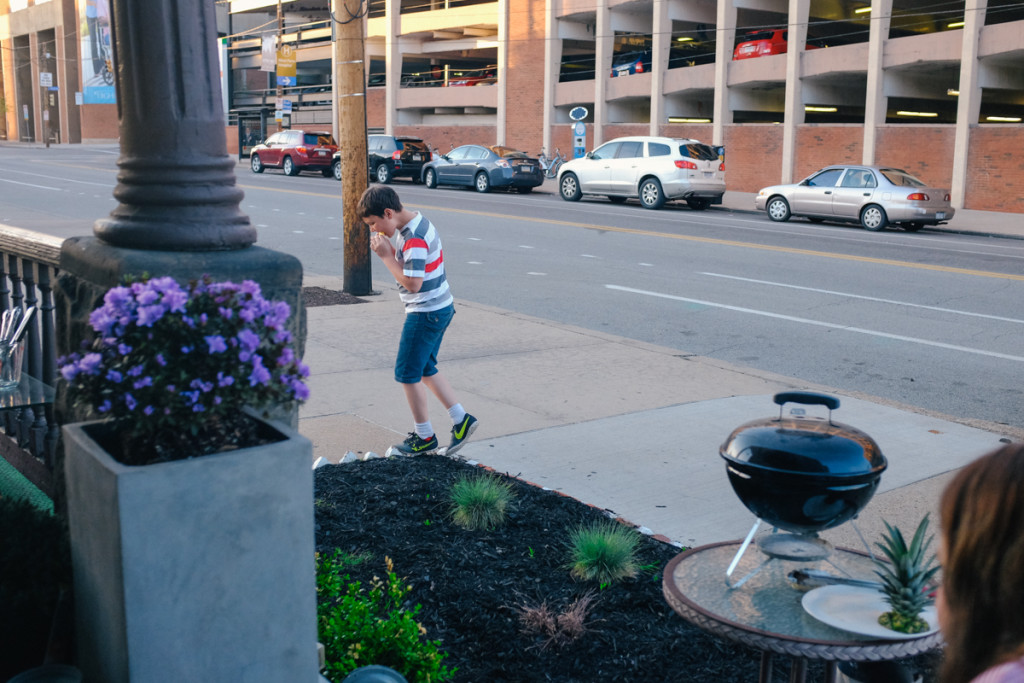
Sometimes it’s funny how things work out. Not really here, though. We just started thinking that we should introduce a new outdoor space and instead decided to fix up an underutilized one.
There’re two things you need to know about outdoor furniture. It’s expensive and, it’s generally pretty ugly. We drove around last Saturday trying to put something together searching yard sales, antique shops, and eventually ending up in Target curled up sleeping in a corner.
Then we remembered we already had a table and two chairs. The yard sales were great to find more ceramic planters, and Target was great for more cheapo plastic ones. We built up some legs for a couple with some wooden dowels.
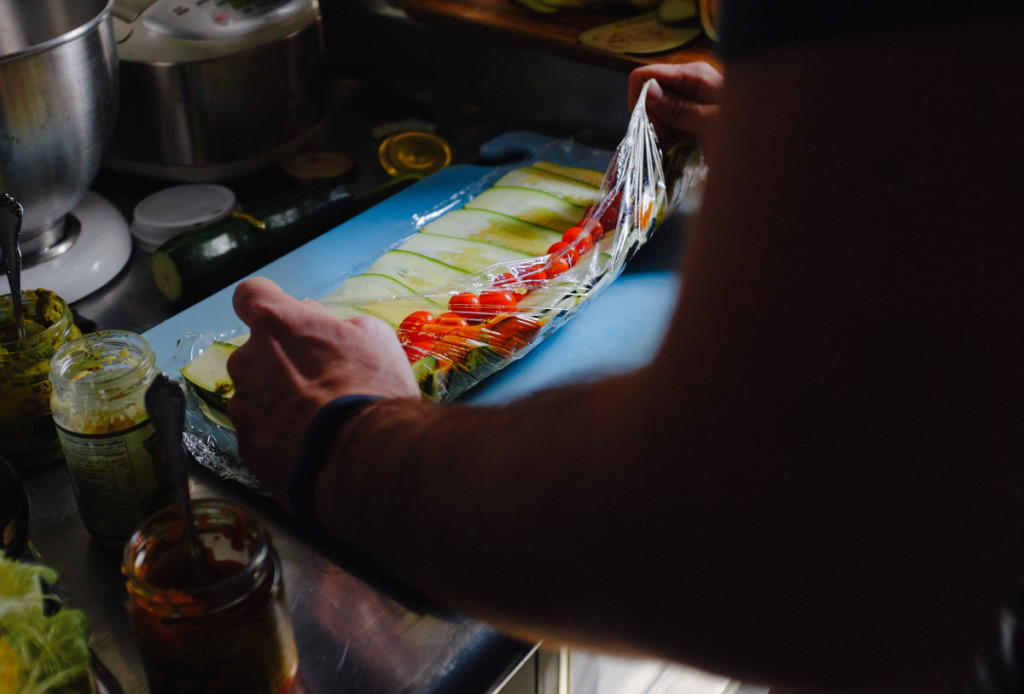
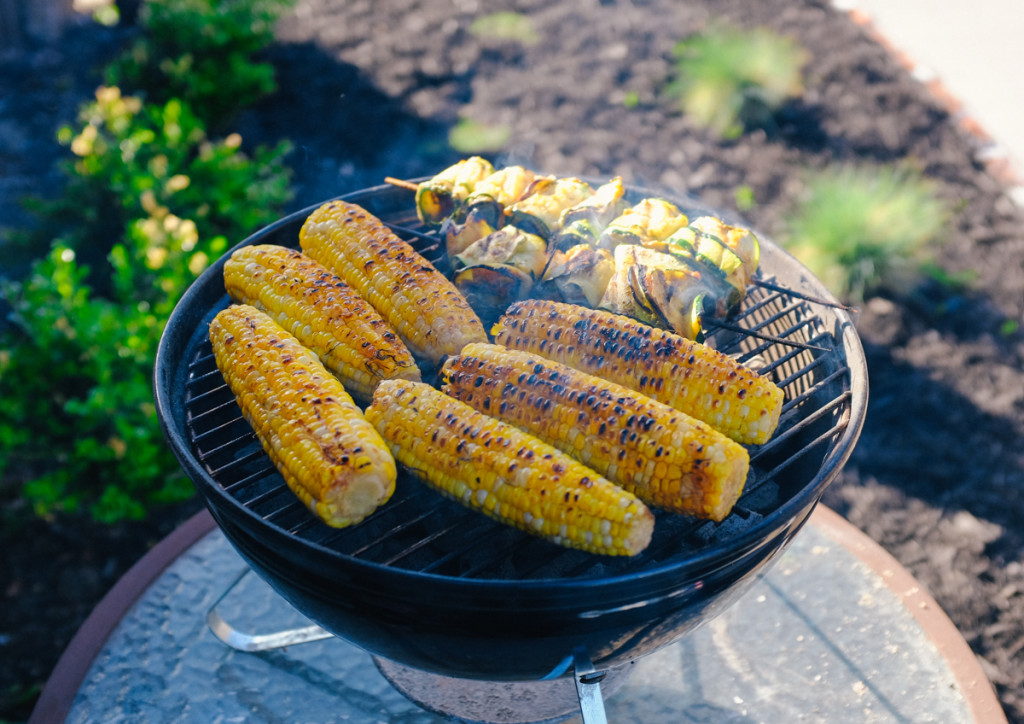
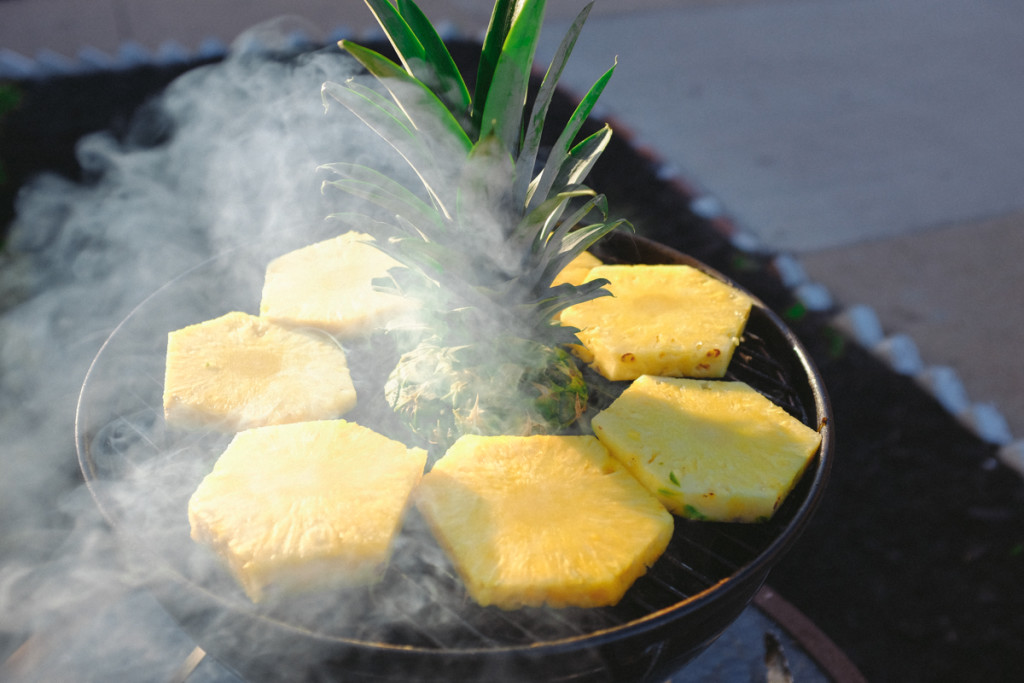
Maggie’s sister and kids were coming over Sunday and we wanted to make the space nice before that. We’ve still gotta make our lives seem good enough that she abandons her child’s school and moves closer into the city, so we don’t have to drive as much. We were going to grill some wrapped zucchini, artichoke spread, mushroom spread, eggplant, tomato and then eat the spiral with a blob of mozzarella. We were jokingly calling it our Pinterest dream dinner.
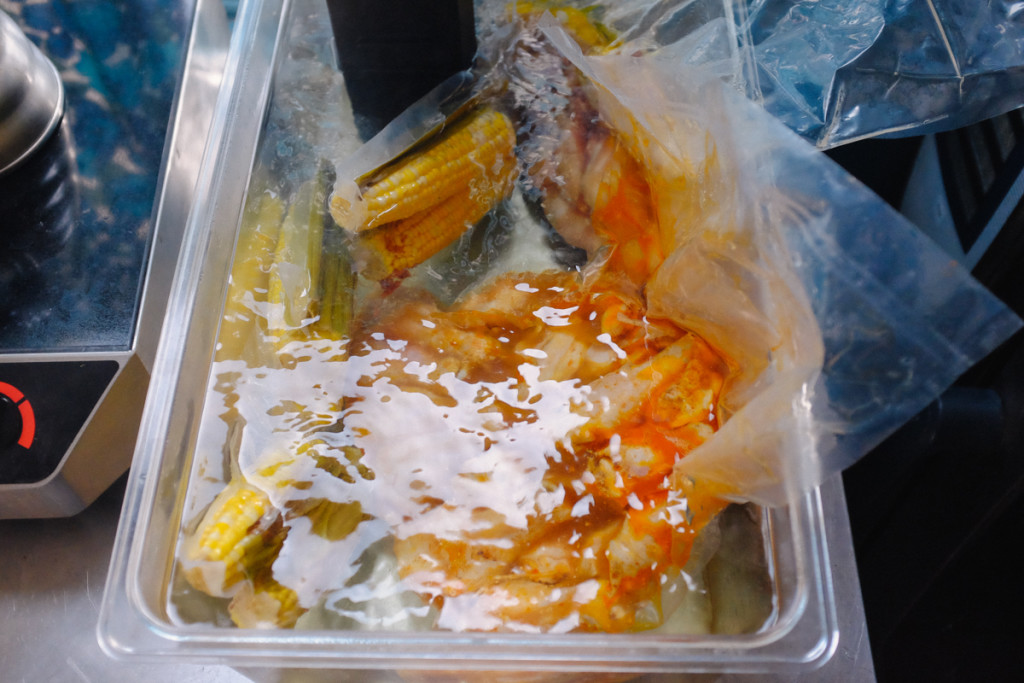
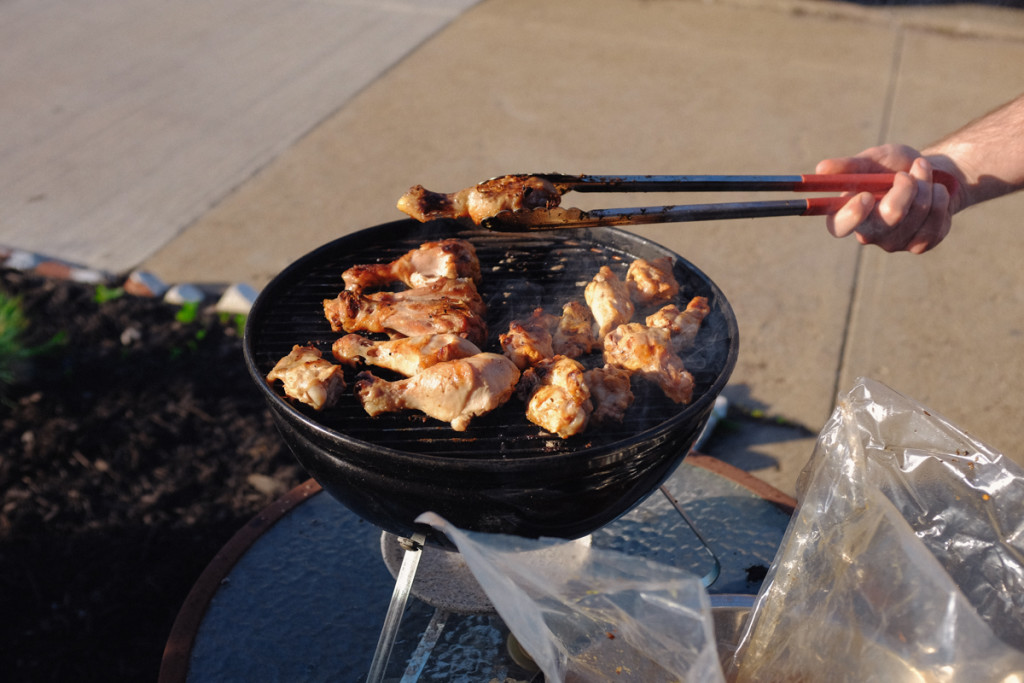
We also got some corn and decided that the kids would probably like eating chicken wings more than veggie wraps, so we got tons of wings too. Quantity seems to be key with mid-size children.
I prepped it all in a circulator. It’s nice to not have to worry about much other than getting your cheapo tiny grill as hot as possible and searing everything like crazy. Especially if you’re cooking for a crowd. I like to do corn with some of the husks, butter, and salt. I did the wings at 70C for 4ish hours, one buffalo spicy and one garlic herby. We tossed in some spices and sauce, but it got a bit diluted with the chicken juices. Next time I’d leave a little more time to make a final sauce with the cooking juices, but sometimes it’s better to cut your losses and enjoy the good weather with family.